This is a project that has been 10 years in the making. For 10 years, I have been wanting to add some character to our kitchen by upcycling an old door to replace our hollow core door that leads into the pantry/laundry room. Here is a blog post from my old blog about the whole pantry remodel.
Remember what our kitchen looked like 8 years ago when it was being remodeled. The kitchen was taken down to the studs. The wiring, plumbing, floors, walls, lighting, and ceiling were all replaced. Here is a blog post from my old blog about the whole remodel.
See the little door to the right? Yup, that’s the door that is in the spotlight today.
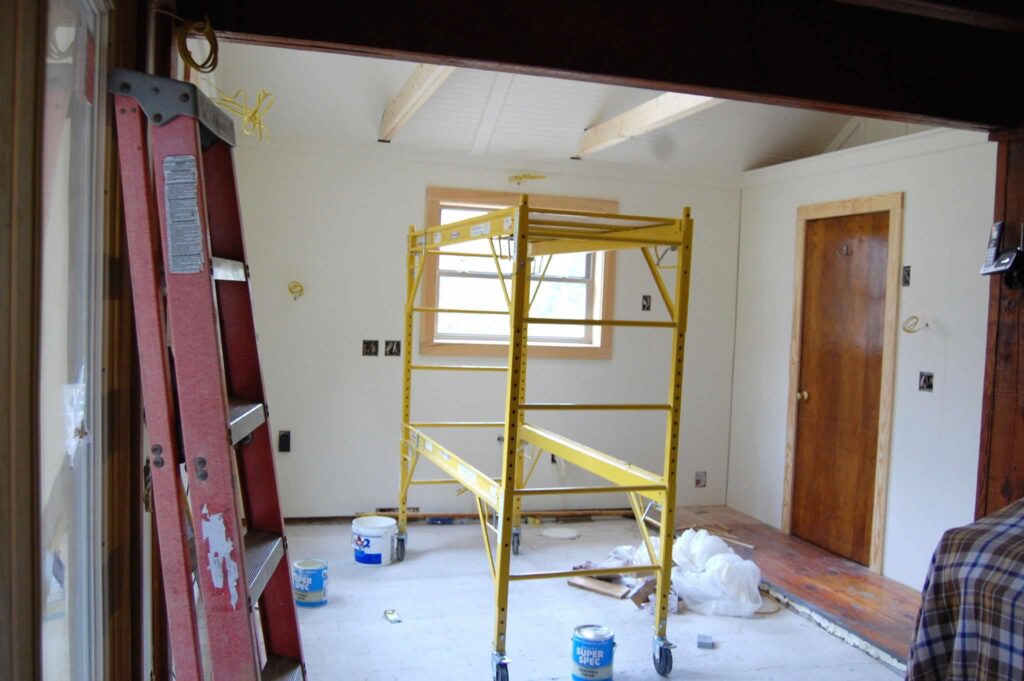
The plan was to find and refinish an old door for our contractor to fit into the new space. He had to move the door framing over a little bit and put in some new trim, so replacing the door wouldn’t be a problem. . . Except that I couldn’t find a door the right size that I liked. I didn’t mean to be picky – but I had an idea in my mind and I couldn’t find a door that fit my criteria. So, we just told our contractor to put the old door in and Hubs would swap it out when I found the right one.
Finally, one day at the Habitat for Humanity ReStore, I found her. Isn’t she a beaut?
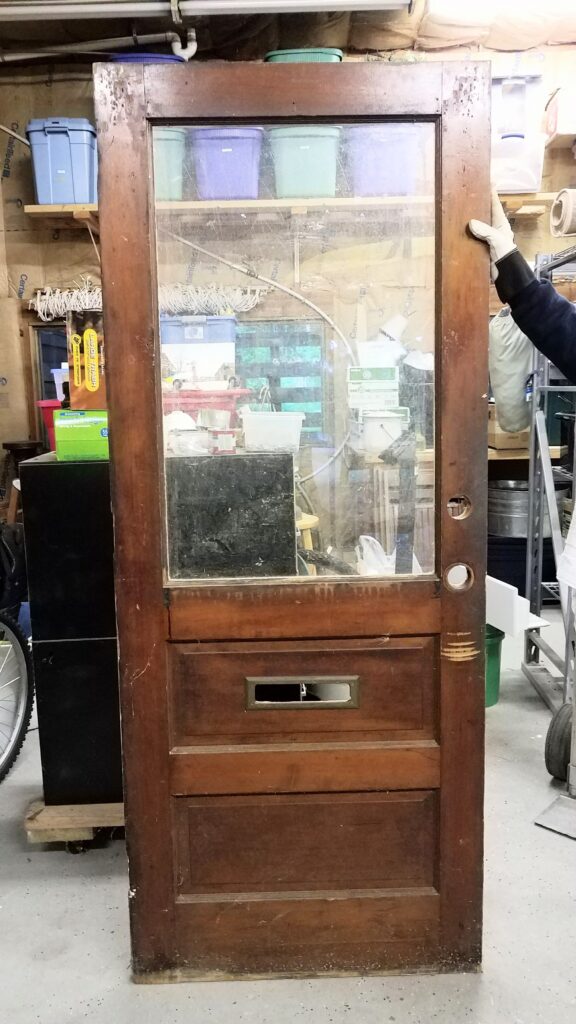
I loved the big window, the two bottom panels, the mail slot, and the thickness of the wood. She was really well made and she was the right size. The above photo shows her best side. The next photo shows her bad side. It was covered in white paint which was already flaking off. I figured it wouldn’t take much to sand off the paint and finish her up. Well, I was very wrong.
The door had evidently been an exterior door and the white-painted side had been facing outside. The sun had baked the paint (as well as any old finish under it) into the wood. I used a sander. I used a stripper. I used a heat gun. I used another sander. I used another stripper. I was ready to throw her in the trash and search for another door. I stuck her in a back corner of the garage and got on with my life.
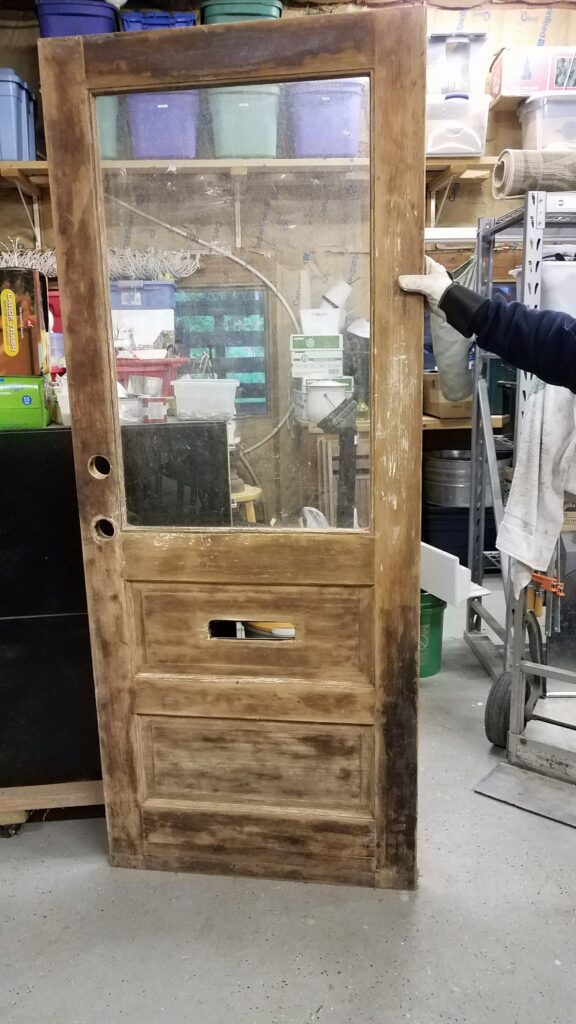
When Hubs retired in March, we walked around our house (inside and out) and made a huge list of projects we wanted to work on now that he had more time on his hands. When we got to the kitchen, we realized our kitchen was not officially “finished” until the pantry/utility room door was replaced. A decision needed to be made. Would I try one more time to refinish the door we had or would we try to find a new door? I’m kind of stubborn and decided no wooden door was going to get the best of me.
I marched out into the garage and asked Hubs to put this monster of a door onto the sawhorses. I refinished the “good side” right away, using furniture refinisher and Minwax Special Walnut stain/finish. After that dried, I flipped the door over and got to work on the “Bad side”.
First, I sanded with 60 grit sandpaper, using the sander on the flat sides and hand sanding in the grooves. I followed up with 120 grit sandpaper and cleaned off all of the mess. It still had white paint in the groves and in the decorative trim around the window and panels. That’s when I had to get creative. I pulled out a Sharpie marker and traced over the white paint. It looked better but still needed work. I stained the whole side with the same stain/finish I had used on the other side and let that dry.
Everything looked pretty good, but I could still see bits of white paint on the trim. I pulled out a small artist’s brush and acrylic black paint. I painted the entire trim around the window and the two lower panels. I also lightly filled in a little bit of the grooves where the door sides and bottom butted up against each other. I wouldn’t have given it so much attention, except this “bad side” was the side facing the kitchen.
After some creative woodworking on Hub’s part, the door was hung. We reused the old hinges from the original door. Now the next step was to find hardware that would function and look good with the door.
My first choice was antique hardware, but our humble home did not warrant hundreds of dollars in antique hardware. It was time to get creative. Altogether, we needed a handle, a backplate, and a door latch.
I had one “dummy” Schlag handle that I had purchased in a large bag of handles years ago from Habitat ReStore. A dummy handle is one that does not move. They are usually used on closet doors. This pantry/utility room was basically a walk-in closet that we had remodeled, so we figured a dummy handle would be good enough.
The handle was a perfect size but we needed a backplate to cover up the old hardware holes. None of the backplates I could find online were the right size so, we had to get creative again. Hubs ventured out to the craft store and found two pieces of balsa wood that were the perfect size. I painted them black and he screwed them onto the door. He screwed the handle onto the front side, making sure the screws went through the backplate and into the door. He covered the screws with upholstery tack heads (he clipped off the heads and glued them over the screw heads).
Finally, the only extra hardware needed was a latch to keep the door shut. We found a ball catch on Build.com for under $6.00 and it worked perfectly. Hubs had to patch some areas along the frame with small pieces of wood (he used some thin slices of wood from an old louvered door panel). I touched up the door frame by blending in some antiquing wax.
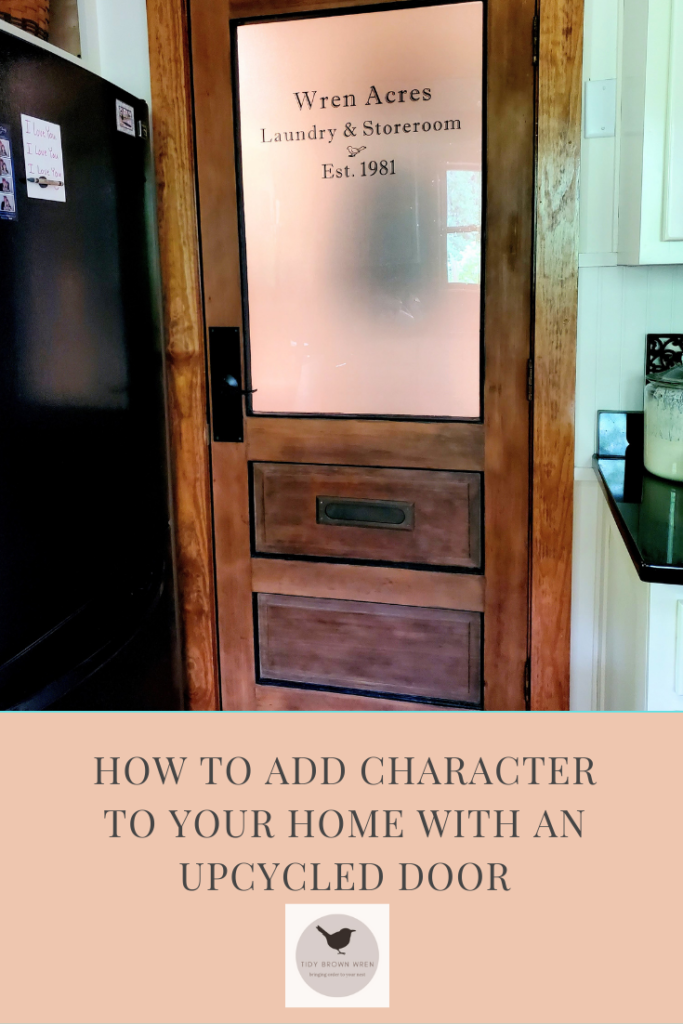
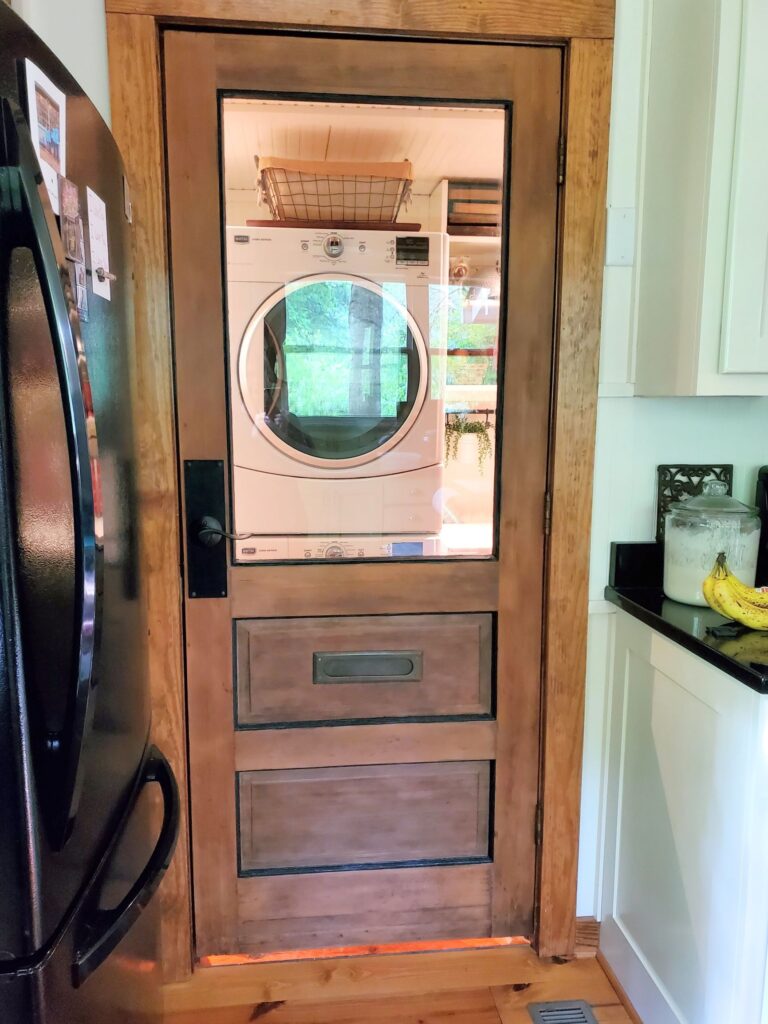
I wanted to obscure the view into the pantry/utility room but still allow light in. I chose a frosted vinyl window film to cover the backside of the window. It went on quickly. Note: If you try this, be assured the tiny air bubbles under the film will go away in a week or two – it made me freak out a little bit.
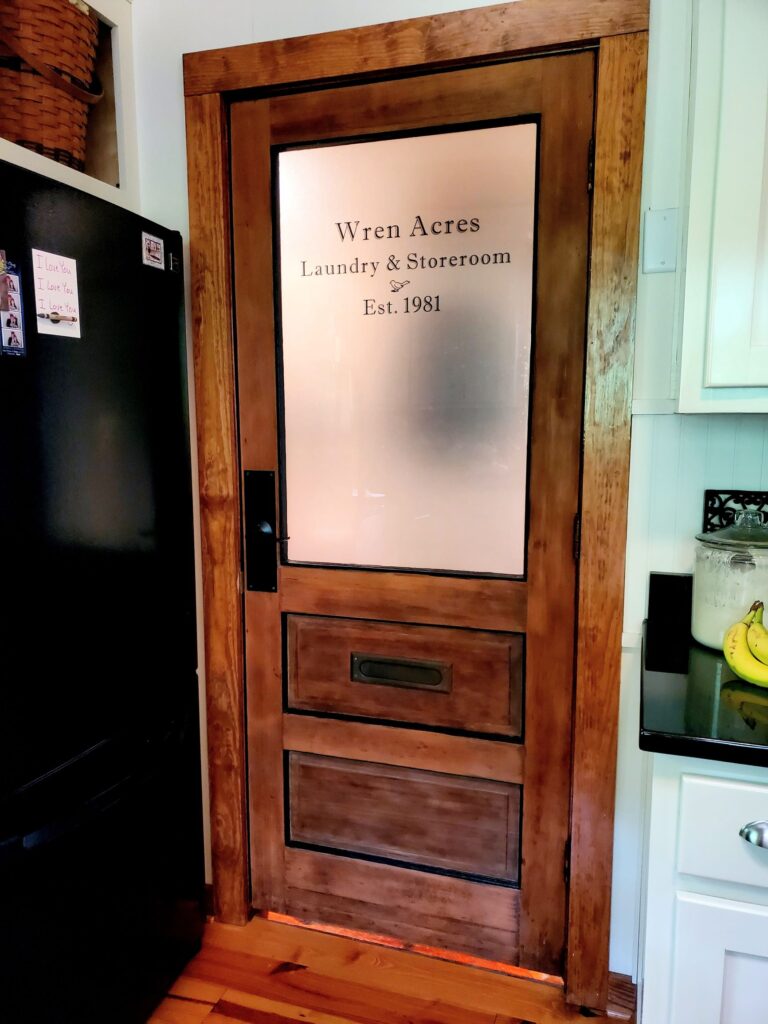
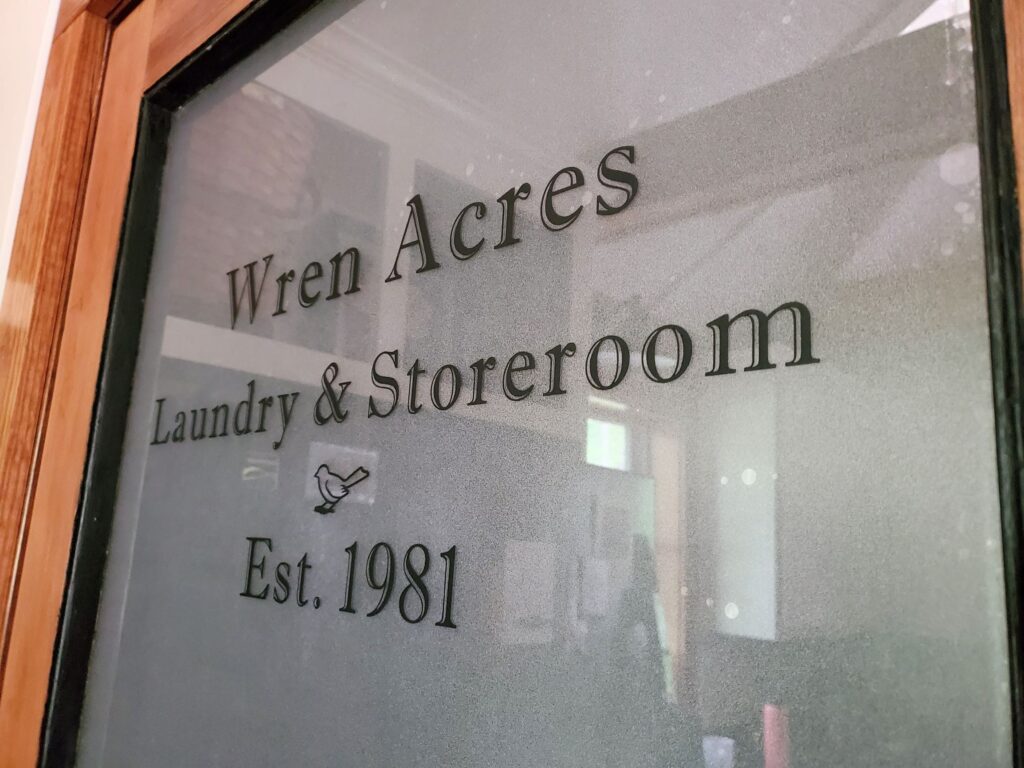
It still needed a little something more, so I created a vinyl sticker on my Cricut and placed it on the outside of the window. You should have seen Hubs and me (both firstborn, type-A, recovering perfectionist) getting the lettering perfectly straight.
![]()
![]()
![]()
![]()
![]()



Oh, I love this!