Have you ever thought about what your life reflects? Join me as I share a garden lesson with my grandlittles about how our lives reflect God’s glory, goodness, and love.
Learning to garden through trial and error
Going through old photos in my “Big Project” task has been a lot of fun. I had forgotten how much work the vegetable garden needed when we first bought our home 14 1/2 years ago. Before we bought this house, I had only tried a few tomato plants and some herbs in pots on our deck. So, in 2005 I began to learn how to garden through trial and error.
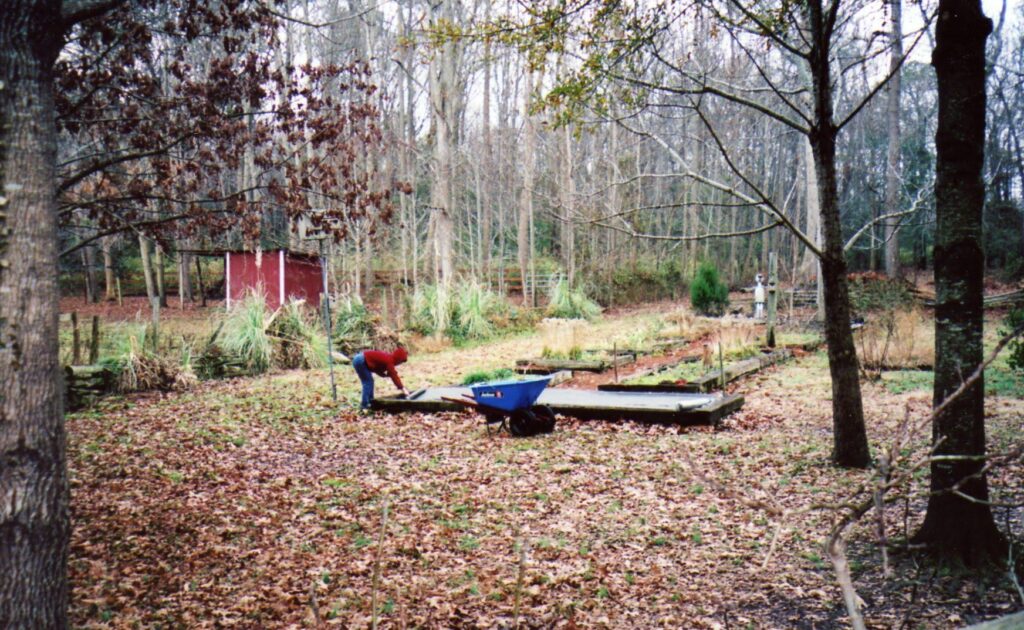
We bought our home in early September of 2005 but didn’t move in until mid-October. There was just too much to do to the house before we could move into it. I’ll post about those before and afters in the future. The photo above was taken in November of 2005 – about a month after we had moved in.
I had already pulled out the 4-foot tall weeds and mulched in between some of the beds with pine straw that I had raked up around the yard. Not having enough mulch to go around, I decided to temporarily cover the beds with weed block fabric, weighted down with bricks.
Lesson learned: Cover the weeded beds with something.
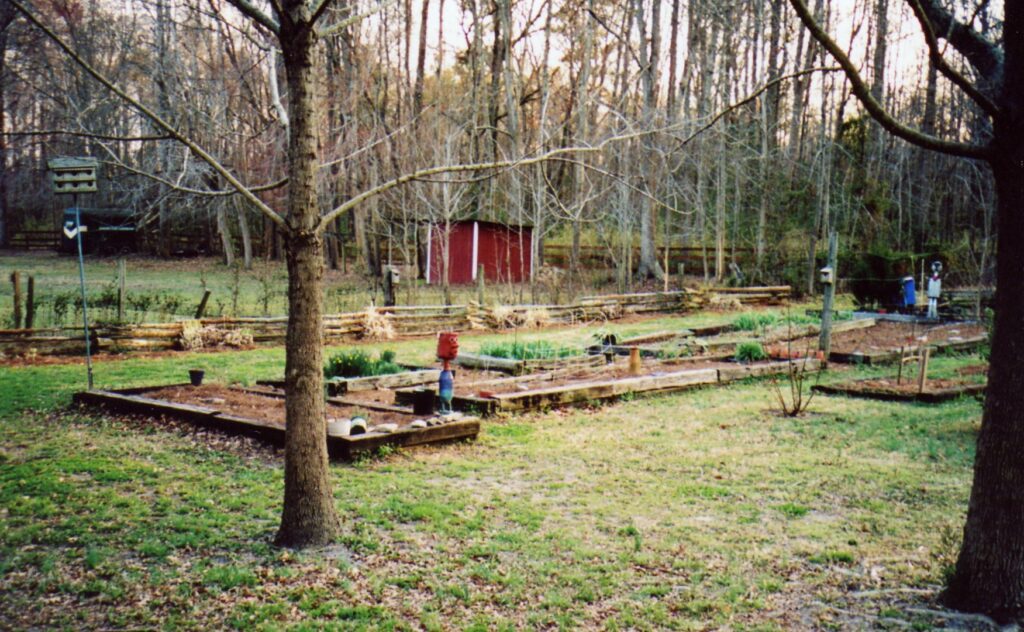
The next spring, I was happy with the results of my initial work. The beds were a hodgepodge but the few blackberry bushes, already in the garden, started blooming and I was inspired to become a fruit and vegetable gardener. Note: At first we thought the bushes were raspberry bushes, but upon first taste (puckered up beyond belief), we realized what we had was blackberry bushes and we needed to let the berries become. . . black before sticking one in our mouth.
Lesson learned: Do some research before you taste an unknown plant.
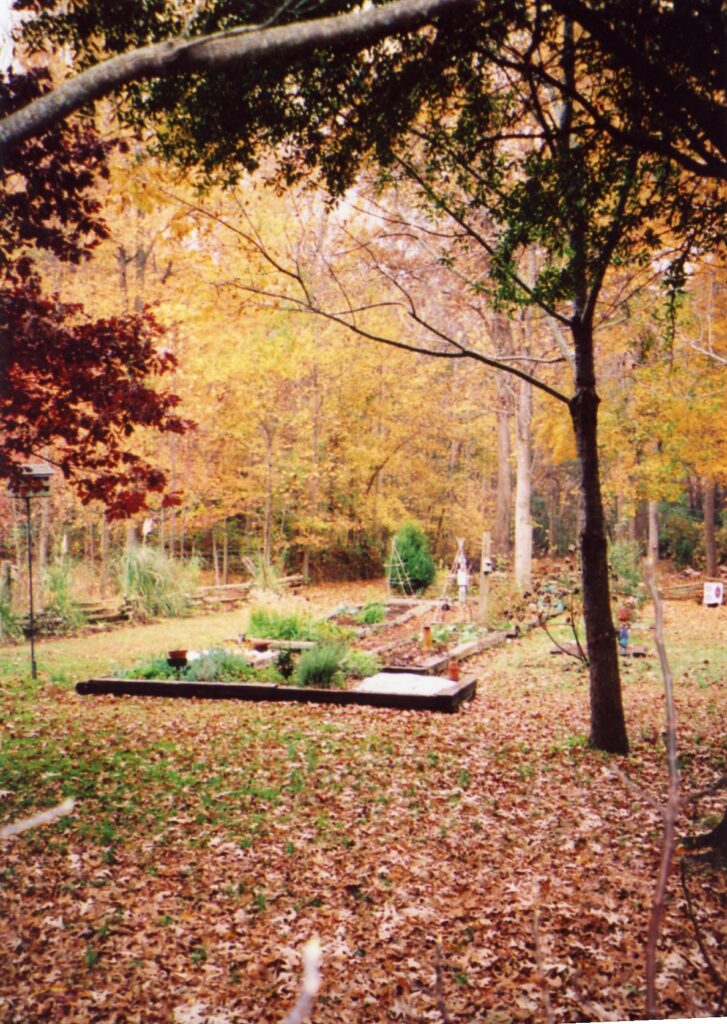
By the fall, my Newby herb bed (the horizontal bed in the front) was producing some nice plants and I was actually able to cook with them. That was a turning point in my cooking.
Lesson learned: Research which herbs are for cooking and which ones are for scent or decor.
The garden stayed like this for a few years and was pretty successful for a complete novice like myself. Once I got a few years of gardening under my belt, I felt more comfortable and asked my husband to add some more beds to the garden so that I could grow enough tomatoes to can.
Lesson learned: Start small and add space when you feel comfortable with what you already have before expanding.
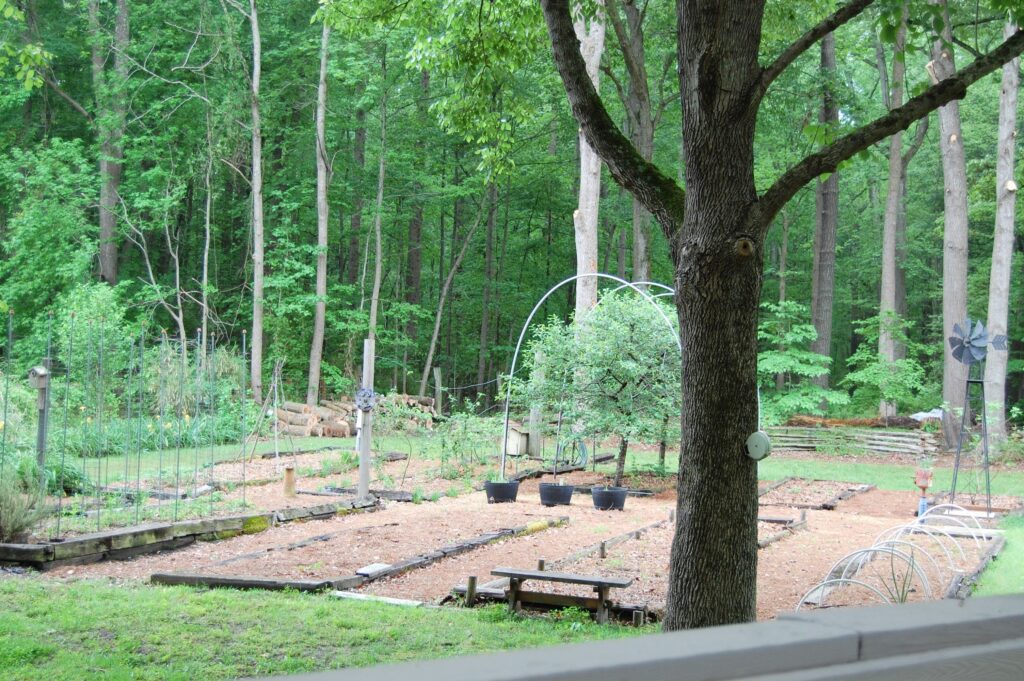
Hubs obliged and we ended up moving all of the horizontal beds and lining up the other beds to make rows that were easier to navigate. We debated about the width of the paths but ended up deciding to do wide paths with plenty of room to navigate with the wheelbarrow and garden hose.
Lesson learned: We often had clusters of grandlittles with us so more room in the paths equals less stepped on plants in the beds.
We did not purchase anything to make the sides of the beds. We just used logs and other non-treated wood we had on the property. It’s not the prettiest or neatest, but it works for our rustic homestead.
Lesson learned: Use what you have before investing in more expensive or permanent materials.
We added hoops over the cherry trees we planted to hold the bird netting in the summer and smaller hoops over the bed I grew winter greens and brassicas in to hold the winter cover.
Lesson learned: Use systems to help your garden go from one season to another.
The decorative windmill was a surprise birthday gift from Hubs and son and I love to hear it whirling on breezy days.
Lesson learned: Read my post on Blessed Brown Wren about what I learned.
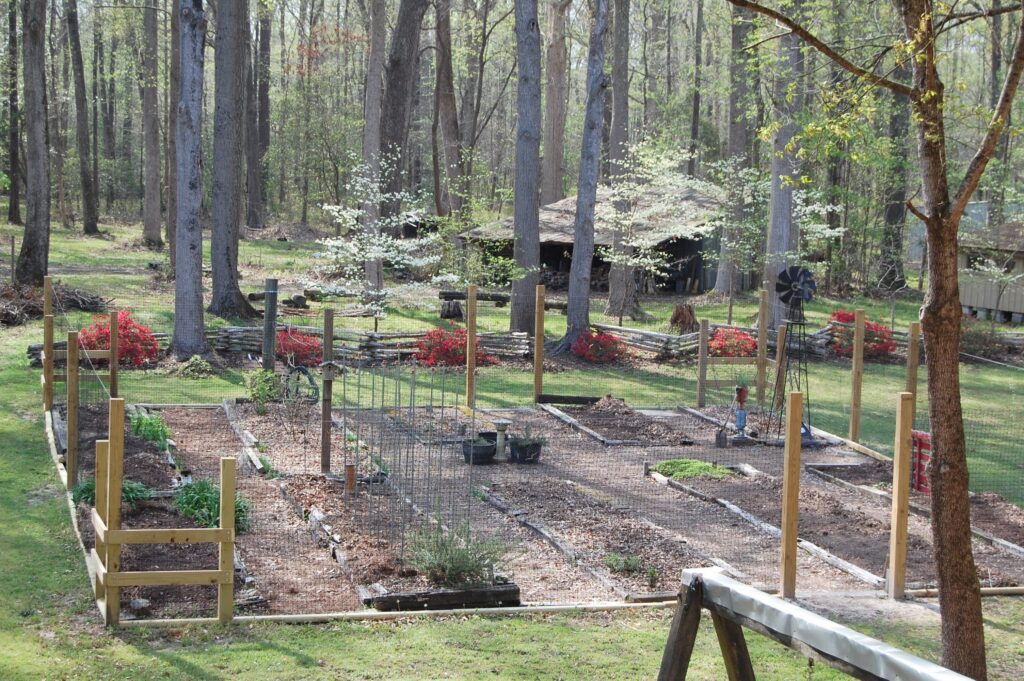
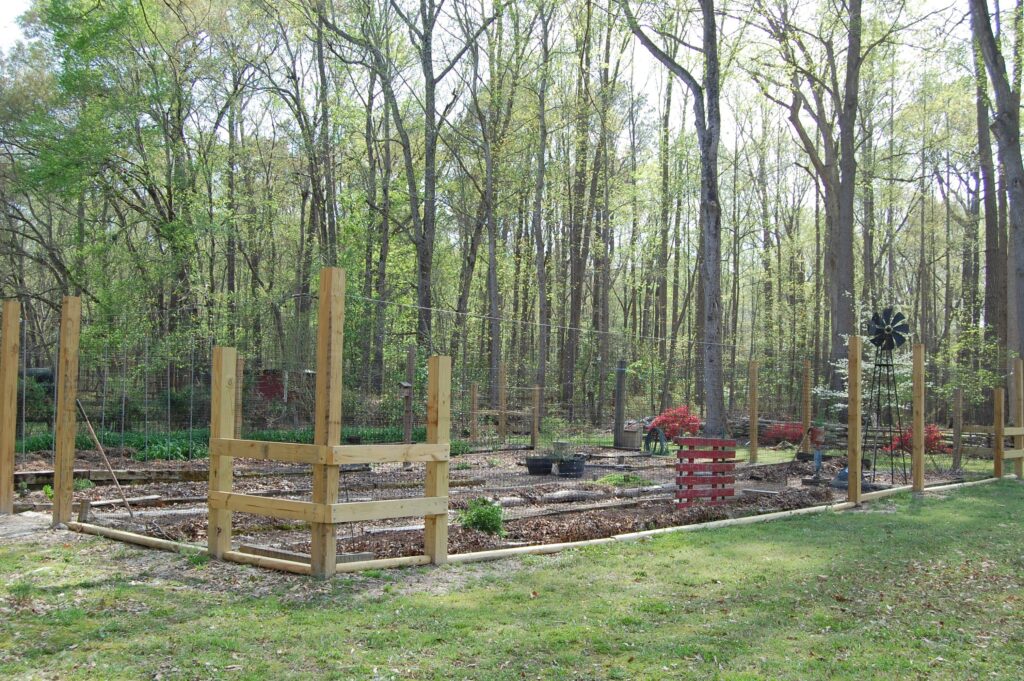
The next phase of the garden build-out was this past year. After a few years of limited gardening (due to health issues) and marauding deer and rabbits having an all-you-can-eat garden buffet we decided to put up a fence to protect it.
Lesson learned: Building projects seem to always cost more than we were expecting.
Our cherry trees died but we’ve added figs. I no longer have an herb bed because I like to sprinkle herbs around the other veggies for companion planting. I’m adding a lot of flowers this year to attract more beneficial insects and pollinators.
Lesson learned: Be flexible and enjoy rearranging plants like furniture in your home.
So far this spring, we’ve seen deer, gophers, rabbits, and squirrels deterred from the garden. I know the squirrels will eventually find out how to climb in but we’re enjoying the success we have right now.
Lesson learned: There is no such thing as a perfect fence.
How is your garden coming along? How is it arranged? What are you learning through trial and error?
Lessons in the Garden: Safe in the greenhouse
Are the baby plants ready to leave the safety of the warm greenhouse yet? Check out the video as I share a lesson with my grandlittles about being safe and protected until it’s time to go out into the garden and why that is important.
Wondering how we made our greenhouse? Check out these posts:
The Upcycled Greenhouse – how it began
Our Upcycled Greenhouse – The Walls
Our Upcycled Greenhouse – The Roof and an Addition
Our Upcycled Greenhouse: The doors, siding, and details
Lessons in the garden: God’s Word digs out sin
Our flowers are blooming and the seedlings I planted are growing quickly but so are the weeds. This week’s lesson in the garden talks about how important it is to use something sharp to get the deep-rooted weeds.
Lessons in the garden: Boundaries all around us
Every time I work in my garden or even just walk around in it, God teaches me a lesson. This week’s lesson was about the boundaries that we find all around us and how they function. Since I’m missing my grandchildren terribly, I wanted to share some thoughts with them.
What are some of the boundaries you have found around your home and yard? Why are they there and how do they work?
Lessons in the garden: What happens when we are squeezed?
I’m starting a new series called: Lessons in the garden.
Every time I am out in the garden, God teaches me a lesson. These lessons have been rolling around in my mind for years and I always thought about doing some videos about them. But this year, with being sheltered in place and not able to visit our grandlittles, I decided to get out of my comfort zone and sit myself down in front of the camera. I would like for this to be a legacy for our grands and any other children who care to listen.
This first lesson is about what happens when we are squeezed and don’t you think we’ve been squeezed and uncomfortable during the past month or so of social distancing and being sheltered in place?
Check out the video below to see what lessons can be learned in the garden.
Tell me what to cook: clean out the fridge cooking
With more people cooking from home this past month, readers are asking for more ideas of what to cook. A few weeks ago I gave you some ideas in Tell me what to cook: clean out the pantry cooking. This week, let’s see what we can cook while cleaning out the fridge.
The Basic Soup:
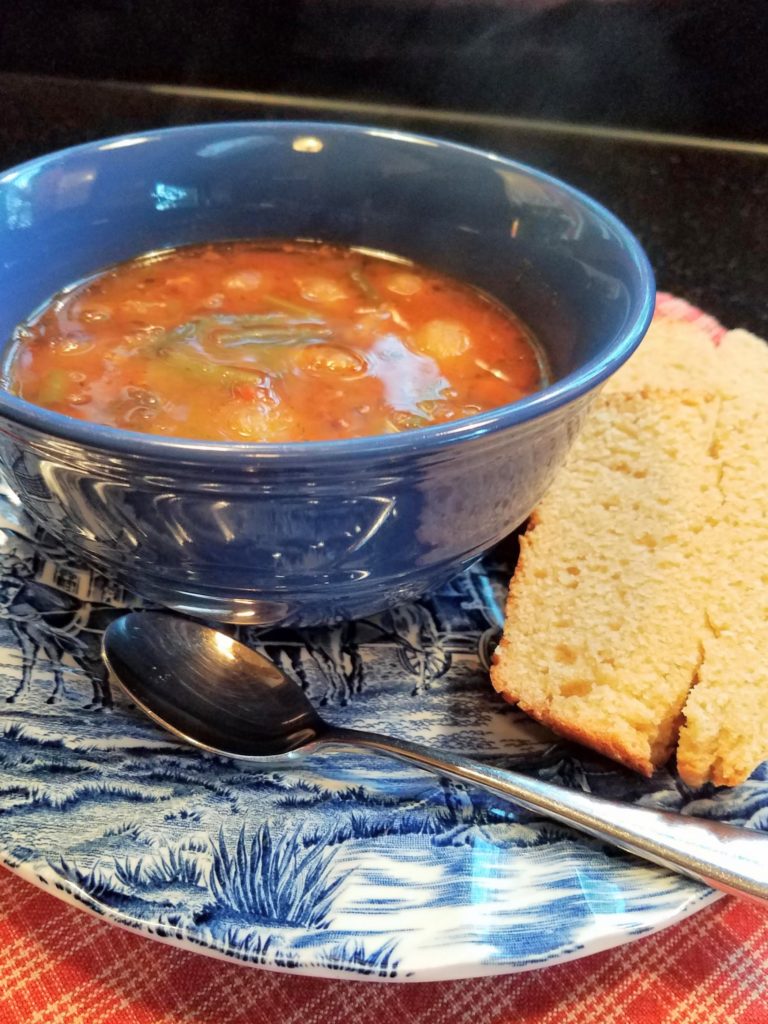
Nothing tastes better on a chilly day than soup. And the best part? It tastes even better the next day.
Making a pot of soup is a wonderful skill to master. It’s really pretty easy once you know the basics.
- Start with the basic trifecta – onion, celery, and garlic. Saute this in some sort of fat (oil, bacon fat, butter) in a large soup pot that has a lid. If you plan on cooking this all day in a slow cooker, use powdered garlic instead of fresh. I find that fresh garlic tends to get bitter when cooked that way.
- Add whatever leftovers you have in the fridge. Veggies, meat, beans, gravy, spaghetti sauce, etc.
- Still, need some bulk? Add some canned beans or lentils. Canned tomatoes or other veggies. Chop up a few potatoes or sweet potatoes You can add pasta but wait until the end to do that.
- Stir in some broth. You can make your own (I promise to do a chicken broth post as soon as I can get my hands on an organic whole chicken during this pandemic) or use canned broth. In a pinch, you can make broth from bullion cubes or concentrate but I don’t think it tastes as good. You can use chicken, beef, or veggie or a mixture.
- Add seasonings. First, just add basic salt and pepper. Think about whats in your soup before adding other spices. If you want a Mexican vibe – add cumin, paprika, oregano, and chili powder. If you’re making a chicken soup, add basil, thyme, sage, rosemary. If I’m making a beef soup, I like to add Worcestershire sauce or soy sauce – just a few tablespoons along with the other spices I decide to use.
- Put a lid on the soup pot and let it simmer on the back of the stove for a few hours. Or, let it cook all day on low in the slow cooker. If you’re in a hurry, saute your trifecta in the Insta-pot, add the other ingredients and cook for the time listed in the instruction manual.
- If you want to add pasta, add it 10-20 minutes before you want it to be finished. Make sure the broth is boiling so it will cook the pasta through without getting gummy.
Those are the basics. You can make any kind of soup you want to with what you have. Be creative!
The Versatile Tortilla
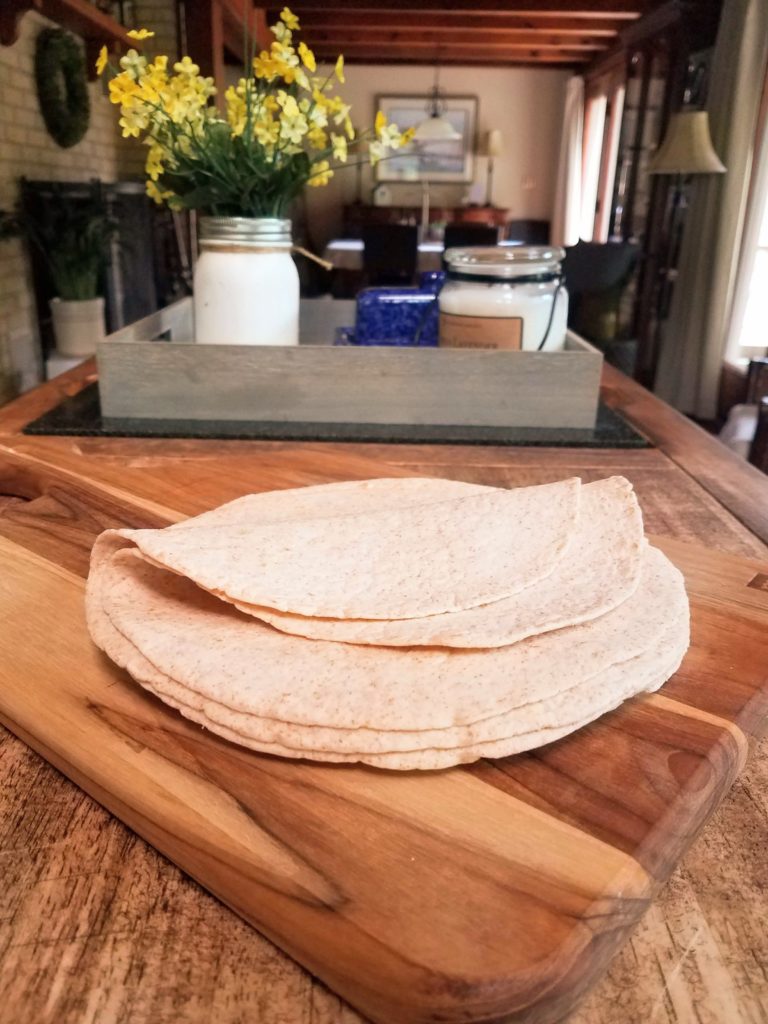
I always like to have tortillas on hand. If I can’t get to the store, I make my own. They are easy to make but do take a little bit of time. Tortillas are pretty versatile as are other griddle cooked breads like crepes and flatbreads. I guess that’s why they are a staple in so many cultures.
Quesadillas: A quesadilla is basically a grilled cheese sandwich made with tortillas. Place any collection of meat, cheese, beans, and veggies between two tortillas and cook on a greased griddle or frying pan, flipping when browned on one side. Slice the quesadilla into wedges using a pizza cutter and you’re good to go.
Burrito: Spread your combination of leftovers up in a tortilla (don’t forget cheese – it’s the glue) and heat up in the microwave. Breakfast burritos are a favorite with scrambled eggs, meat, and cheese. You can even add jalapenos.
Enchiladas: Our family’s favorite! Enchiladas have two parts. The filling and the sauce.
Filling: To leftover beef, pork, or chicken (about 2 cups) add 1 chopped and sauteed onion, 1 cup of shredded cheddar cheese, 1 cup of sour cream and some parsley if you’ve got it.
Sauce: The sauce is simply 2-3 cups of tomato sauce (or spaghetti sauce) with whatever seasoning you want. I add chopped bell pepper, oregano, chili powder, cumin, garlic powder, and salt and pepper.
Place a little bit of the sauce in a baking dish to coat it. Put about a 1/4 cup of your filling into a tortilla and roll it up. Place, seam side down into the baking dish. Continue with remaining tortillas and filling.
Cover the enchiladas with the remaining sauce and extra grated cheese (optional). Bake 350 degrees for 20-25 minutes until heated through. Serve with additional sour cream and hot sauce.
The nutritious smoothie:
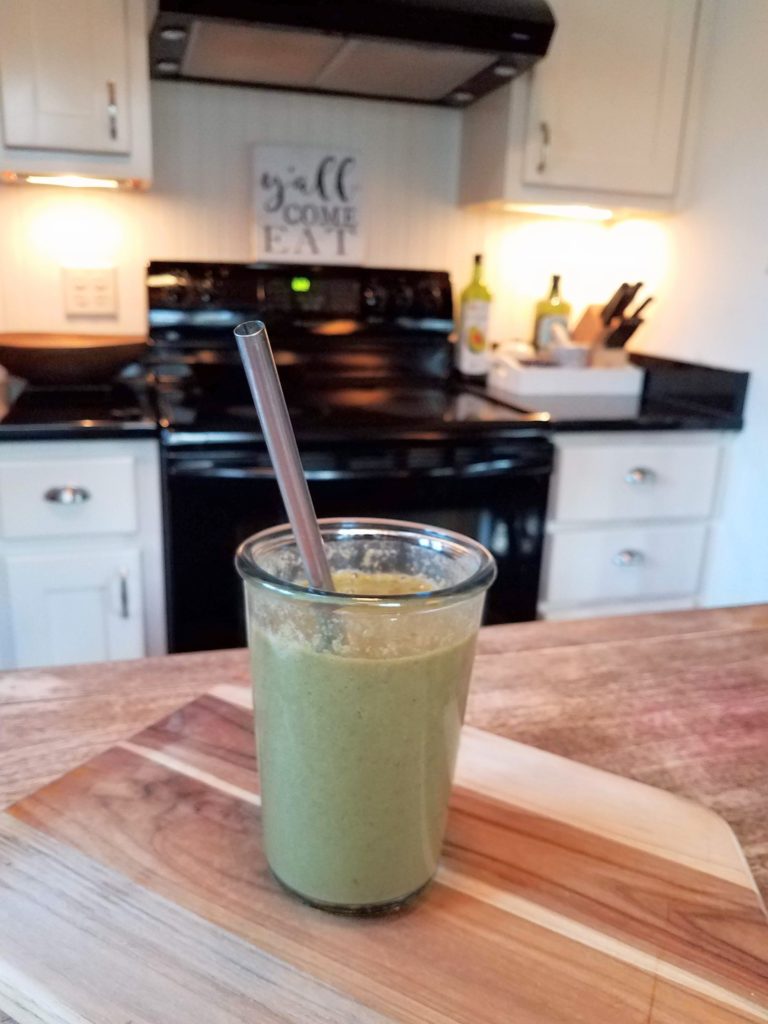
I’ve talked about this smoothie I make frequently for myself, but you can make a smoothie out of many things in your fridge.
To make a green smoothie, add greens (spinach, lettuce, swiss chard) to the blender. Add cucumber, celery, or other mild veggies. If left like this, you’re not going to want to drink it – just saying. P.S. don’t add strong veggies like broccoli or cabbage.
Add fruit: bananas (even brown bananas), berries, apples, lime – any fruit (fresh, frozen, canned).
Add liquid and/or dairy: milk, almond milk, yogurt, cottage cheese, cream cheese, water, juice, Kombucha, ice-cream
Add extras: protein powder, vanilla, lemon, or peppermint extract, chia seeds, flax meal, nuts, peanut butter, cocoa powder. If you feel like the mixture needs sweetness, add sugar, honey, maple syrup, etc.

Prepping the spring garden
Prepping the spring garden at Wren Acres is one of my favorite things to do. There is so much to see and do and the warmer weather makes me giddy. I’m blessed to know I’ll never be bored during this terrible pandemic. I’ve got a list a mile long of things to work on.
A few weeks ago, I started some seeds in the upcycled greenhouse. Swiss Chard, Bok Choy, Lettuce, Basil, Peppers, Tomatoes, a ga-zillion zinnias (my favorite), sunflowers, and some other butterfly-attracting flowers. Everything else will be directly sown into the garden beds.
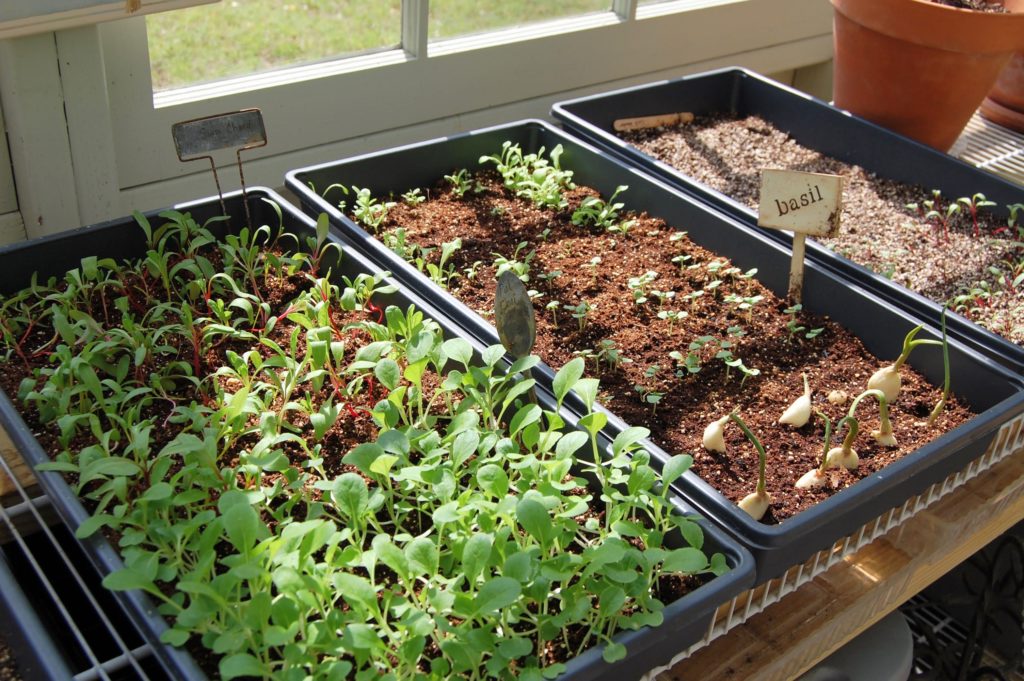
While we wait for the seedlings to mature enough to go into the spring garden, there are a few things we’ve had to prep first.
Prepping the gardens #1 thing to do: Install a fence
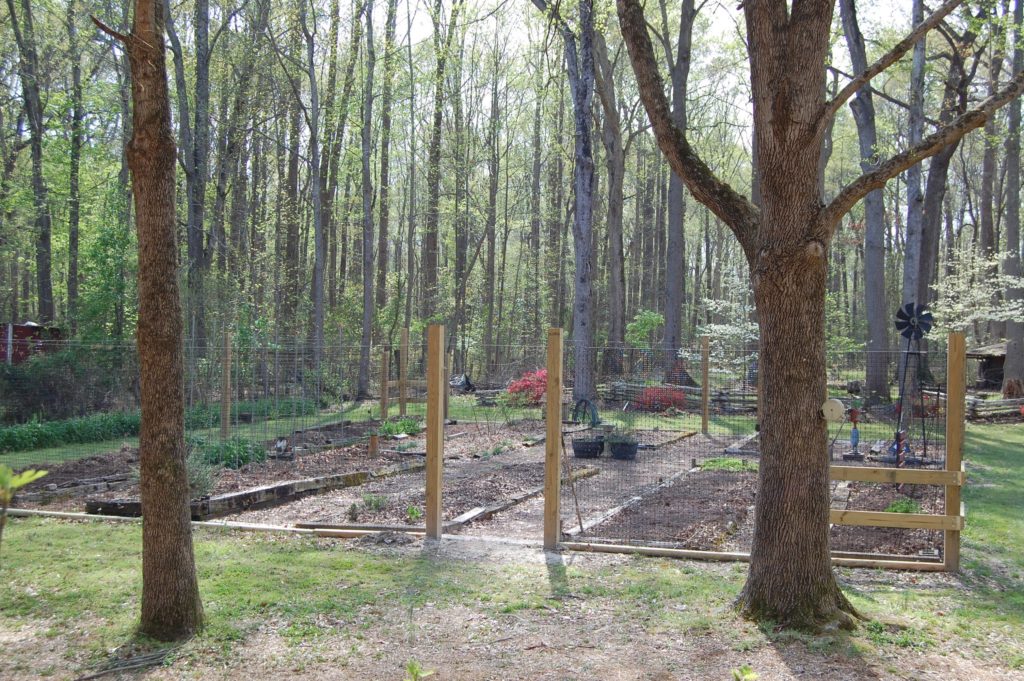
For the past several years, the garden has been an all-you-can-eat buffet for deer, gophers, and rabbits. We tried putting netting around individual beds, but it was a lot of work and made picking the veggies (if there were any left) hard to do.
This year, we decided to bite the bullet and put in a fence. We used large timbers and deer netting. It’s almost done except for the gates.
Hubs designed the fence so we will have easy access but, at the same time, the fencing won’t block too much of the view of our backwoods. Friends and family jumped right in to help with the post hole digging.
Prepping the gardens #2 thing to do: Add the compost
We have a system for making compost for the gardens. We put out goats and chickens together into one good-sized animal pen. Since doing that, we haven’t had any problems with predators eating our chickens.
All year long, we toss our kitchen scraps, yard trimmings, and fall leaves into the pen. The goats nibble on the green stuff and the chickens scratch through the leaves and debris eating plants and bugs along the way. What we’re left with each spring is several inches of great compost all over the area. The leaves break down and the animals leave behind . . . well, you know.
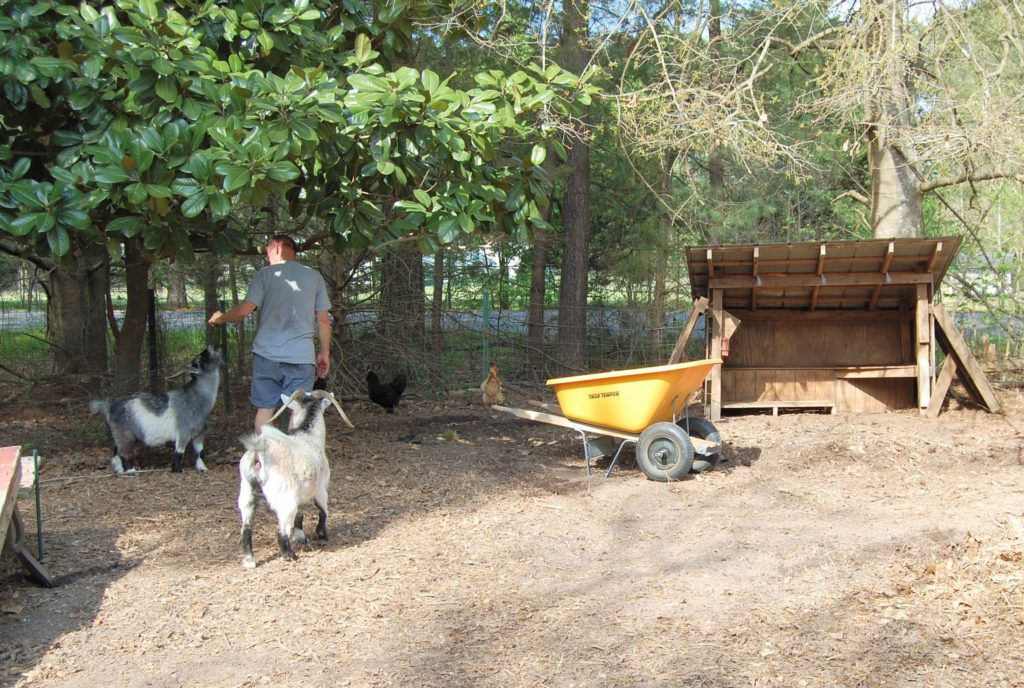
We moved the sticks to the back fire pit. We’ll have to wait for the fire ban to be lifted at the end of April to burn them. This year, we used our neighbor’s tiller to make the area easier to shovel. Hubs also cleaned out the chicken coop and added the “stuff” to the compost.
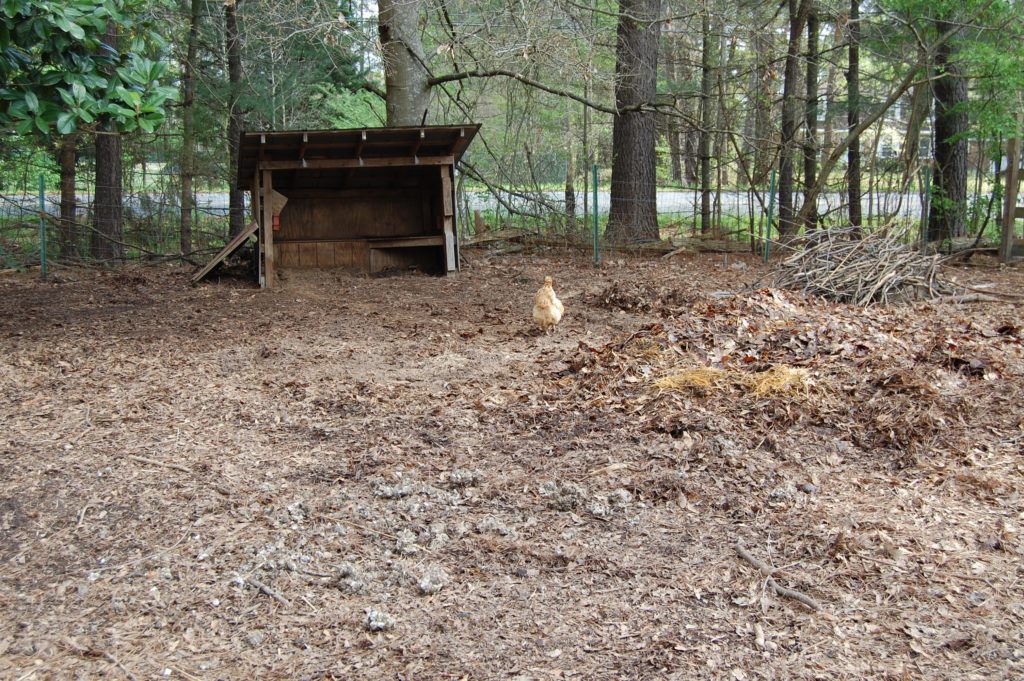
We spent a few days picking up sticks and raking away the top layer of brown leaf litter. The leaf litter will be used to top-dress and mulch the garden beds once the plants are in the ground. The hardest part? Getting the peanut-gallery out of the way so we can work. We shoveled the compost into the wheelbarrow and hauled it to the large garden plot.
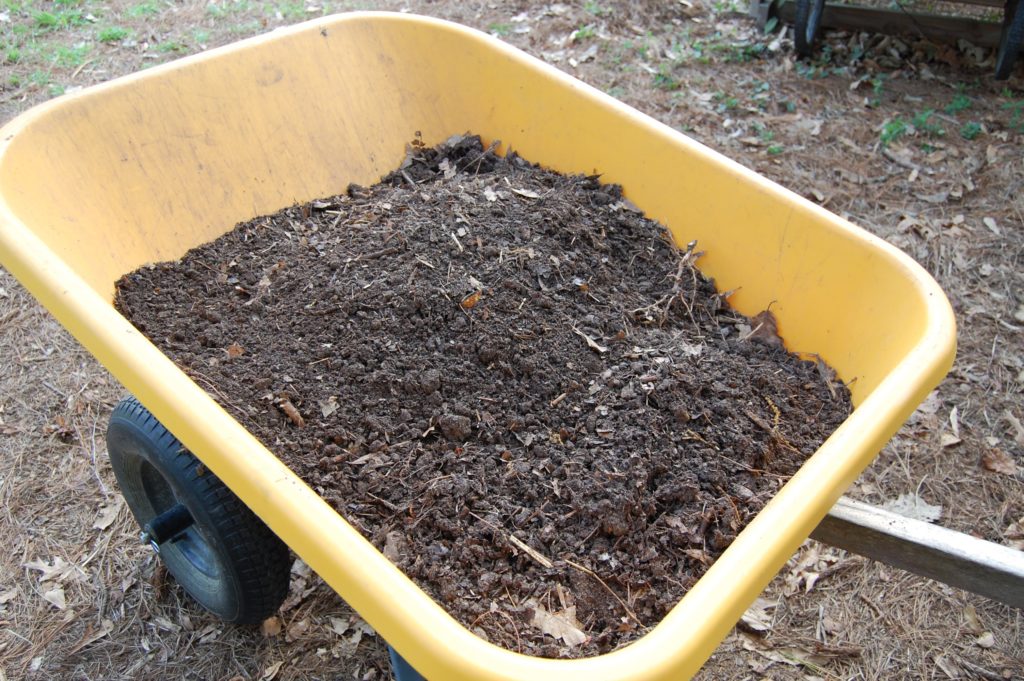
Hubs hauled 13 wheelbarrows full of compost to the raised beds in the garden. We have 10 beds. He definitely got all of his exercise that day! We didn’t get it all done that day and still have 2 more beds to finish up.
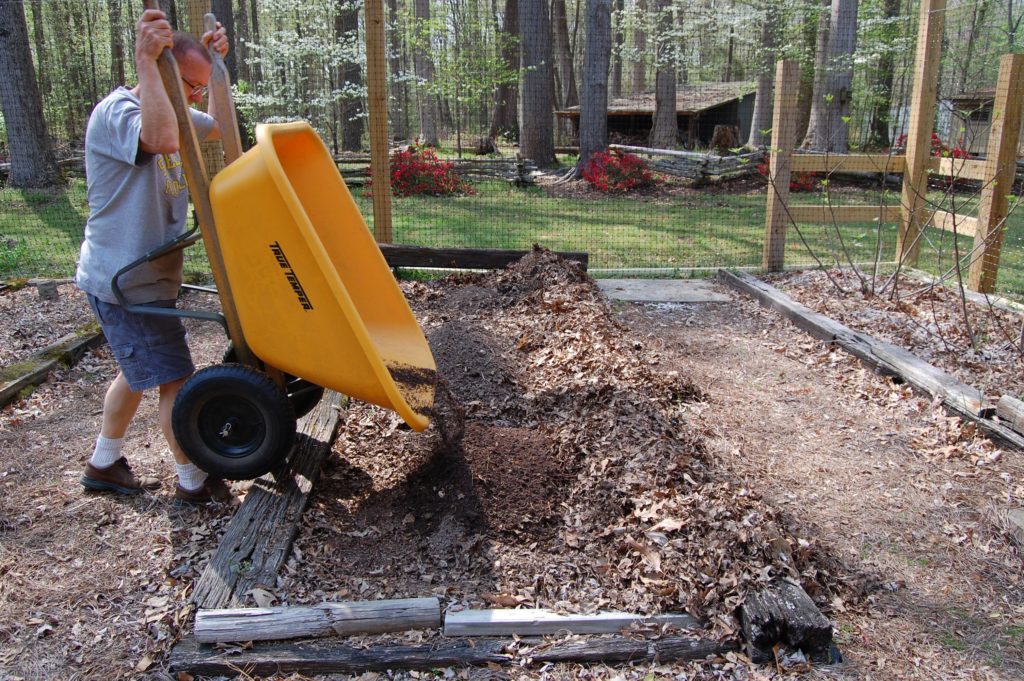
We raked back the current layer of leaf debris and added the wonderful compost to each garden, spreading it out. Then we raked the leaf debris back into place to help keep the weeds down.
Prepping the gardens #3 thing to do: Play with goats
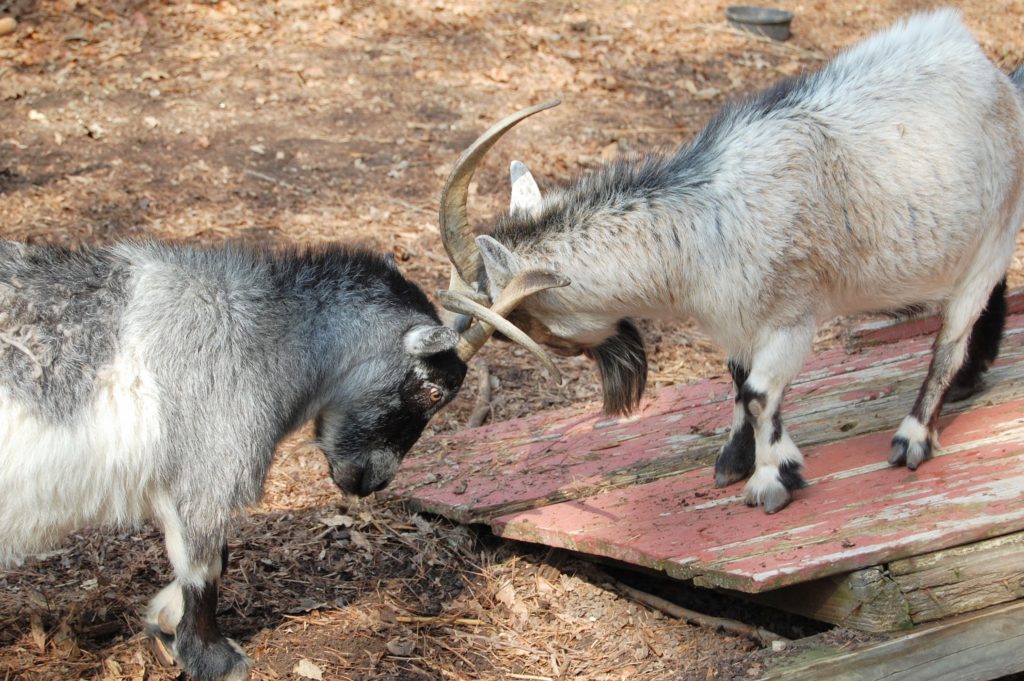
In the middle of all of this, the goats decided to put on a show. Lots of headbutting and running around. Goats shenanigans if you ask me.
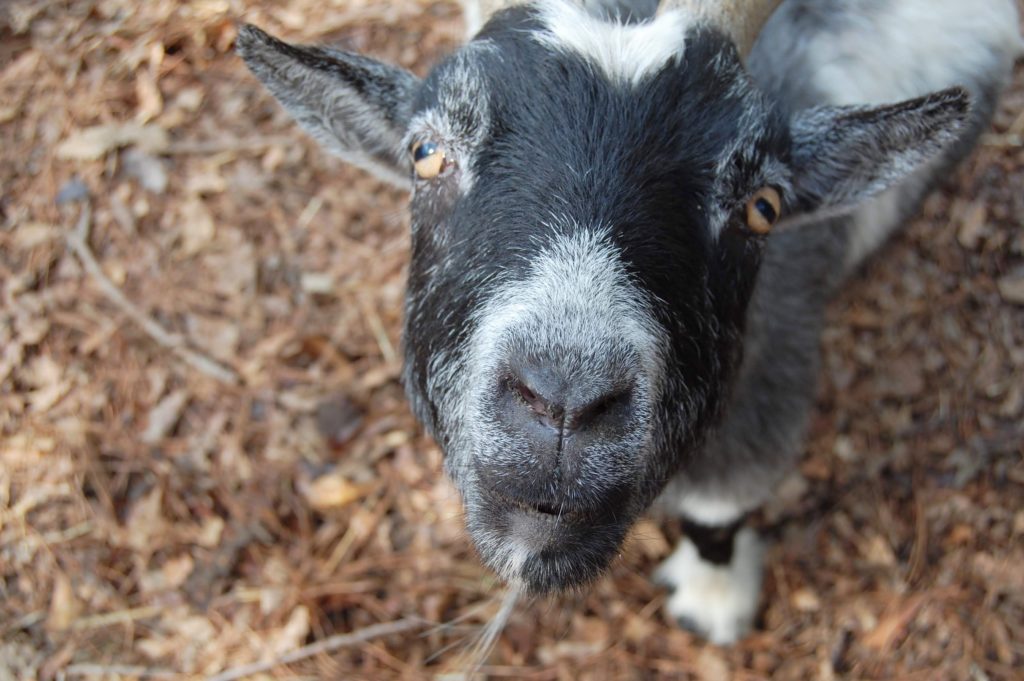
I’d like to think Gus was saying “Happy Springtime”, but I think he was really saying, “Can I nibble on your camera?”.
A fun potato project
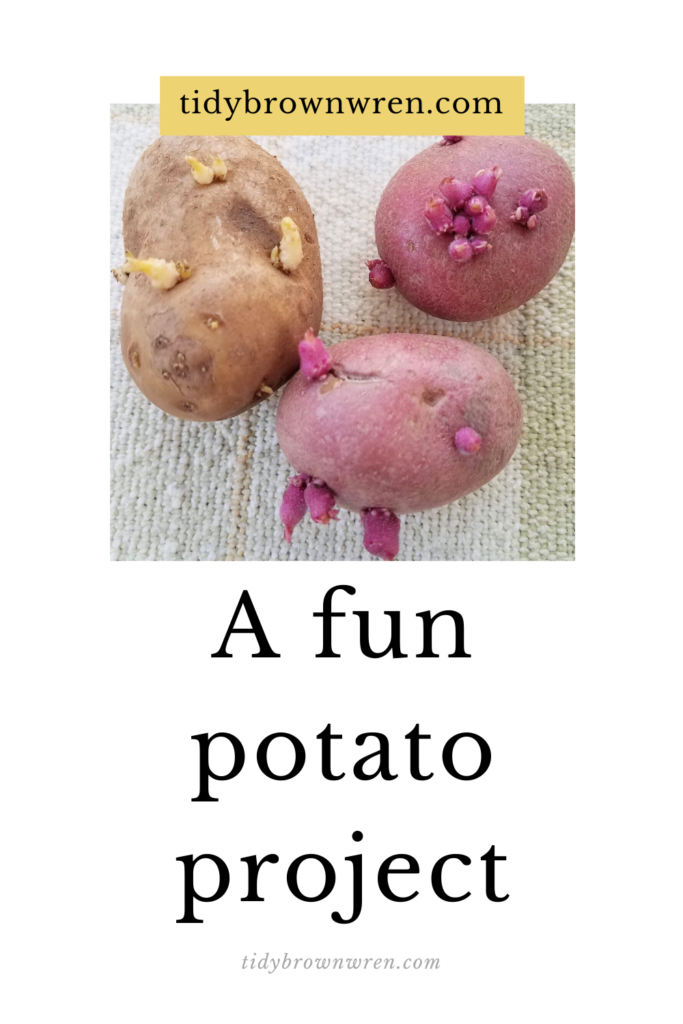
Have you ever found some forgotten, sprouted potatoes in your pantry and they look like this? Do you usually throw them in the trash?
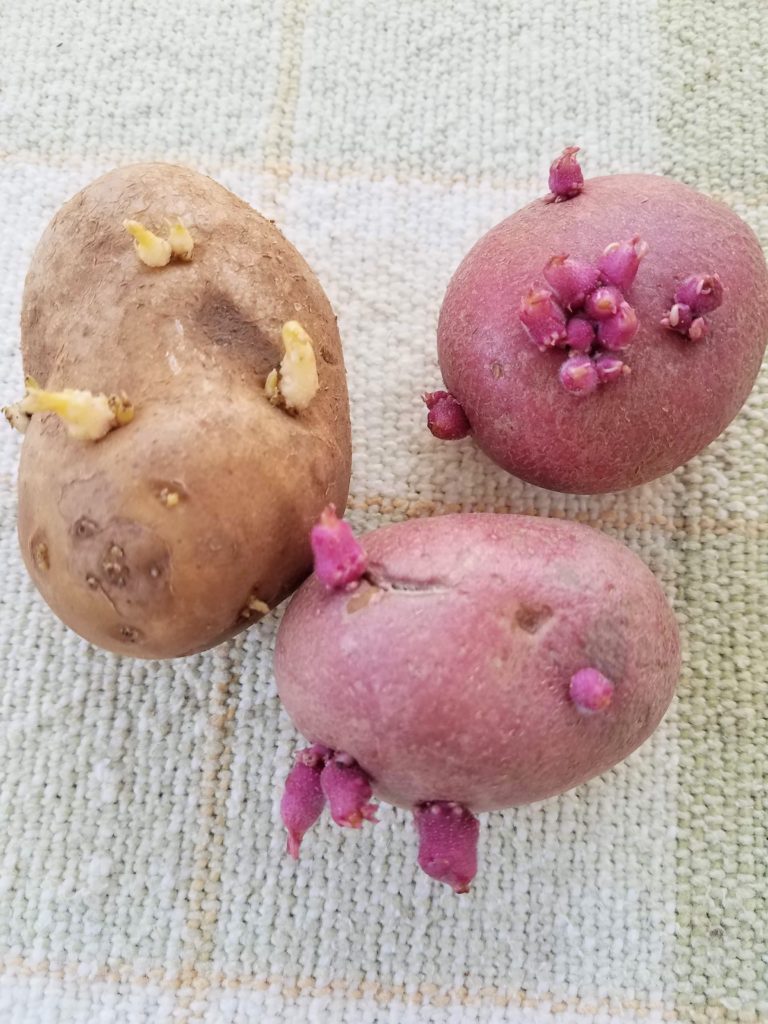
Don’t toss them in the trash. They are potatoes that need to be planted!
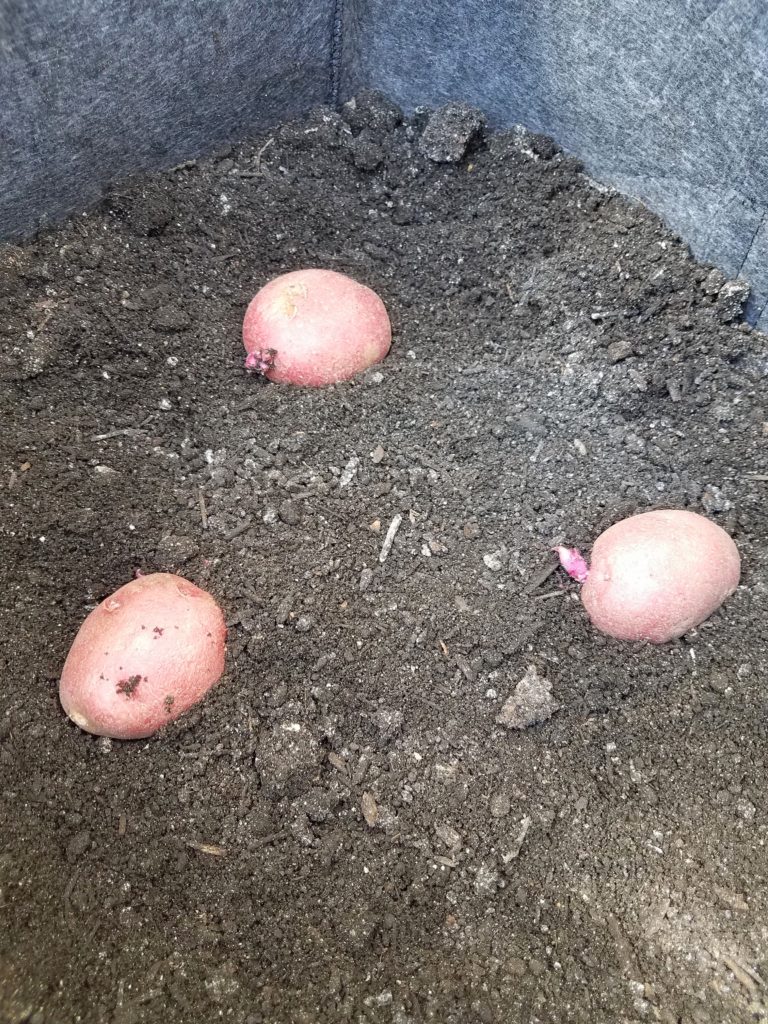
Simply place them on top of some potting soil in a pot or in the ground. Don’t crowd them too much – you want them to have plenty of room to grow more potatoes. I’m using a felt portable pot that I just purchased. I’m experimenting this year, so we’ll see how it goes!
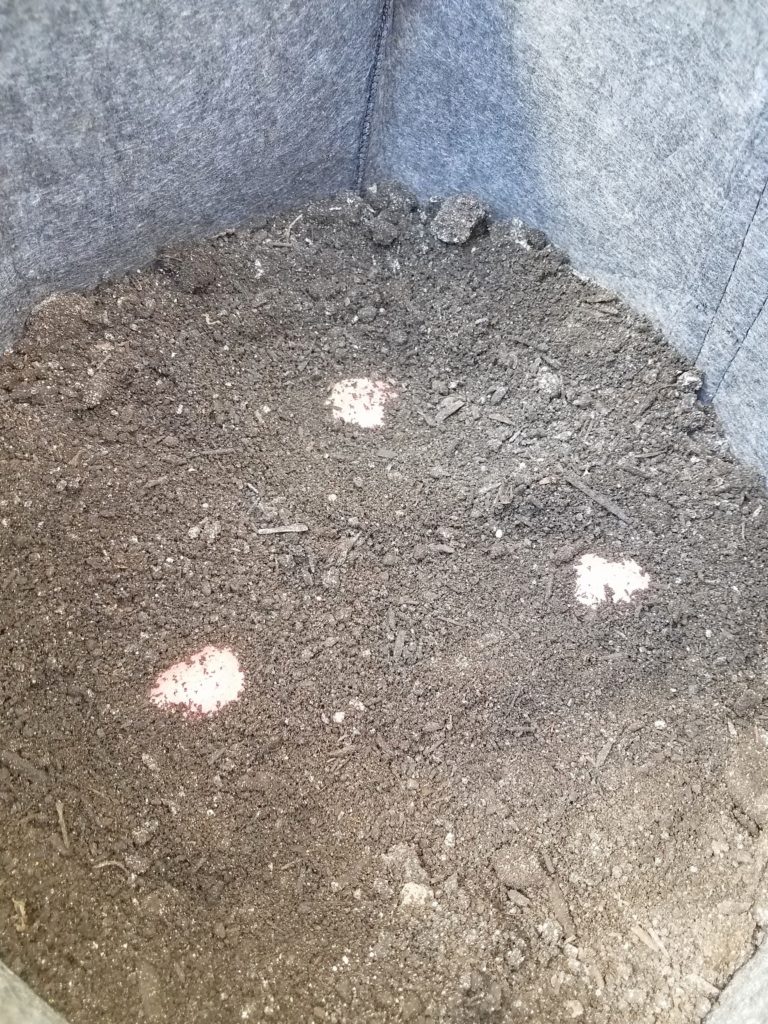
Push them down until they are almost completely covered. Then water them well and mulch with some pine straw or chopped leaves.
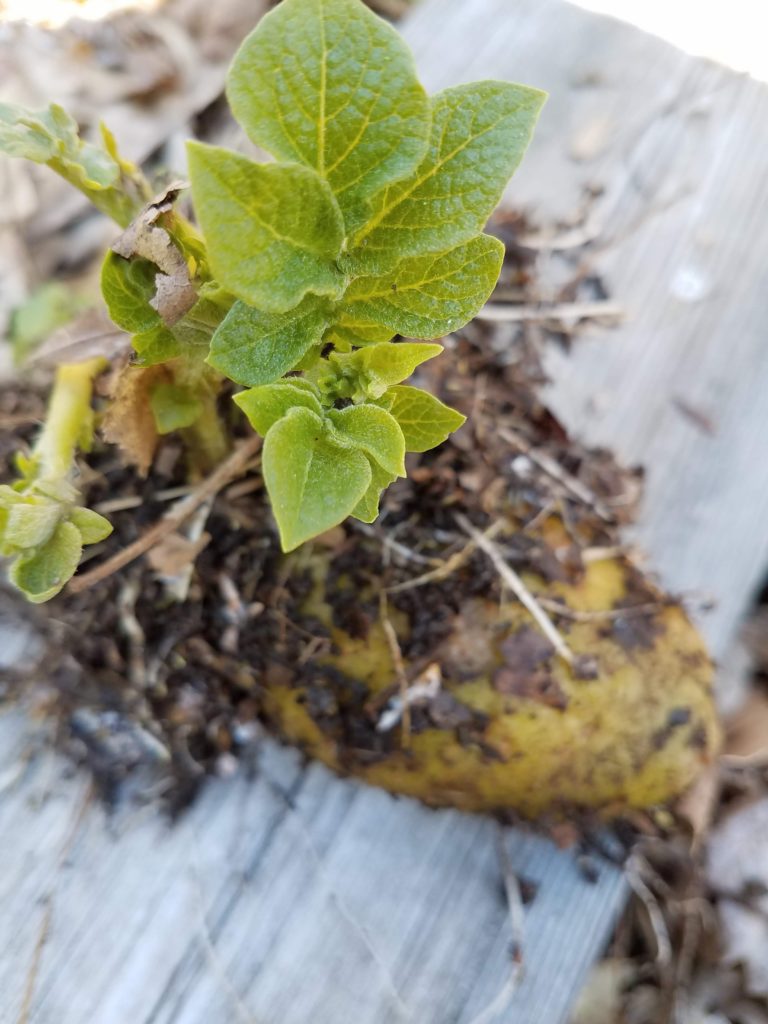
This is a potato I planted 3 weeks ago. See how the white roots have formed and the green leaves are popping out? In a few months, I’ll have about a dozen little potatoes to dig up. I’m going to plant him right back where he came from and give him a good drink.
Stay tuned to see how the rest of my potato plants do. I love using something that I could have thrown away to provide for my family – for no cost! Do you have any “almost trash” sprouted potatoes you can plant?
Tell me what to cook: Clean out the pantry cooking
What’s for dinner? Or lunch? Or breakfast? So many of us are getting stuck trying to figure out what to cook with limited trips to the grocery store and more people eating at home.
I thought it might be a good idea to share some of the ways you can use up foods you might find in your pantry or refrigerator. Here are a few I’ve used.
Make meat patties:
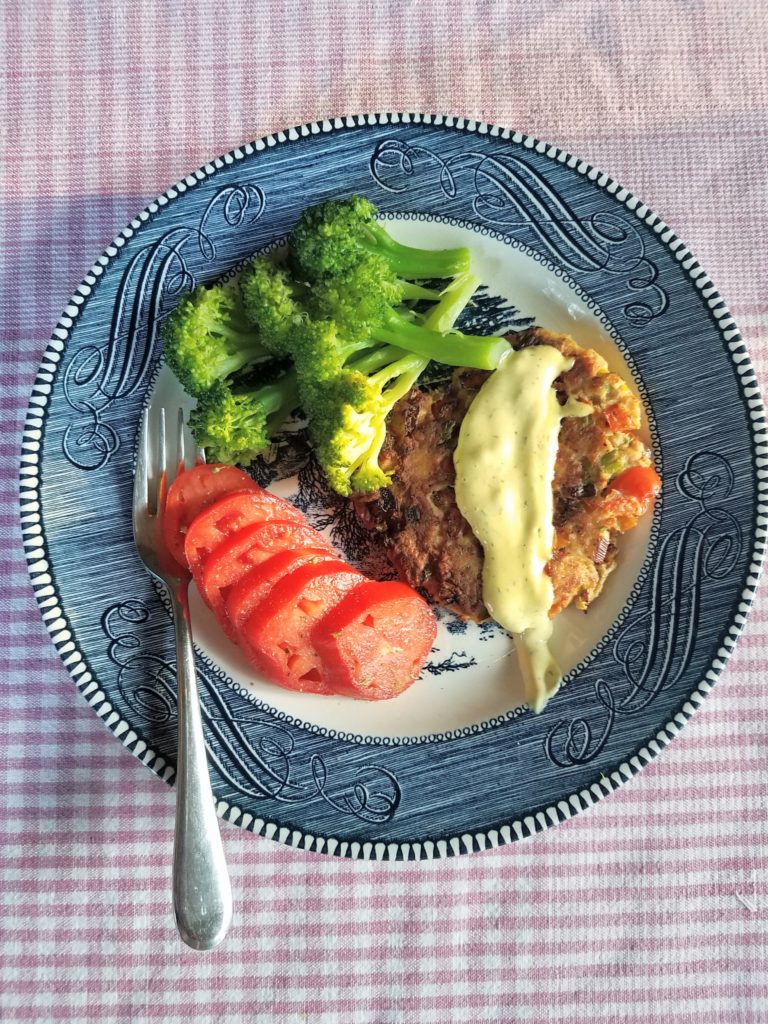
Meat patties use already cooked meat. Canned meat like tuna, salmon or chicken work well or you can dice up cooked chicken, ham, or beef. For a meatless patty, you can use mashed beans or lentils. Here’s a basic recipe for 3 patties:
Dice 3/4 cup of chopped veggies. I like to use onion, celery, and bell pepper but use whatever veggies you have on hand. Saute the veggies if they haven’t been cooked yet so they are semi-soft.
Use 1 small can of drained meat or 3/4 cup cooked, chopped meat or mashed beans/lentils.
Mix the meat and veggies together and add 1 egg. Season with salt, pepper, and garlic powder to taste. Mix well until all ingredients are well blended. The mixture will be loose. You can add a few tablespoons of bread crumbs or cracker crumbs to the mixture if you want it to be firmer.
Divide the mixture into thirds and place each third into a greased frying pan (I like to use cast iron) and cook approximately 3 minutes on each side.
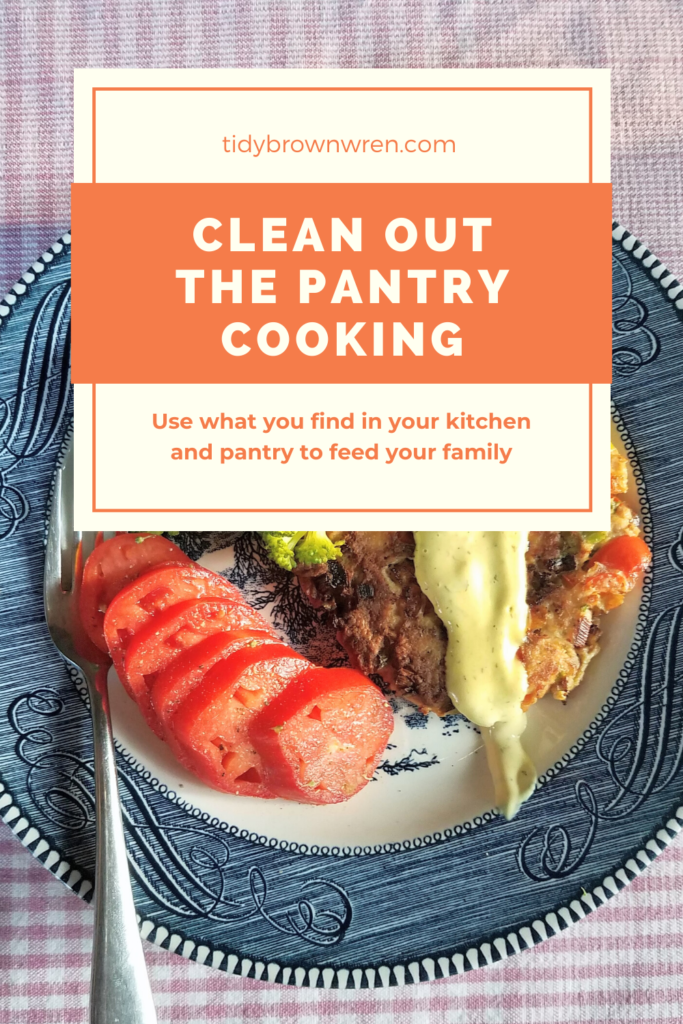
The photo above shows a salmon patty with a dill sauce. Here’s how to make the sauce: mix 1/4 cup mayo or plain yogurt, 1 Tbl. yellow mustard, 1/2 tsp. dried dill weed, a pinch of pepper, and 1 tsp. of lemon juice. Mix together and top fish with it.
Apple sauce or fruit sauce:
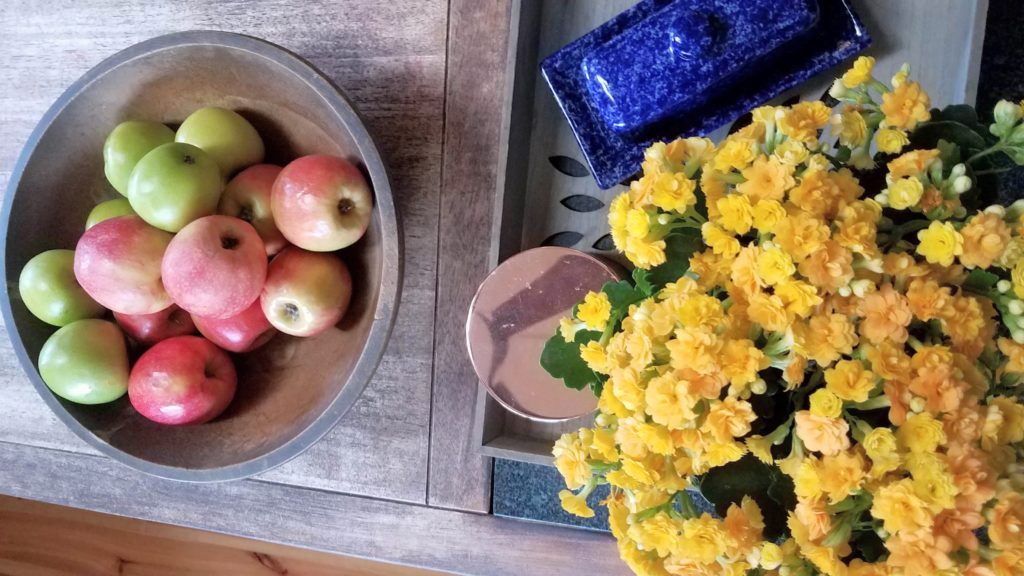
Do you have fruit that is going bad? Apples are perfect to make applesauce. Just cut up peeled apples into slices or chunks. Add a little bit of sweetness with sugar, maple syrup, brown sugar, or molasses (or favorite) and some spiciness with cinnamon, nutmeg, or cloves. Cook it for 20-30 minutes on medium in a saucepan on the stove and you’ve got homemade applesauce. We like to eat ours chunky but you can smush it with a potato masher to make it creamier. Other fruits to use are peaches, plums, or persimmons. You can cook berries the same way and use it as a topping for pancakes or ice cream. Yummy!
Cook with eggs:
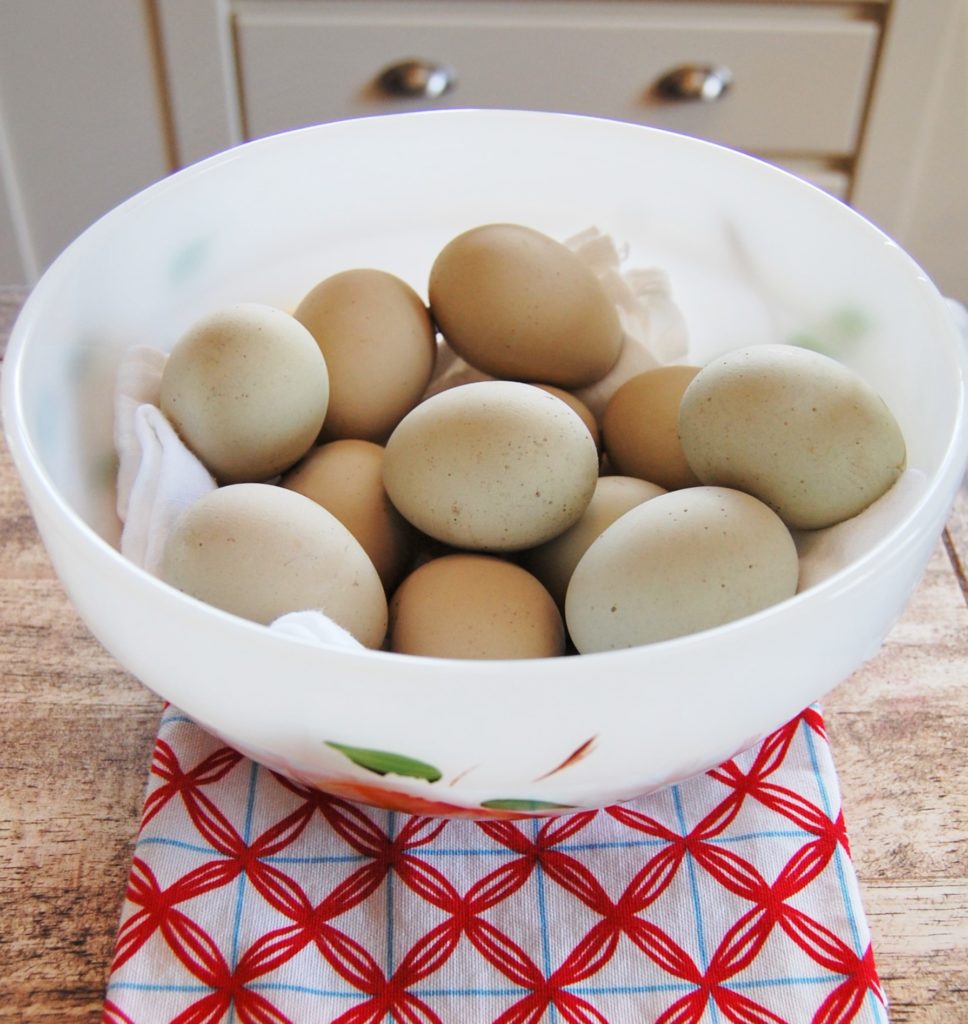
Eggs are very versatile and a good source of protein. You can serve them fried, scrambled, poached, or hard-boiled. Eggs are also a good way to bind other ingredients together such as in a quiche or omelet.
Omelets:
I don’t bother to make omelets the proper way. I really just make scrambled eggs with lots of extra ingredients and call it an omelet. My family gobbles it down and I can feed a lot of people quickly using one extra-large frying pan.
For this kind of “omelet”, I cook veggies and any extra meat I want to use in some oil or fat (I use either avocado oil or bacon fat). Make sure the ingredients are chopped up so they cook/heat up quickly. You can use onion, celery, garlic, leftover potatoes, peppers, broccoli, green beans, etc. and chopped meat like ham, lunch meat, chicken, hamburgers, hotdogs. If you want to add spinach or tomatoes, add them after you add the eggs. This isn’t gourmet food, so just clean out the fridge by using up what you have.
Once the veggies and meat are softened, add beaten eggs and season with salt and pepper. Cook on medium-low heat for 3-4 minutes, stirring occasionally until the eggs are cooked. Add grated cheese if you’d like and give it one more stir.
For each person I’m serving, I use 2 eggs and approximately 1/2 cup total of veggies and meat and 2 Tbl. of grated cheese.
Quiche:
Quiche is one of our favorite weeknight meals and I usually bake 2 of them at a time so we can have leftovers for lunch or breakfast the next few days.
For one quiche, here’s what you do:
Make or buy 1 piecrust and put it in a pie pan.
Prebake in a 400 degree oven for 5 minutes to dry out the crust a little bit.
Mix 1 cup of leftover meat, 1 cup of shredded cheese, 1 tsp. of chopped green onion, and 1/2 cup of leftover veggies (broccoli and spinach are our favorites). Spread this mixture over the piecrust.
Mix 2 eggs and 1 cup of dairy (whole milk, half-n-half, cream) salt, pepper, and garlic powder. Pour this mixture over the meat and veggies.
Bake for 25 minutes until the center doesn’t jiggle when you wiggle the pan.
Let cool for 5-10 minutes before cutting. One quiche makes 4 adult servings.
Don’t know how to make a pie crust?
No worries, here’s a recipe that takes care of that:
Put 1 cup of meat, 1 cup of cheese, 1 tsp. of green onion and 1/4 cup of leftover veggies into a greased pie pan.
Mix 1/2 cup of baking mix (like Bisquick) with 1 cup of dairy (see above), 2 eggs, and salt/pepper/garlic powder together.
Pour over the ingredients in the pie pan.
Bake 400 degrees 20 minutes or until the middle is set and it doesn’t wiggle.
Let cool 5-10 minutes before serving.
Most of these recipes are so easy, you can teach your children how to cook them and they will have learned a new skill. How are you using up what you find in your fridge and pantry?
