My sewing studio was a mess. I didn’t want to work in there, but I needed to start on my projects for the Spring Market in Smithfield. Let me show you how I did it. I started in one spot and continued around the room – one drawer, shelf, or area at a time.
Step 1: I prepped the area and myself.
I got myself set up with some hot tea and went to the bathroom before I started – no distractions. It was also important to bring up some bags for trash and donations. I decided to bring my labeler up to the studio in case I needed it – and I did.
Step 2: I picked one spot and started there.
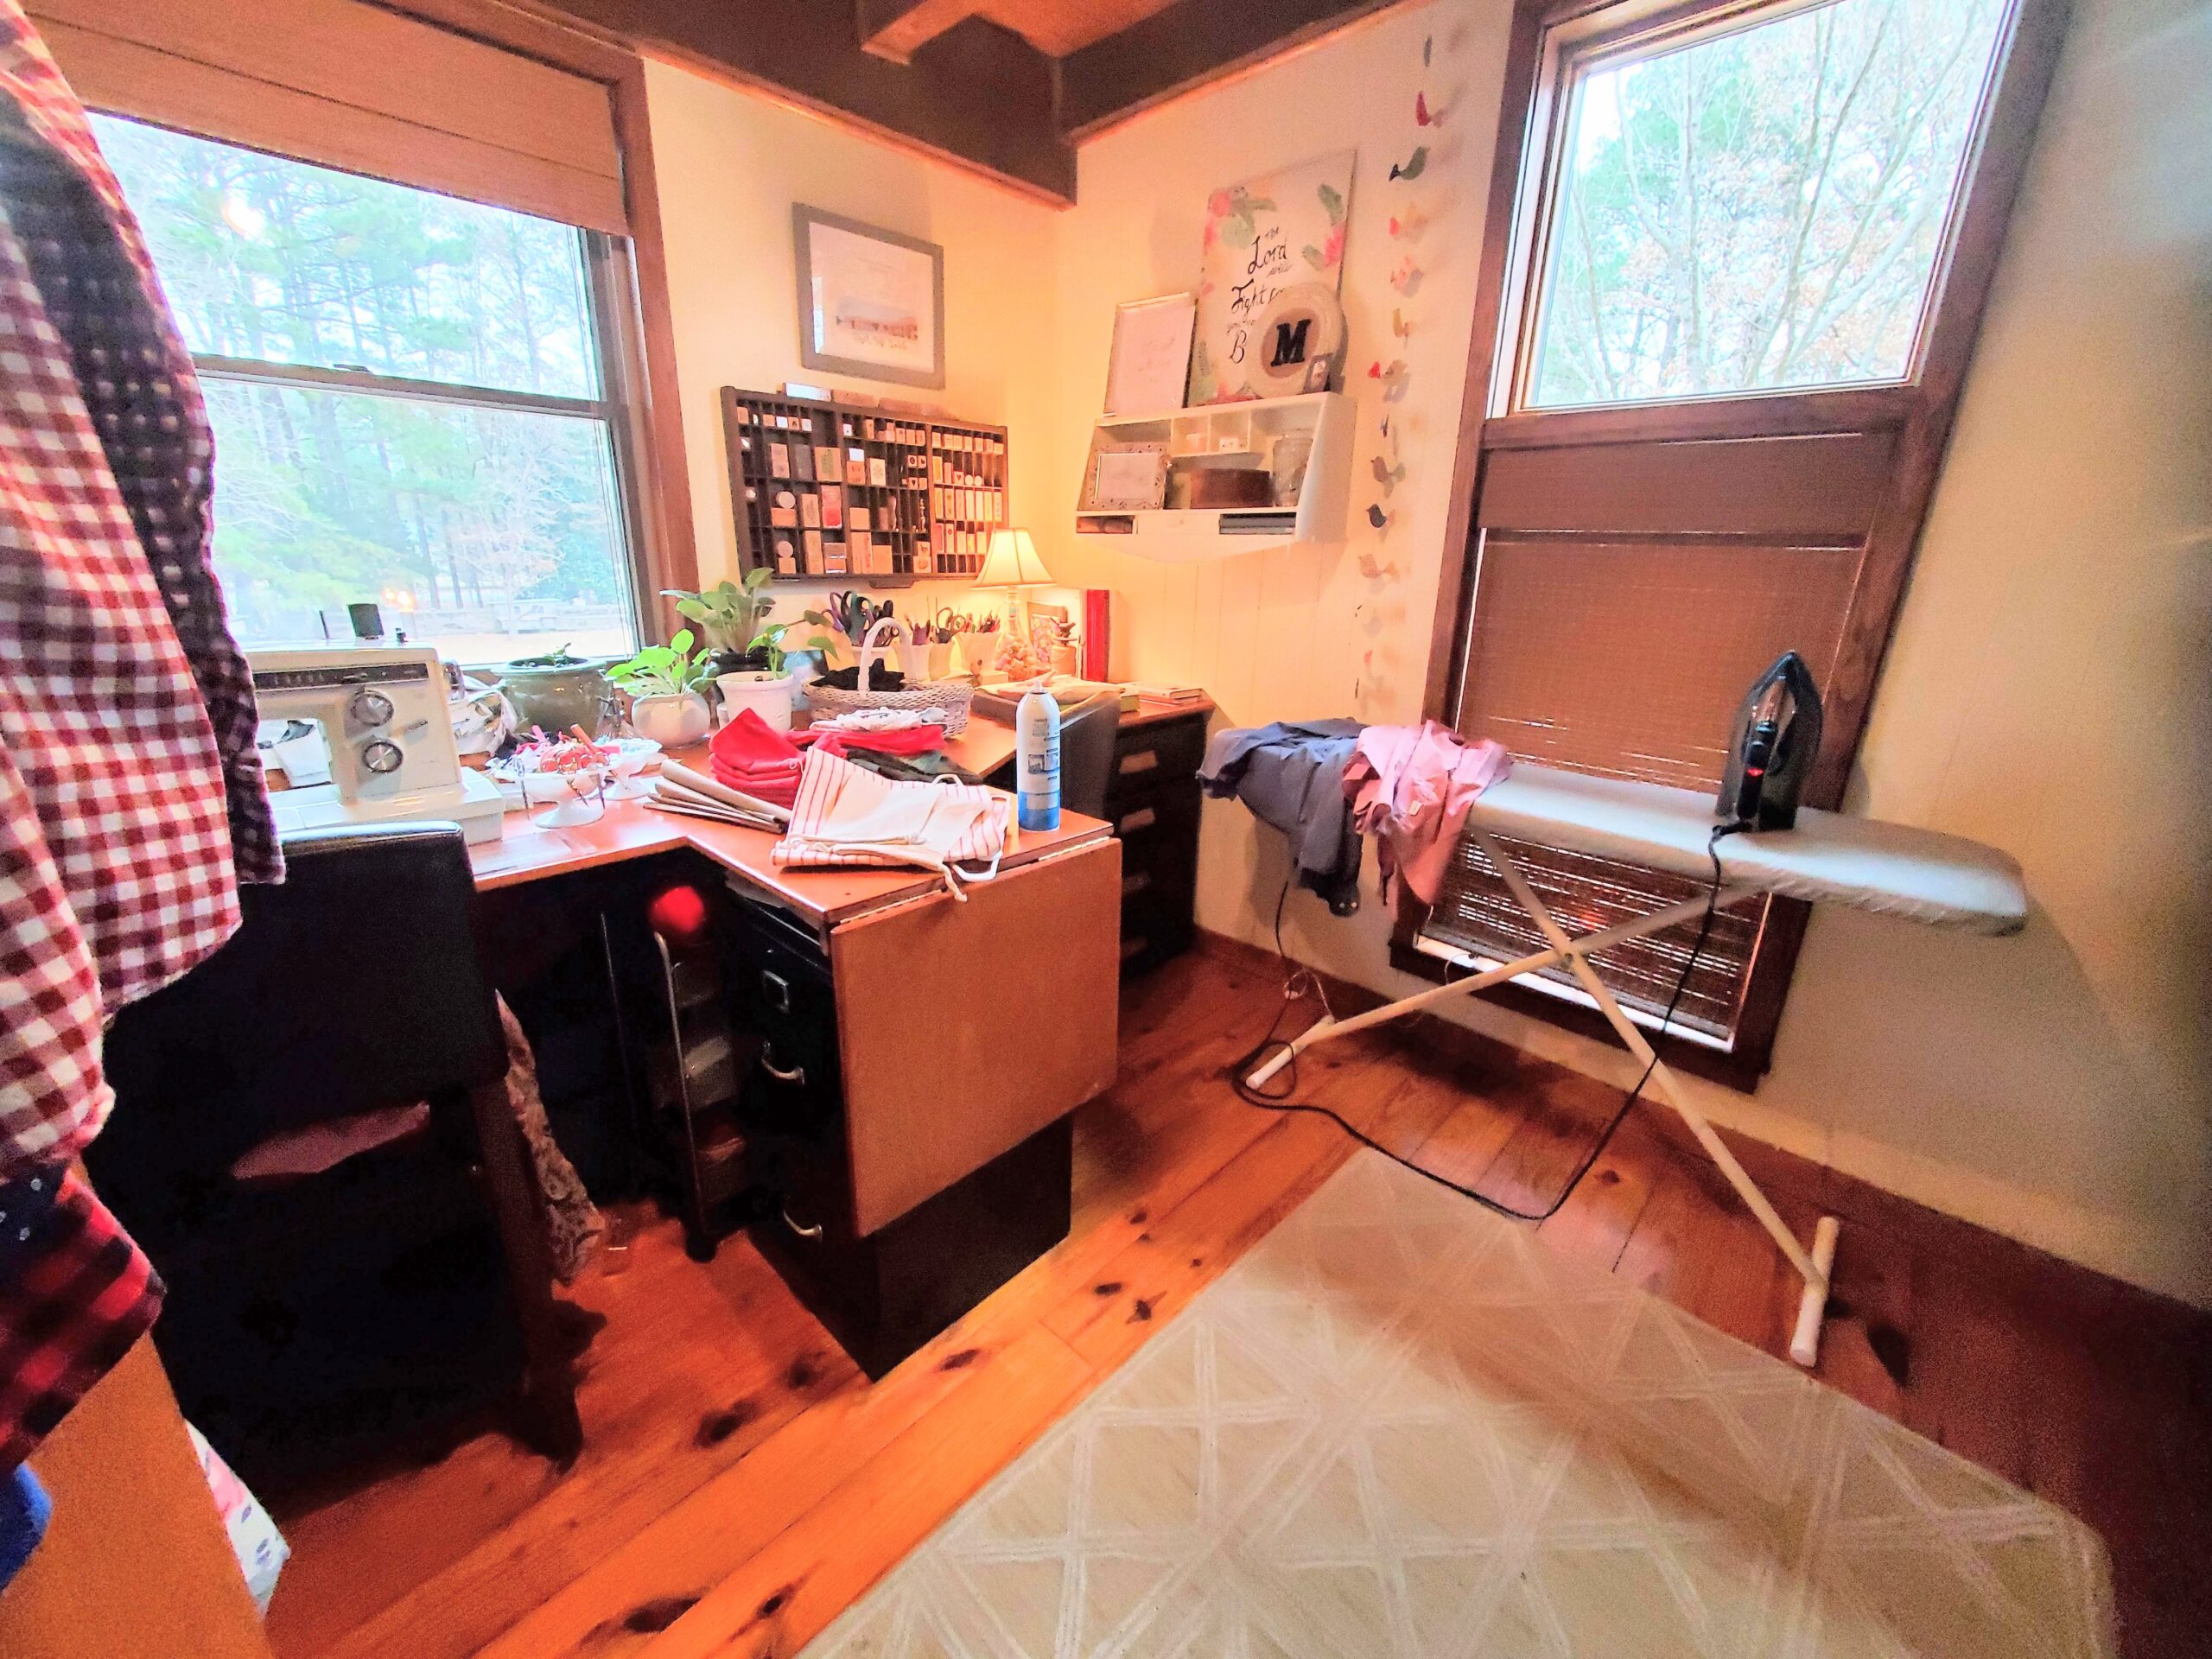
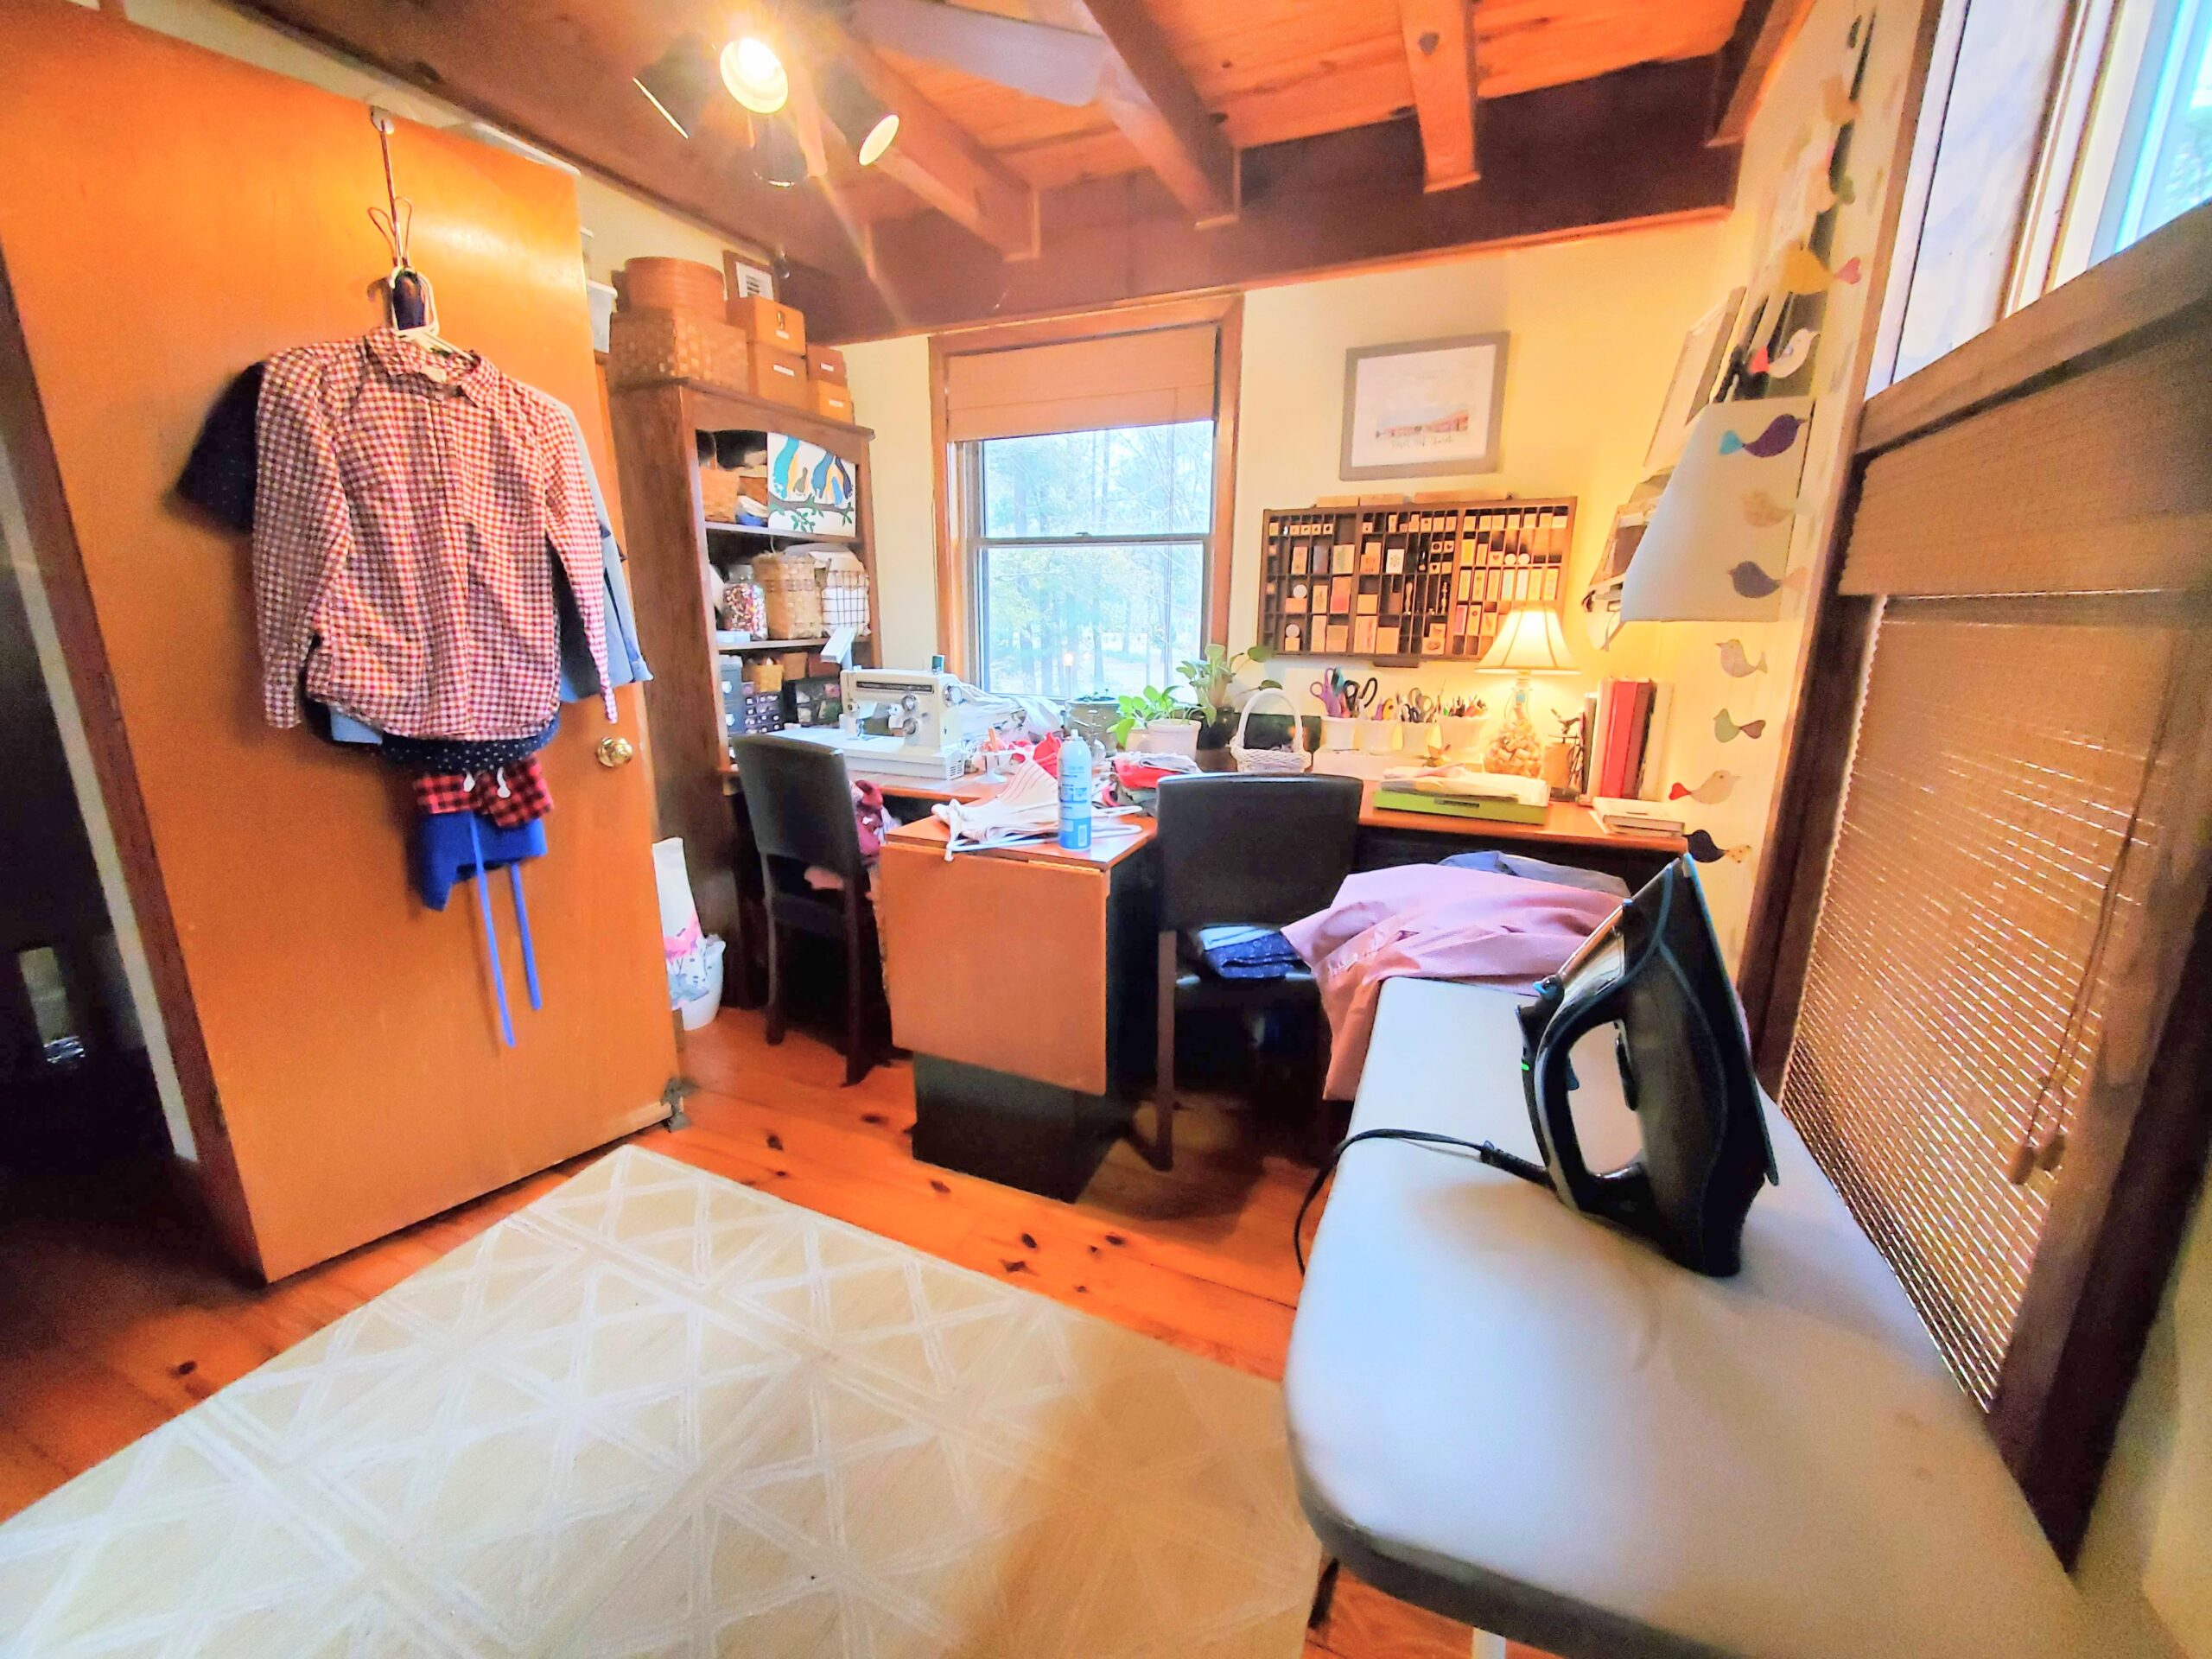
The area I picked was the bulky ironing board and iron in front of the window. That one motion put me in a successful mindset, and it only took 2 minutes to put them away. Then I started on the desk drawers.
Step 3: I only work in one drawer/shelf/space at a time.
The reasons I like to do that is just in case I get interrupted in the middle of my project, and also because I can easily get distracted and overwhelmed by too many things piled up together. That’s why I needed to get this room back together before I lost my mind.
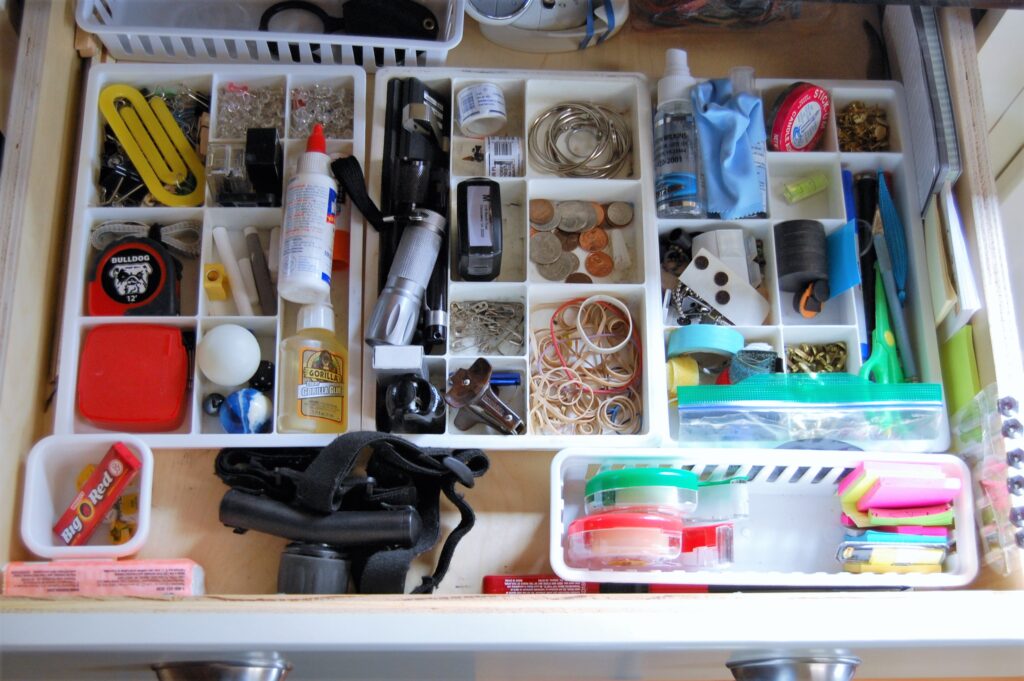
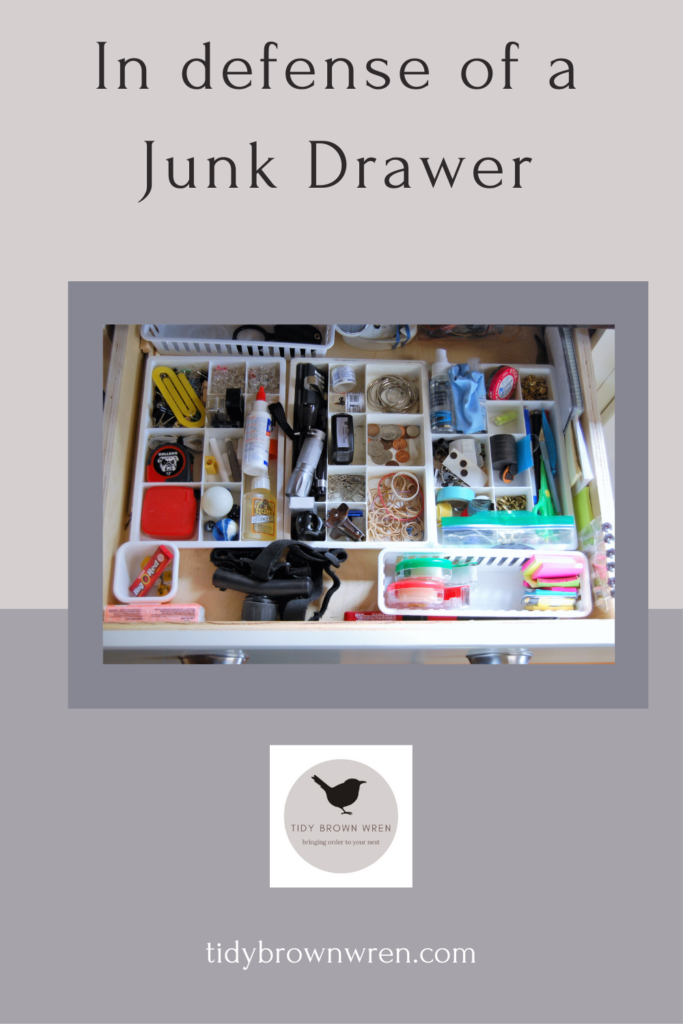
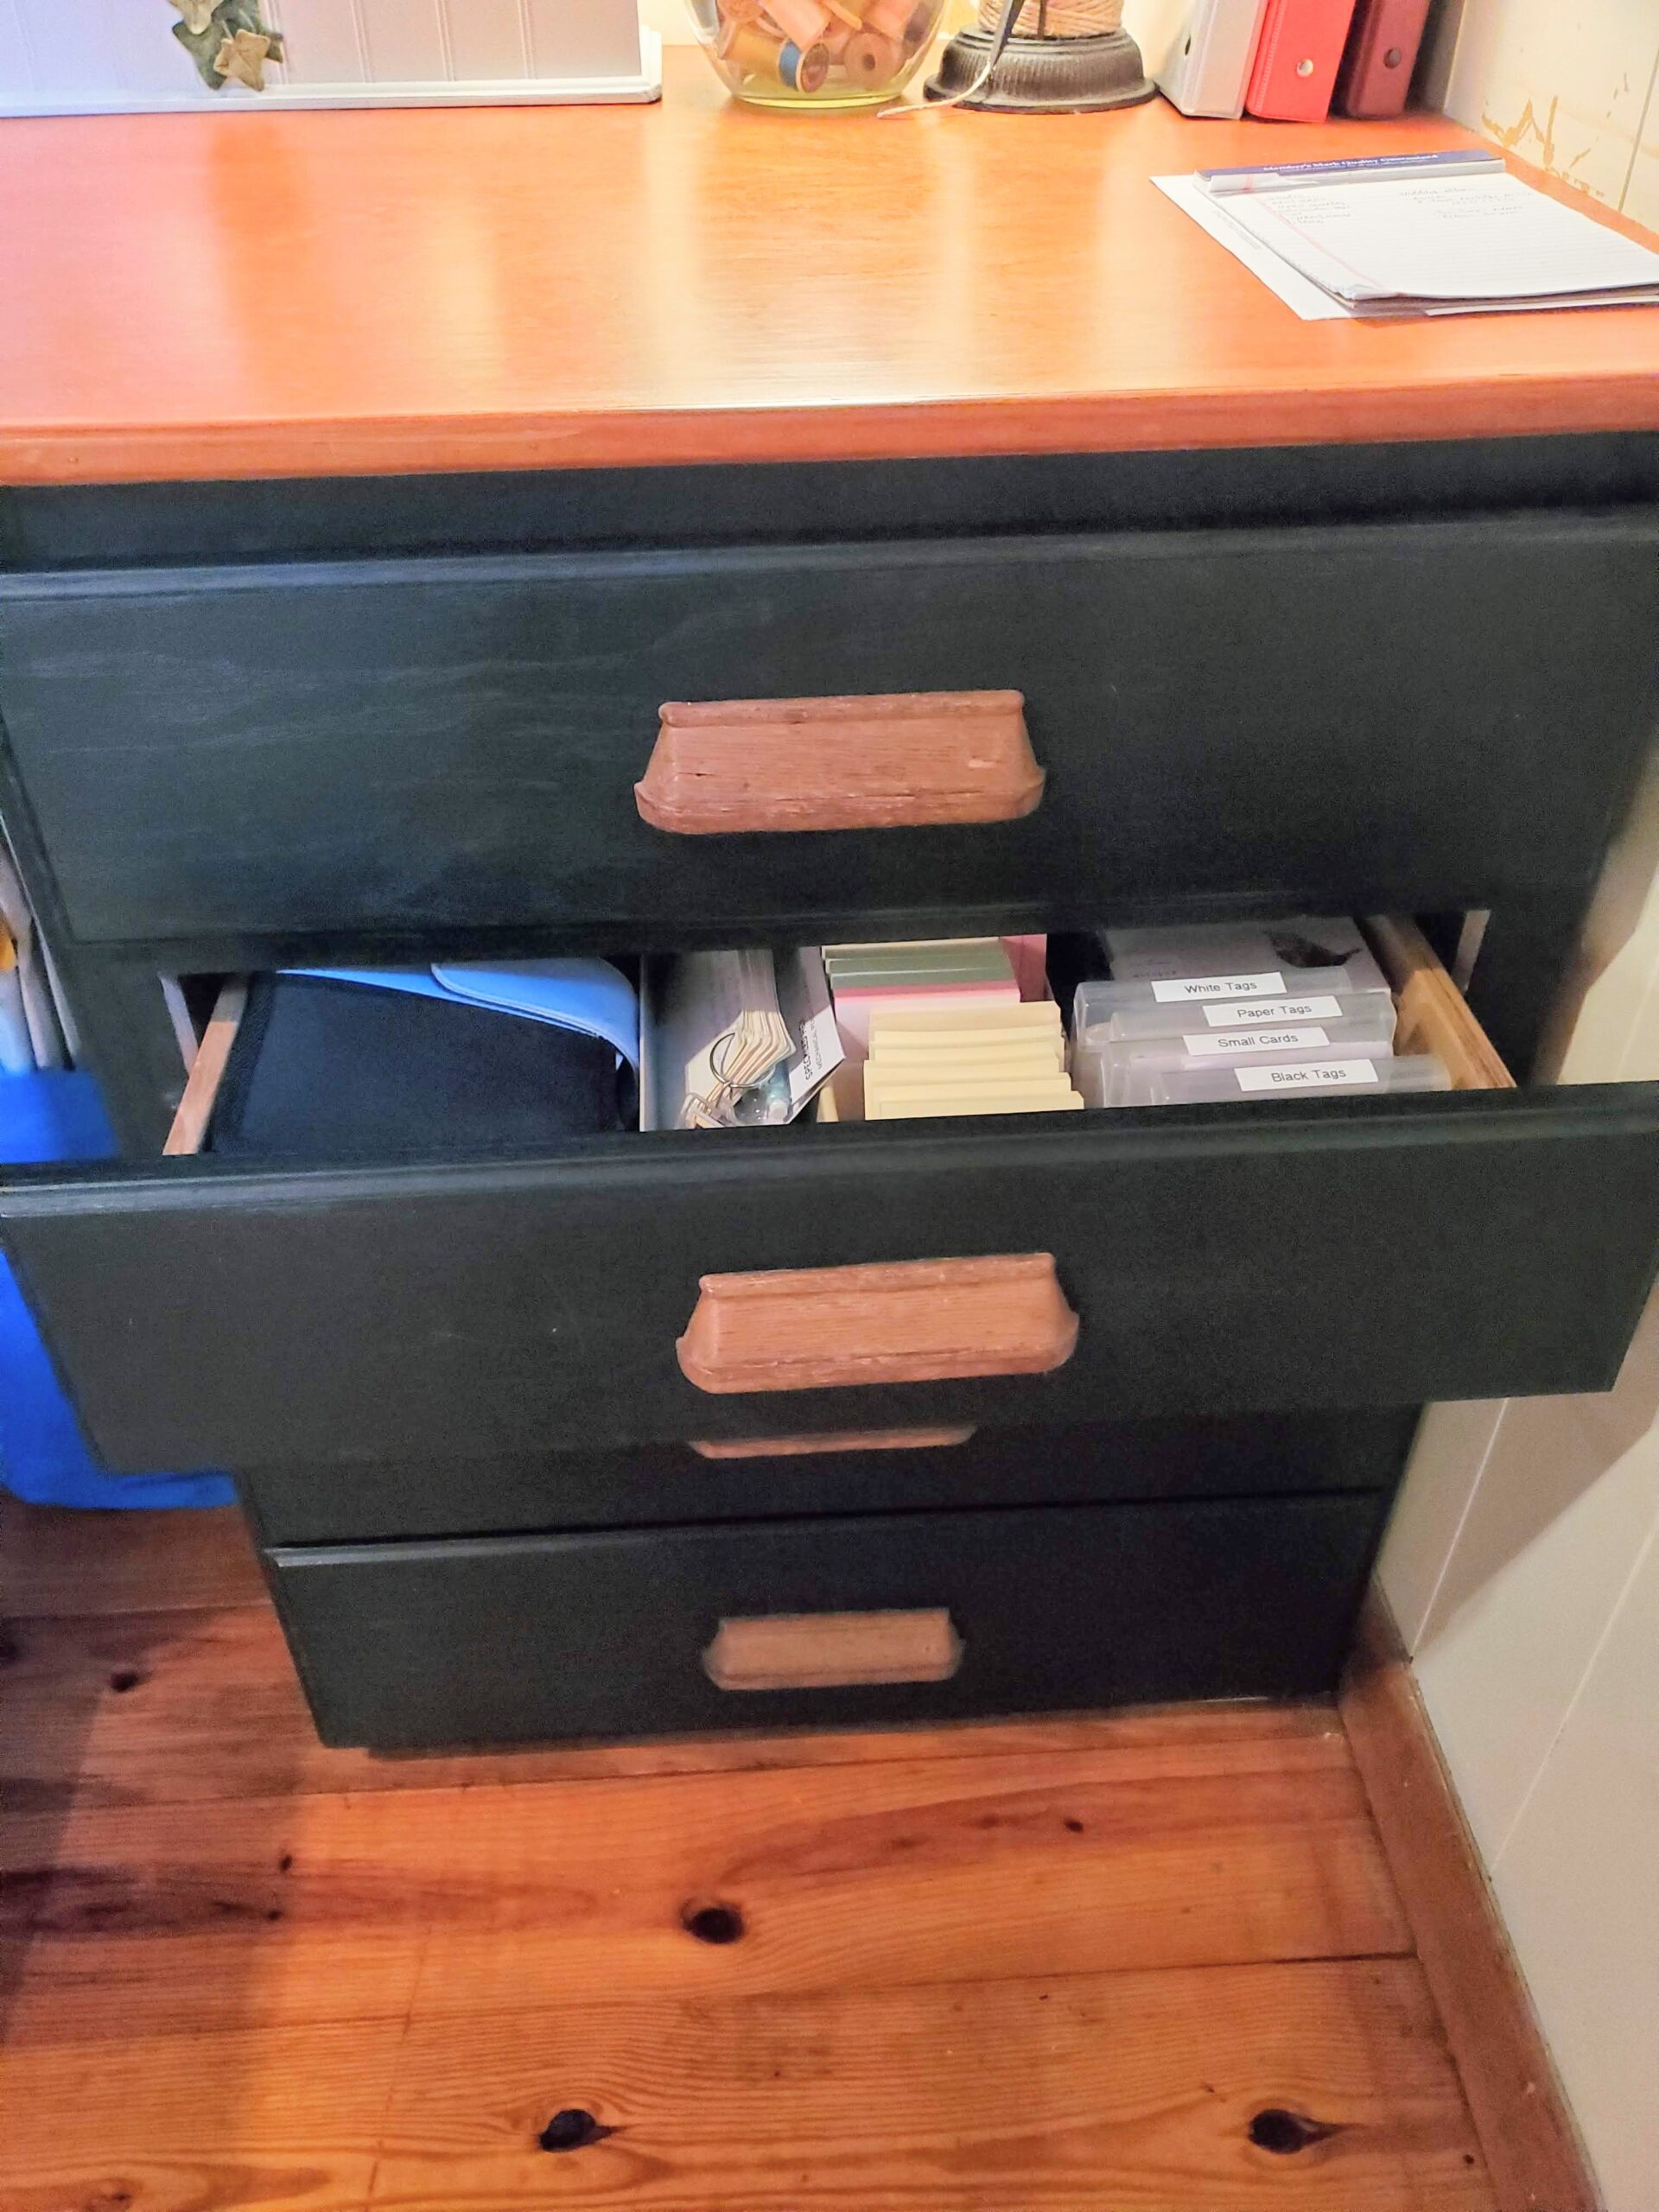
Each drawer has its own purpose. The top drawer holds general office supplies – paper cutter, stapler, tape, paper clips, rubber bands, and ruler. It also holds 3×5 cards and our family return address stamp and stamp pad for quick use.
The second drawer holds my business items – the divided folder I use to hold business receipts, business cards, notes from clients, post-it notes, and customer contacts.
The third drawer holds stationery – greeting cards, note pads, and stickers
The fourth drawer holds extra folders, label blanks, and Bible study research.
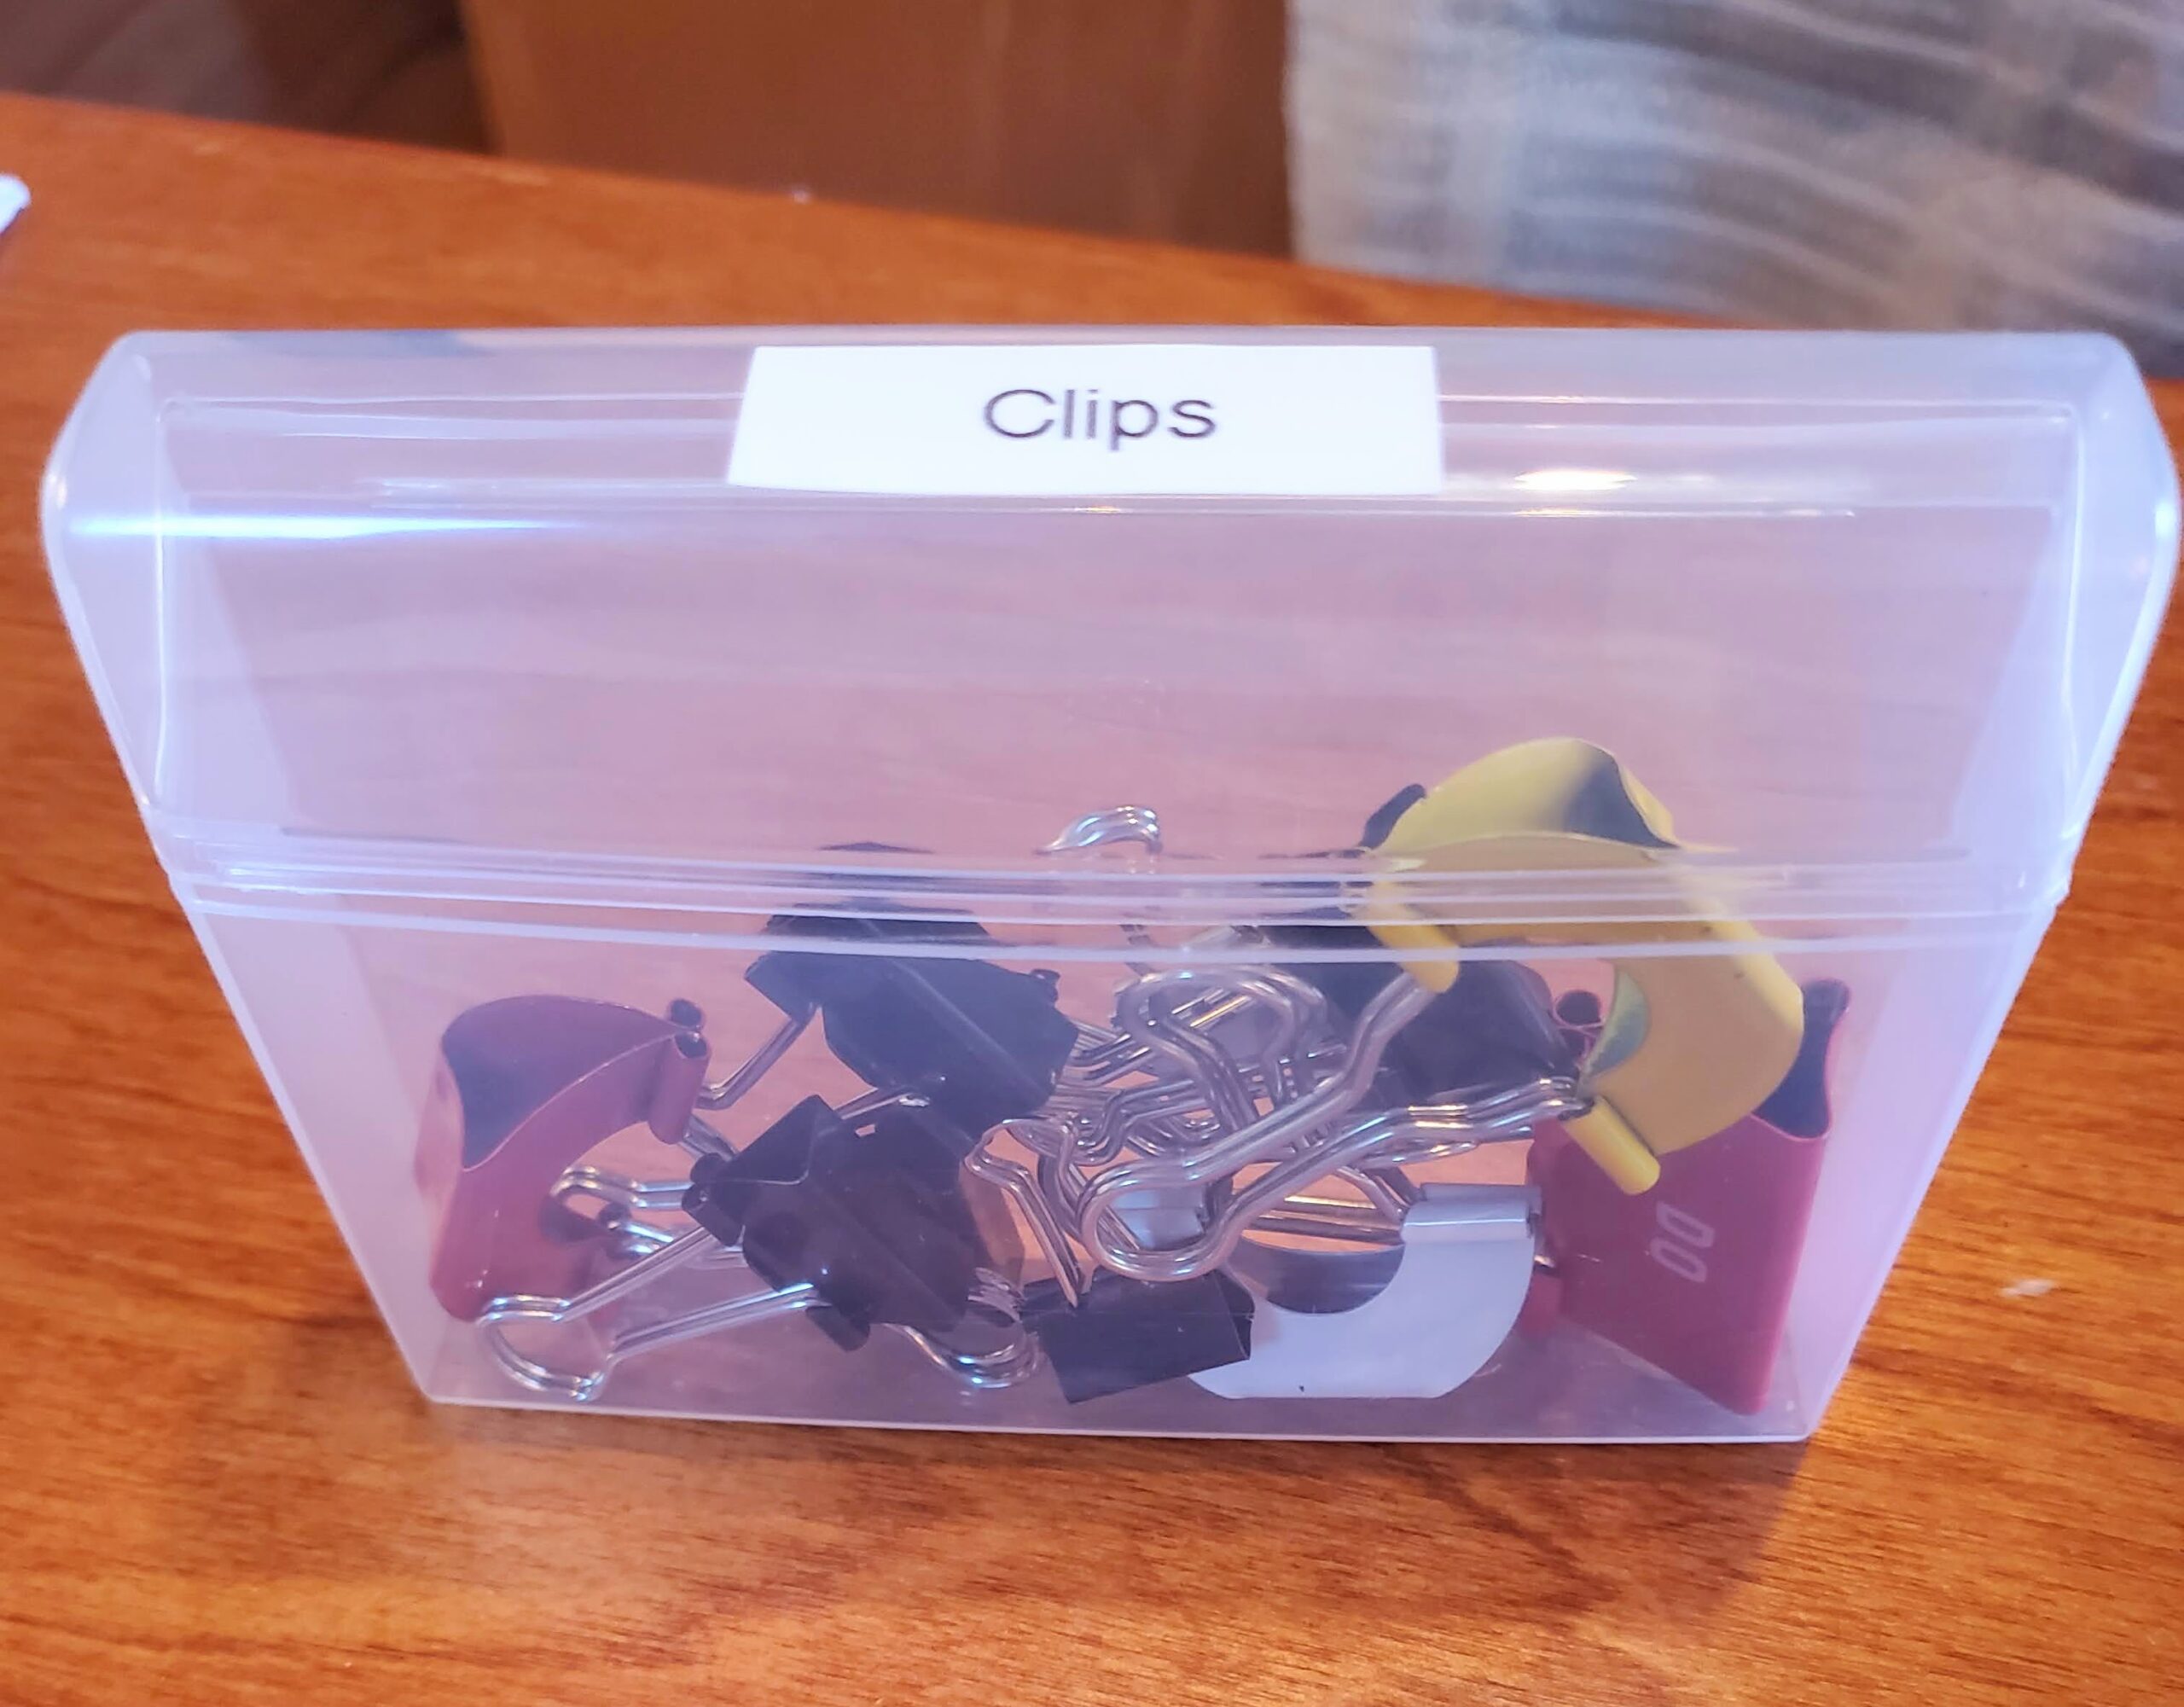
Everything is easy to grab. I use plastic gum cases for small items like paper clips, rubber bands, business cards, and tags. This kind here:
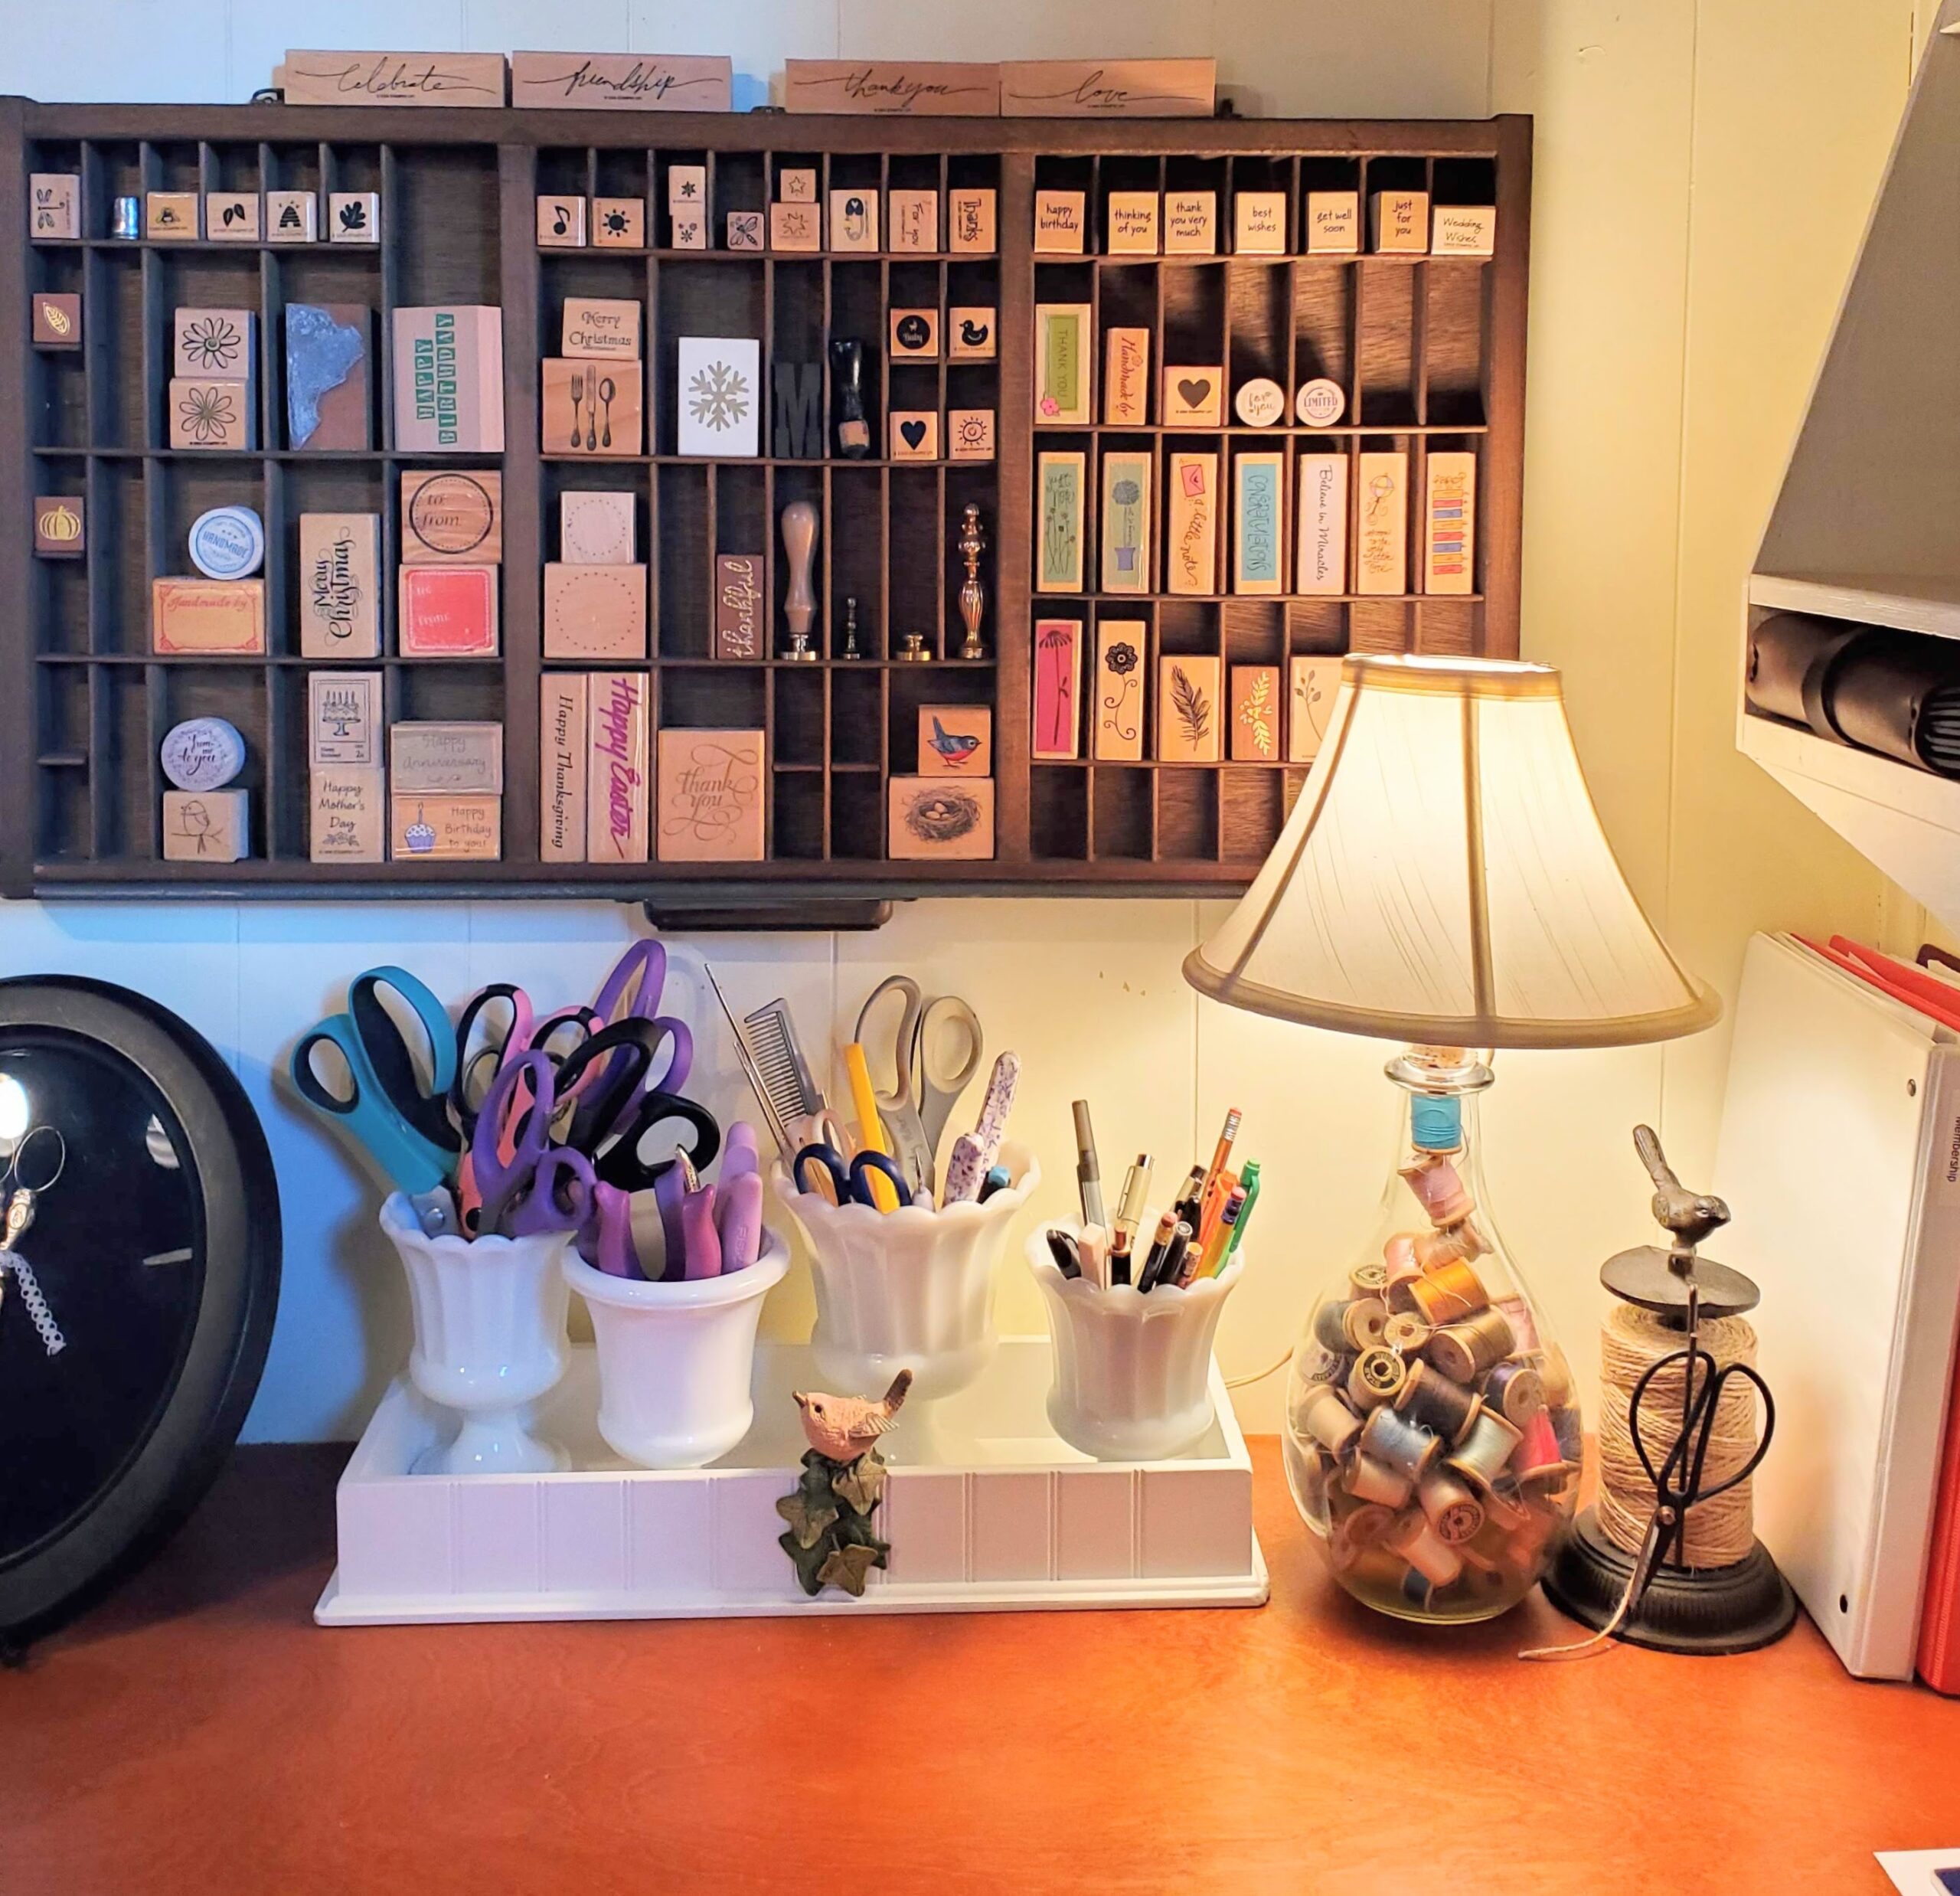
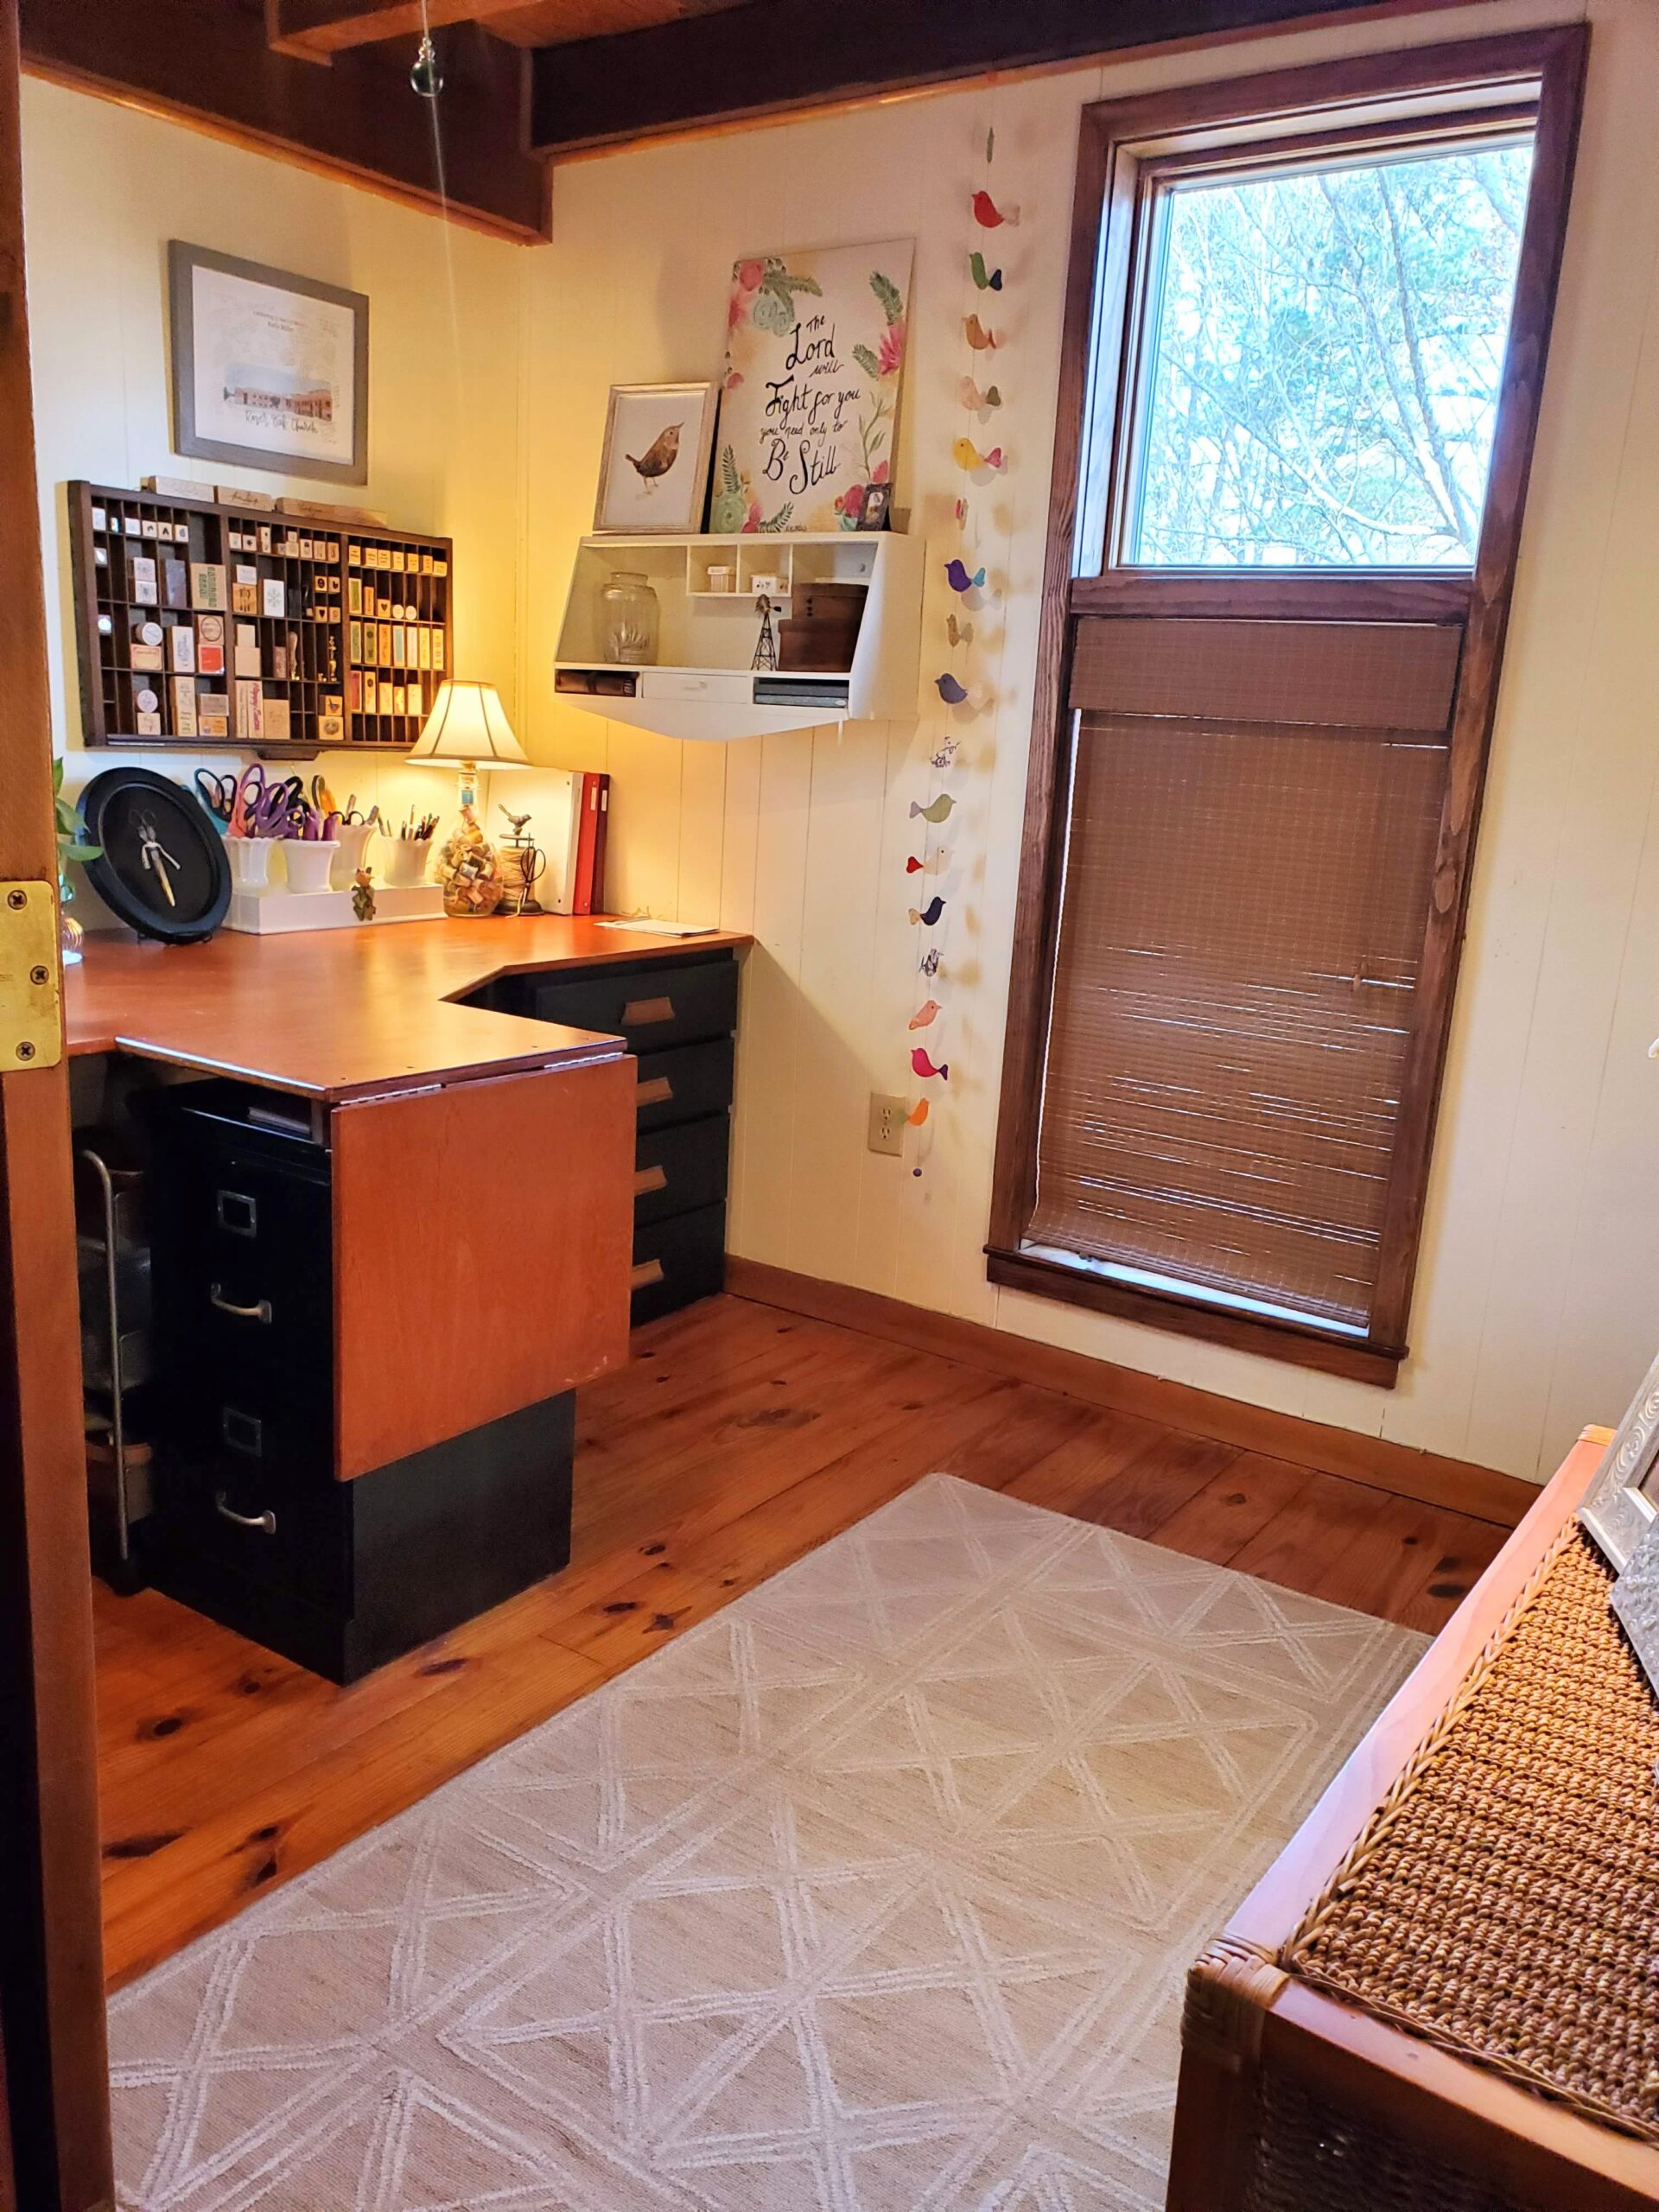
Step 4: I worked on clearing the countertop right above the drawers and only left out what I use daily. What works for me is to keep thin, 3-ring binders for each different category I refer to regularly – medical, Bible study, church ministry, and business. They are easy to grab and put back in place. When they are in view, I am reminded to use them – and they are portable.
I keep my most used t00ls and scissors available in milk glass containers on a tray for easy reach for me. My most used stamps are in an antique print job tray.
Step 5: I use bins (and boxes if necessary) for projects. I don’t need them in sight, but I do need all the items for those projects together in one place. I make a lot of upcycled items for my shop, and this plan works well for me. I also love this little rolling cart that holds small containers, multiple colors of cording, and odds and ends for embellishments.

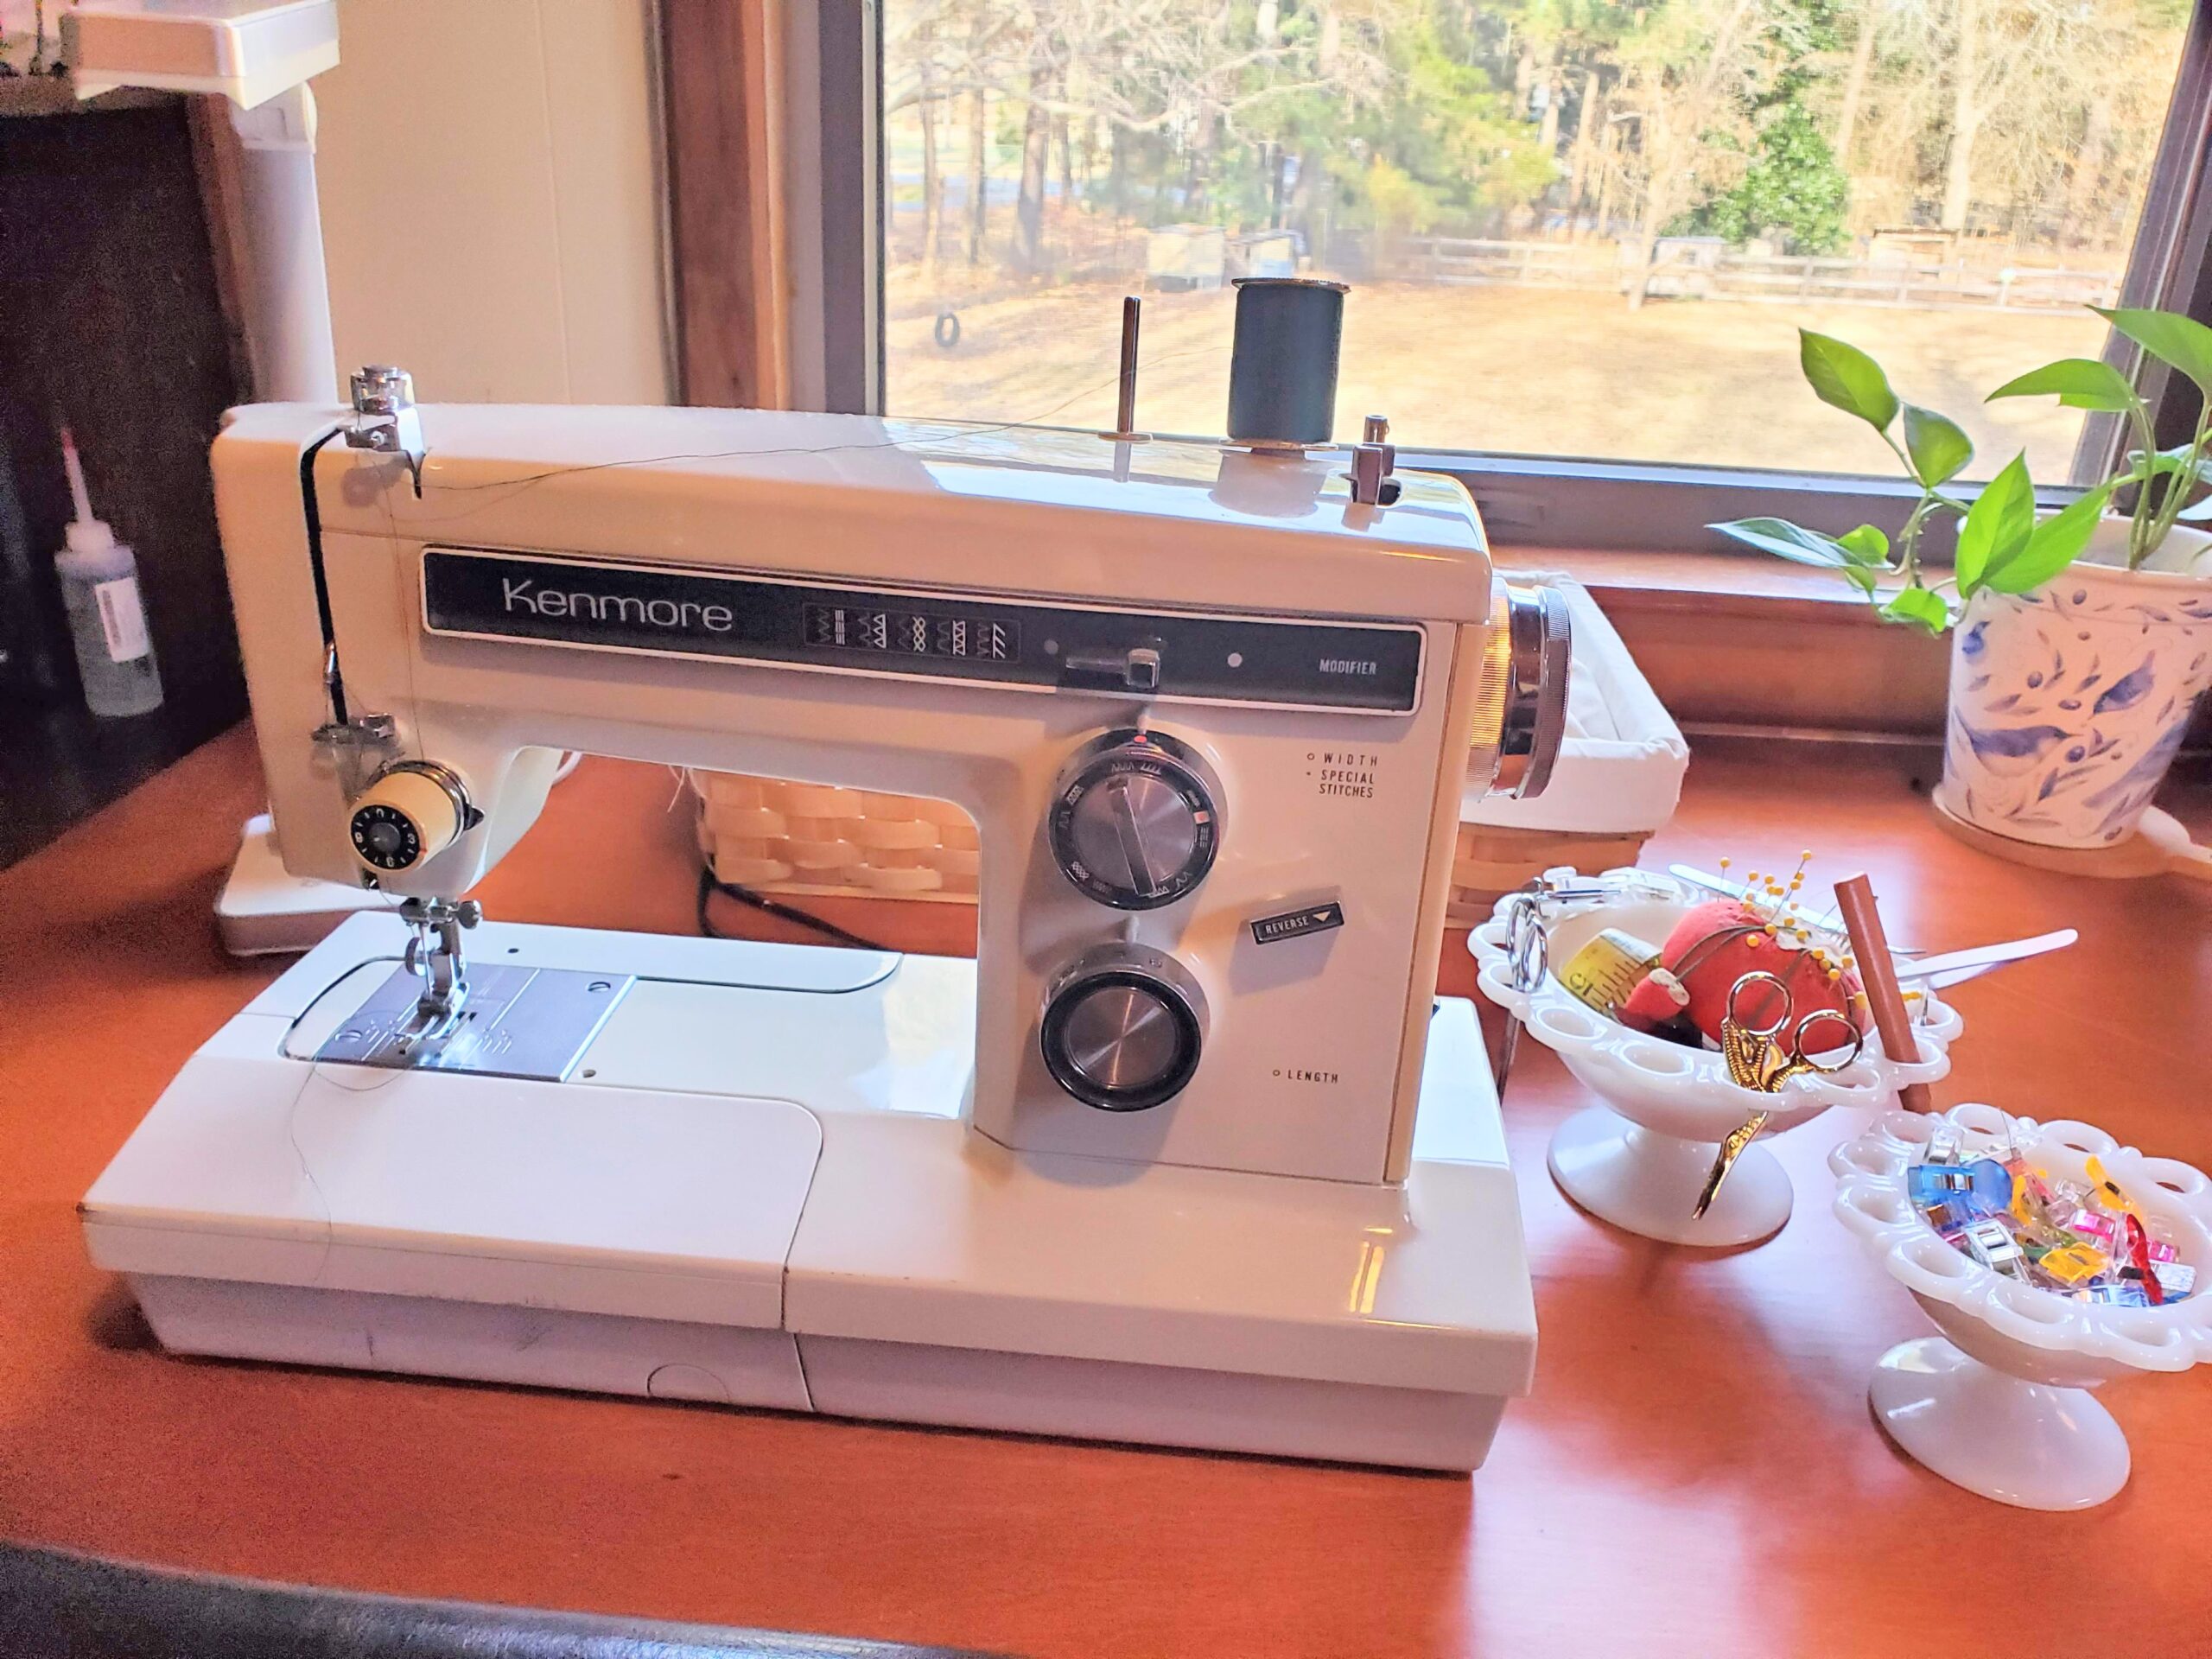
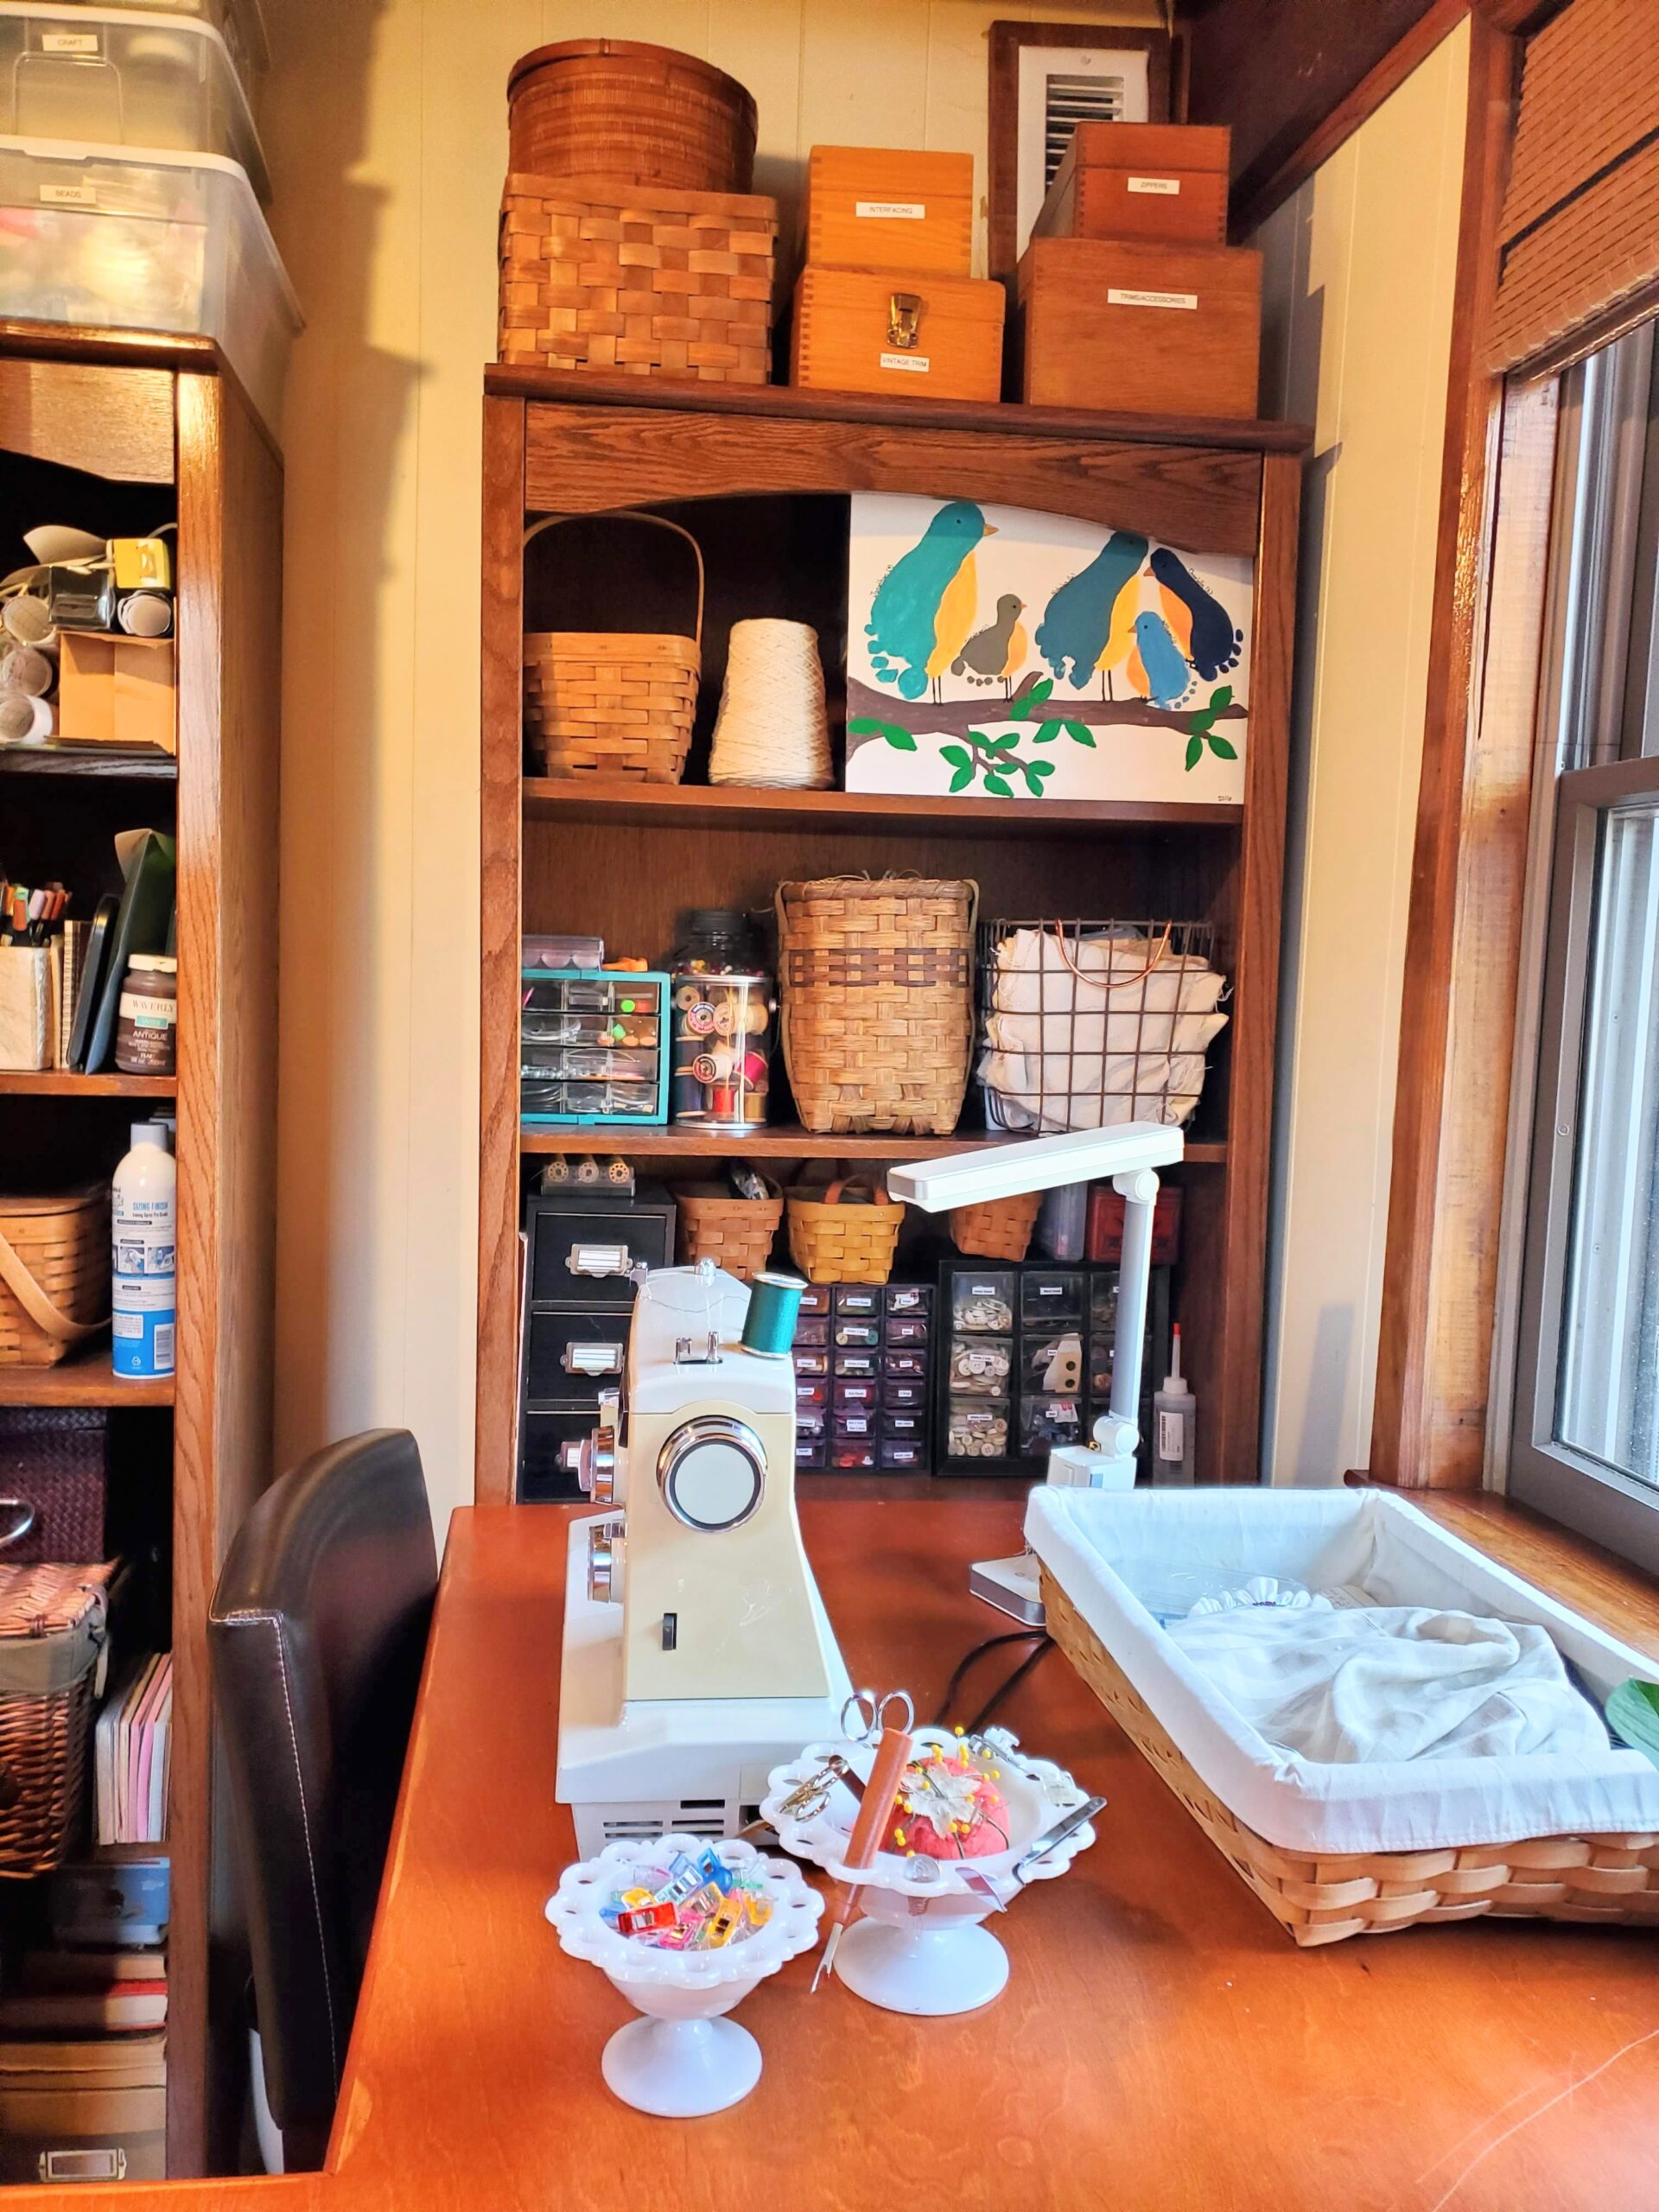
Step 6: I continued in the same direction to the next area. In this case, it is the sewing machine. This is where most of the action takes place. This is my Gram’s 1972 Kenmore machine. I used 2 milk glass dishes to hold various sewing supplies. I also have my Grandma’s pin cushion. The flat basket behind the machine holds my mending pile.
Step 7: Moving in the same direction, I work on the shelf area, focusing on one shelf at a time.
This is one of two bookcases. This one holds sewing supplies. Zippers, vintage trims, and interfacing tape are kept in vintage file boxes. The old basket was my Grandma’s sewing box and contains vintage buttons. Below that is “quick to grab” white/cream fabrics, neutral rope and twine, and sewing accessories.
The third shelf holds my categorized collection of vintage and new buttons. The large container was Hub’s grandmother’s collection – already sorted. Imagine my surprise when I was gifted her divided box to add to my collection of vintage buttons – already sorted in my own divided box. The small Longaberger baskets hold lint brushes, extra thread, extra safety pins, and fabric pens. I kept the sewing machine oil in sight so I remember to take my machine apart and clean/oil it.
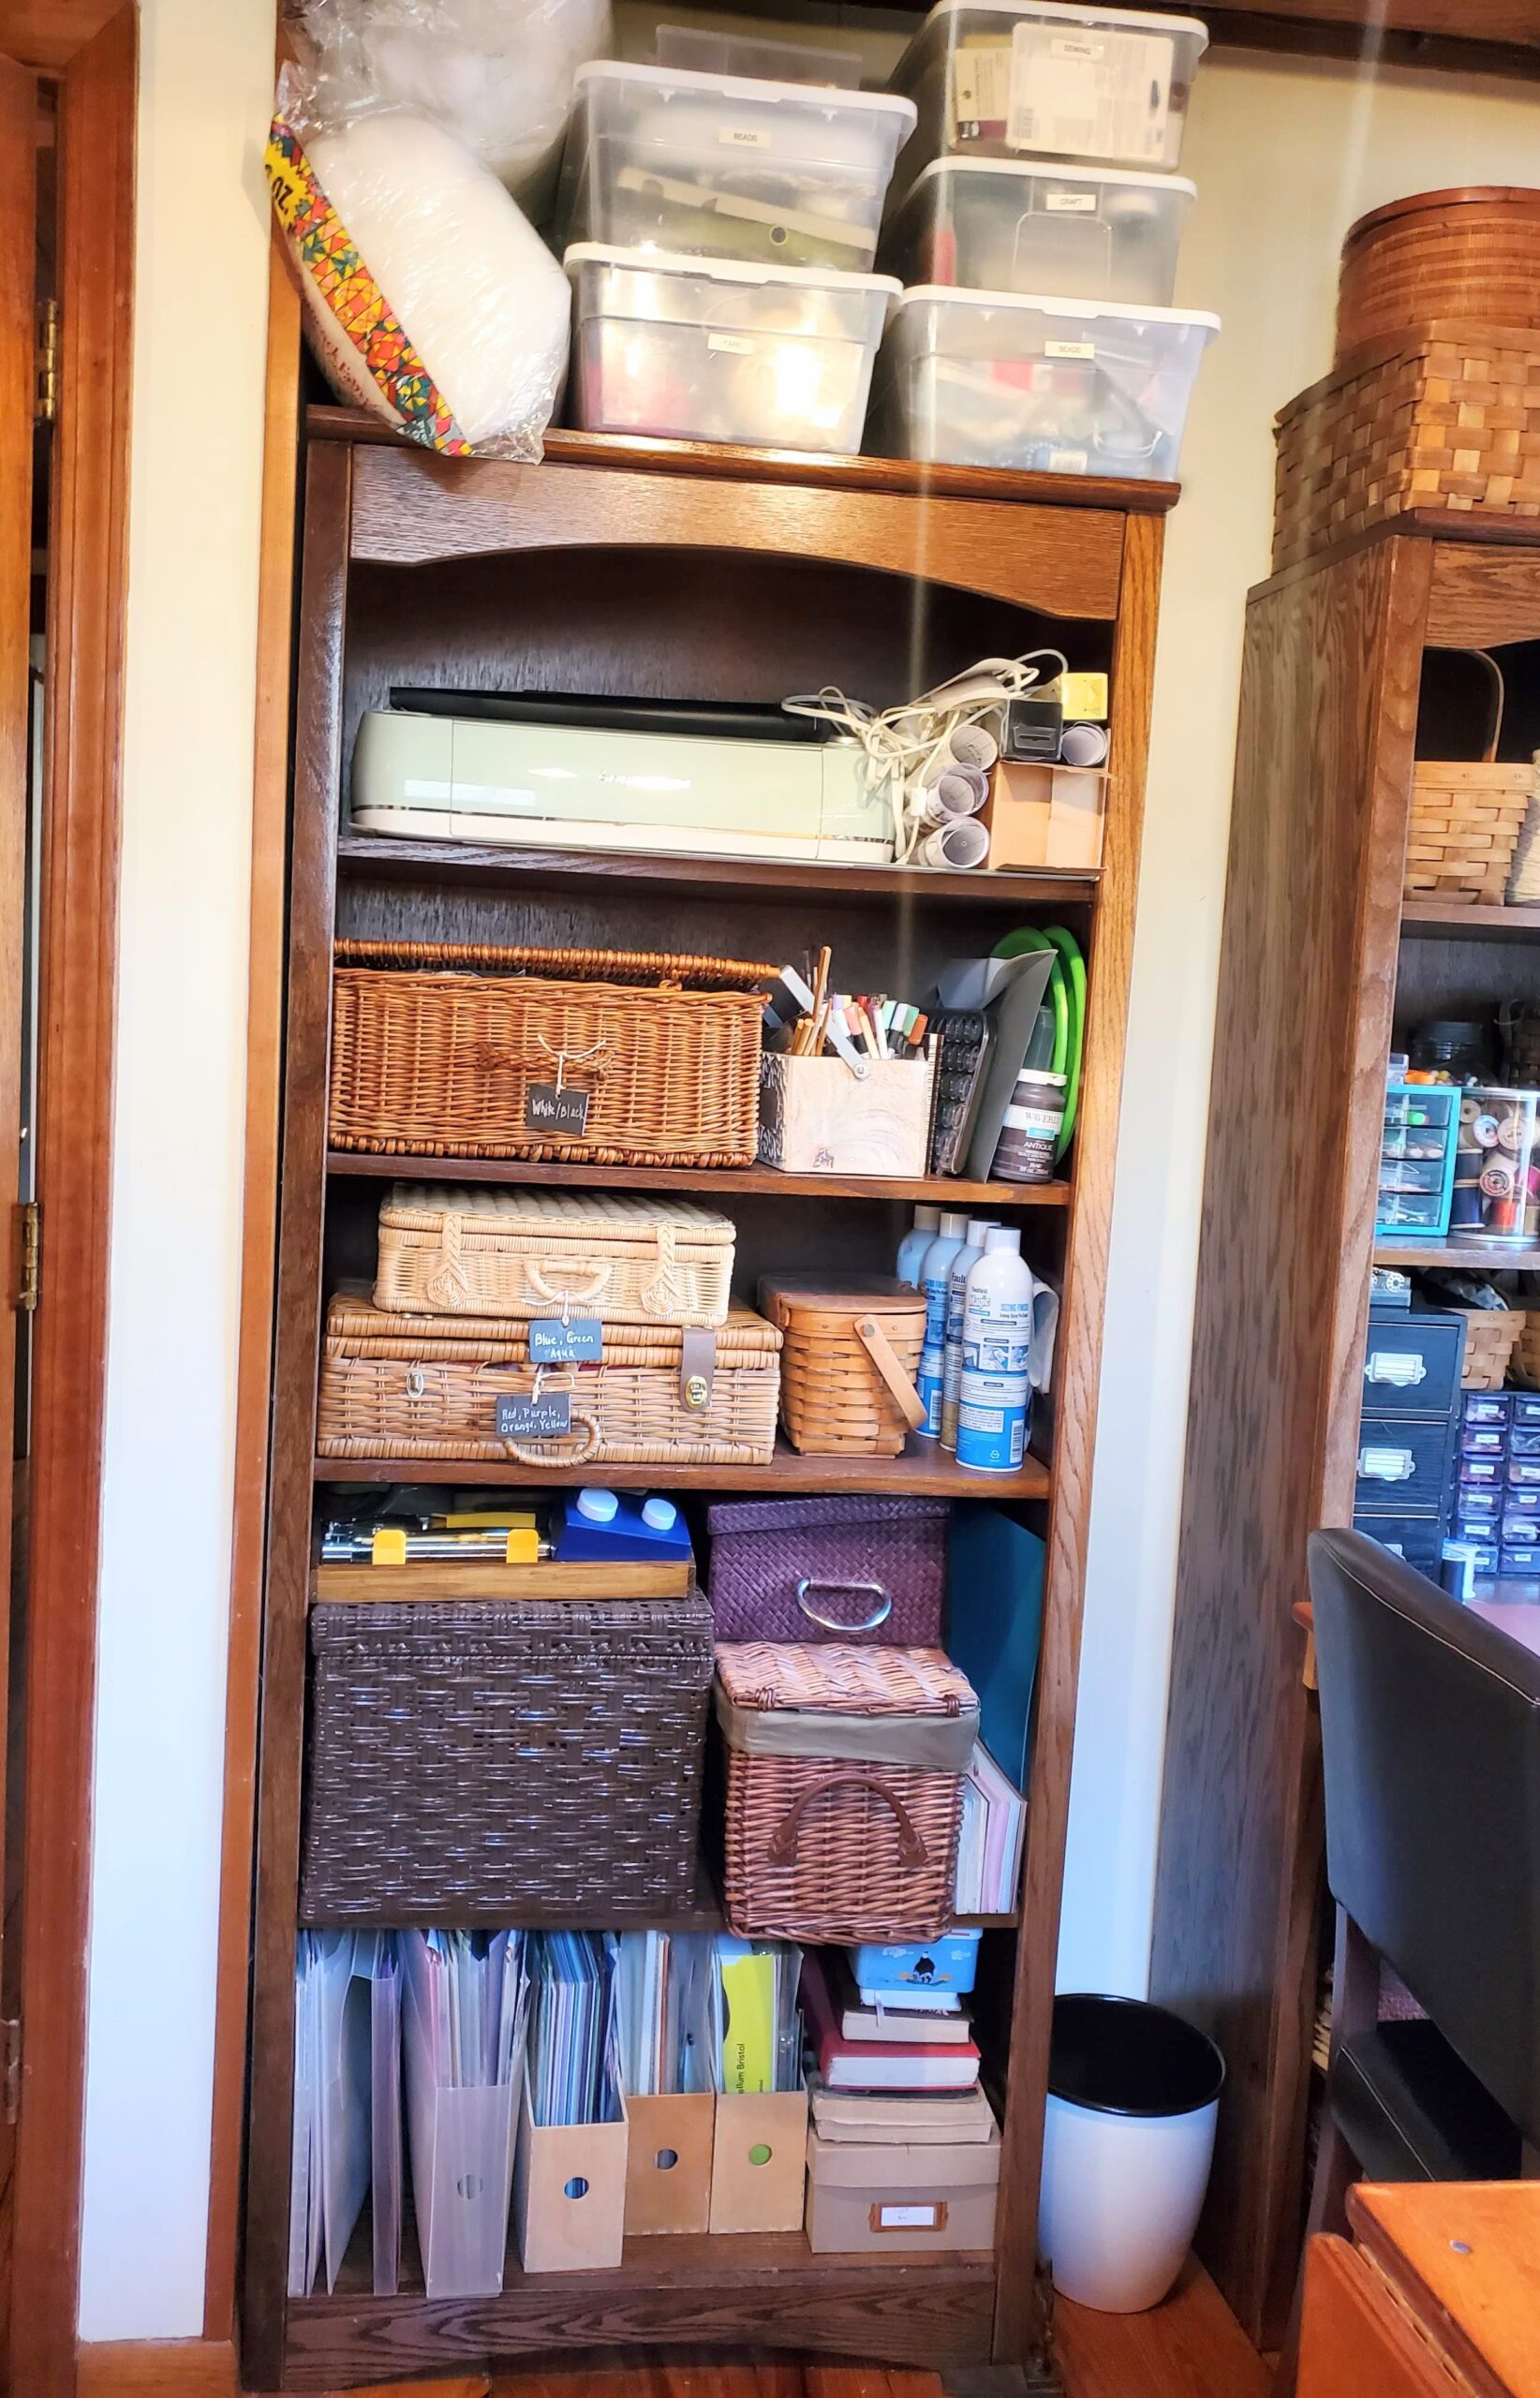
Step 8: I kept moving along, one area at a time, not getting distracted by fun things I found.
I worked on the second bookshelf. This shelf holds mostly craft supplies and a few bulky sewing items. The baskets hold various ribbons I’ve collected, adhesives, stamps and pads, wooden craft supplies, and card-making supplies. Notice the small trash can – I have a new, bigger one on my wish list because I have to empty that so often. This area wasn’t too messy, but I still went through every bin to make sure I was only storing things I wanted to keep. My interests change every few years, so I like to keep on top of the supplies. Gulp – I also throw away projects I’m not going to finish.
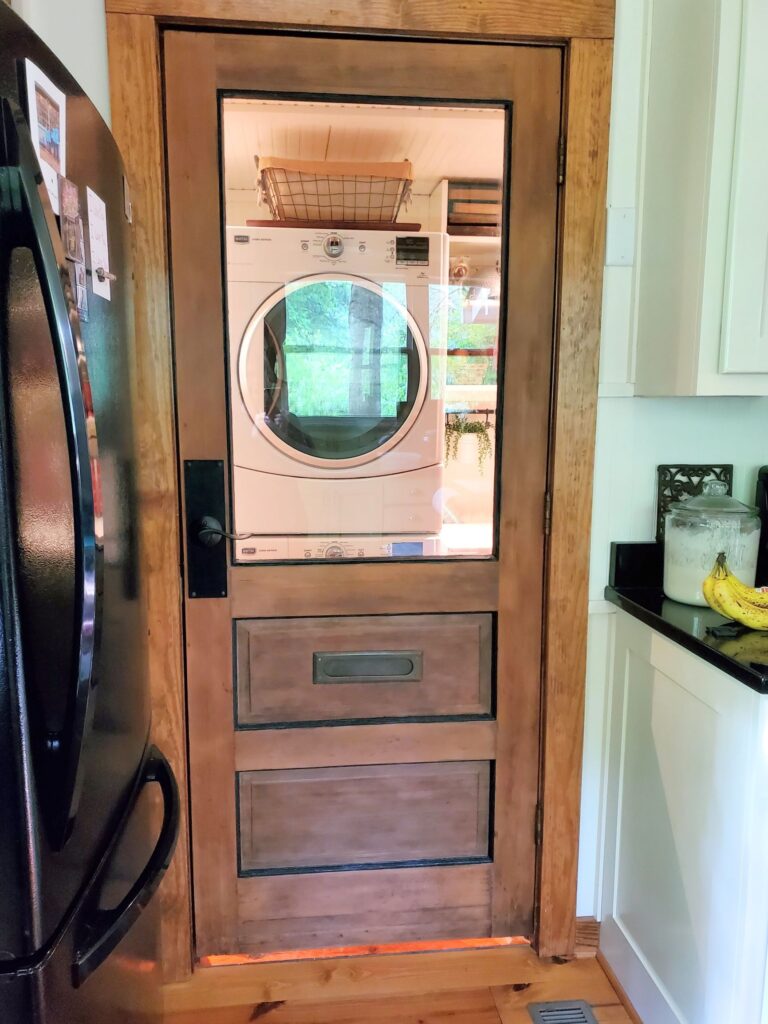
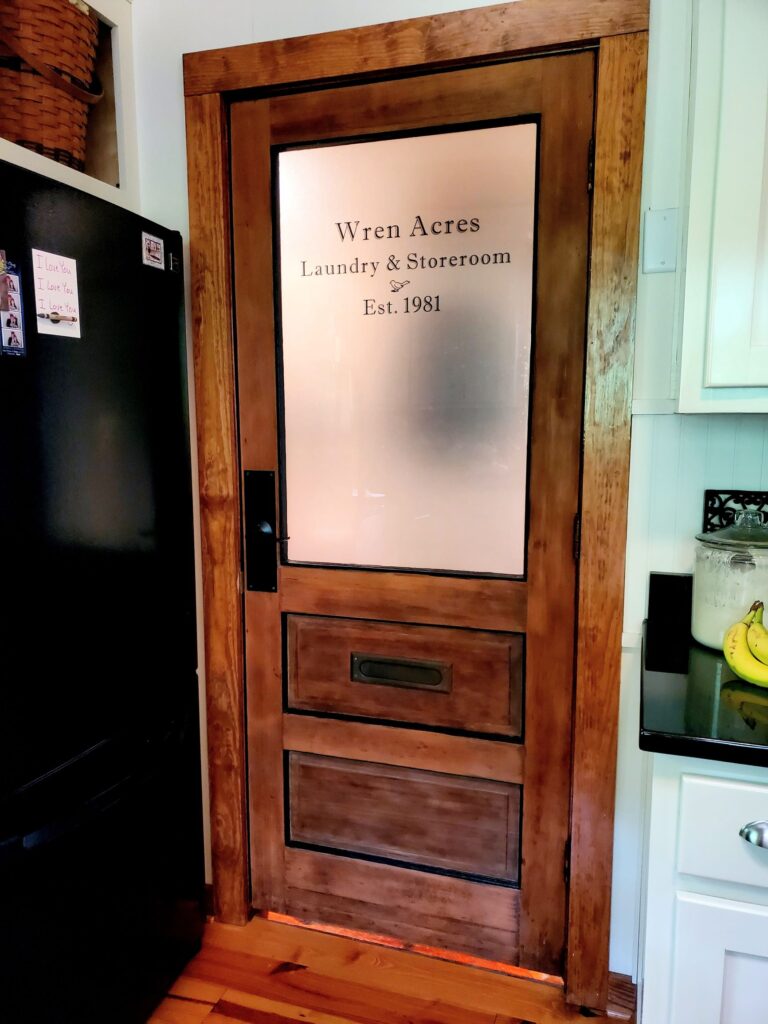
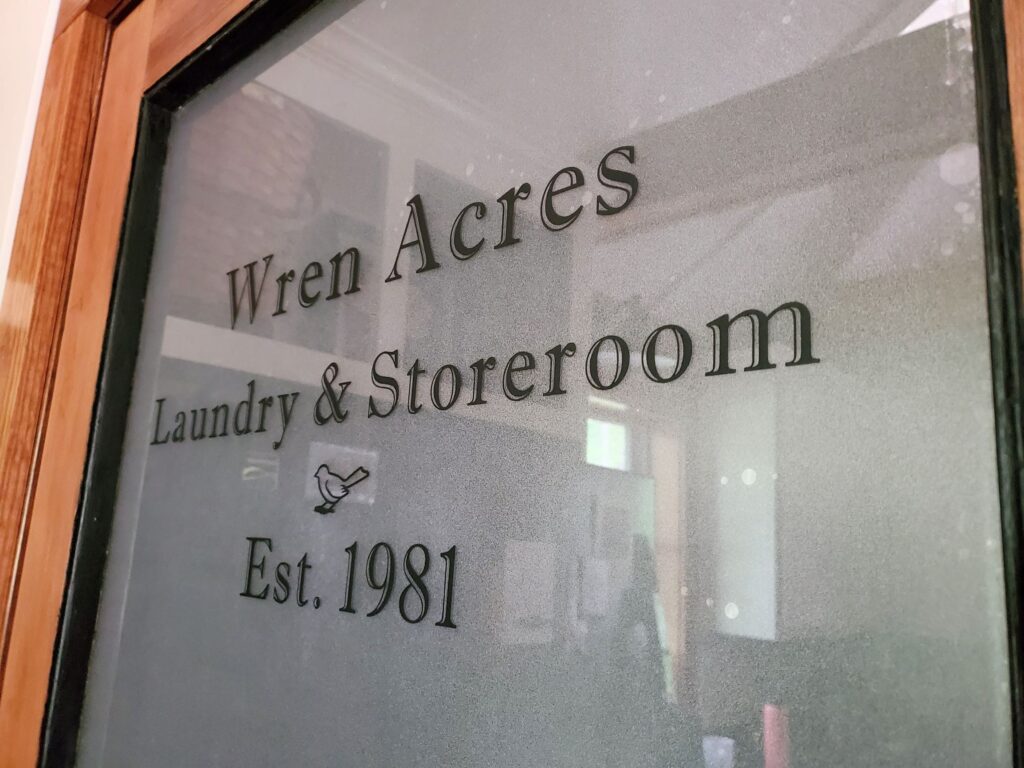
9. I didn’t skip the door because it needed attention too.
I needed to put the projects and ironing away before moving on. Then I continued to the small, narrow drawer unit.
It holds items that we use frequently for the home office and crafting.
Hub’s desk is in the former closet. We couldn’t believe how perfectly it fit in the small cubby/closet under the stairs. I’m not showing it on the blog because it’s his own space.
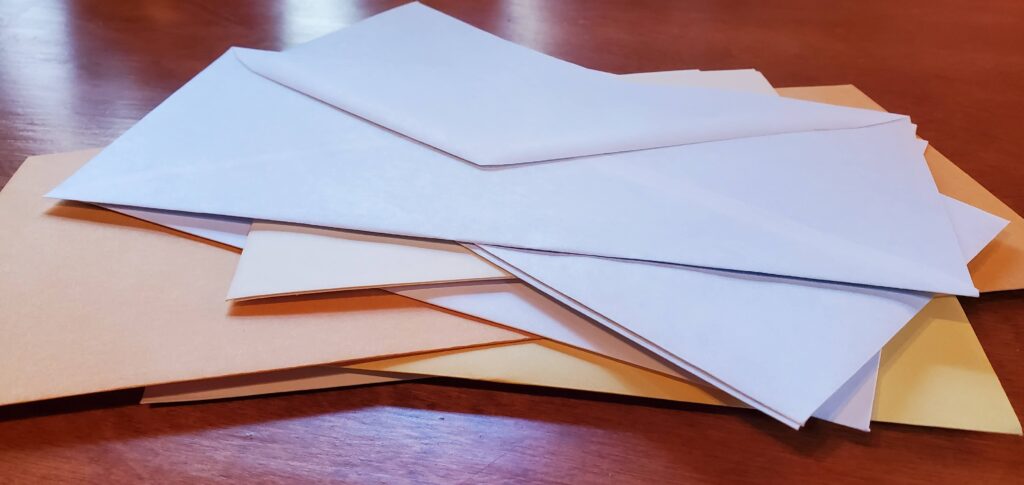
Envelopes, tags, and small Ziploc bags that Hubs and I both use.
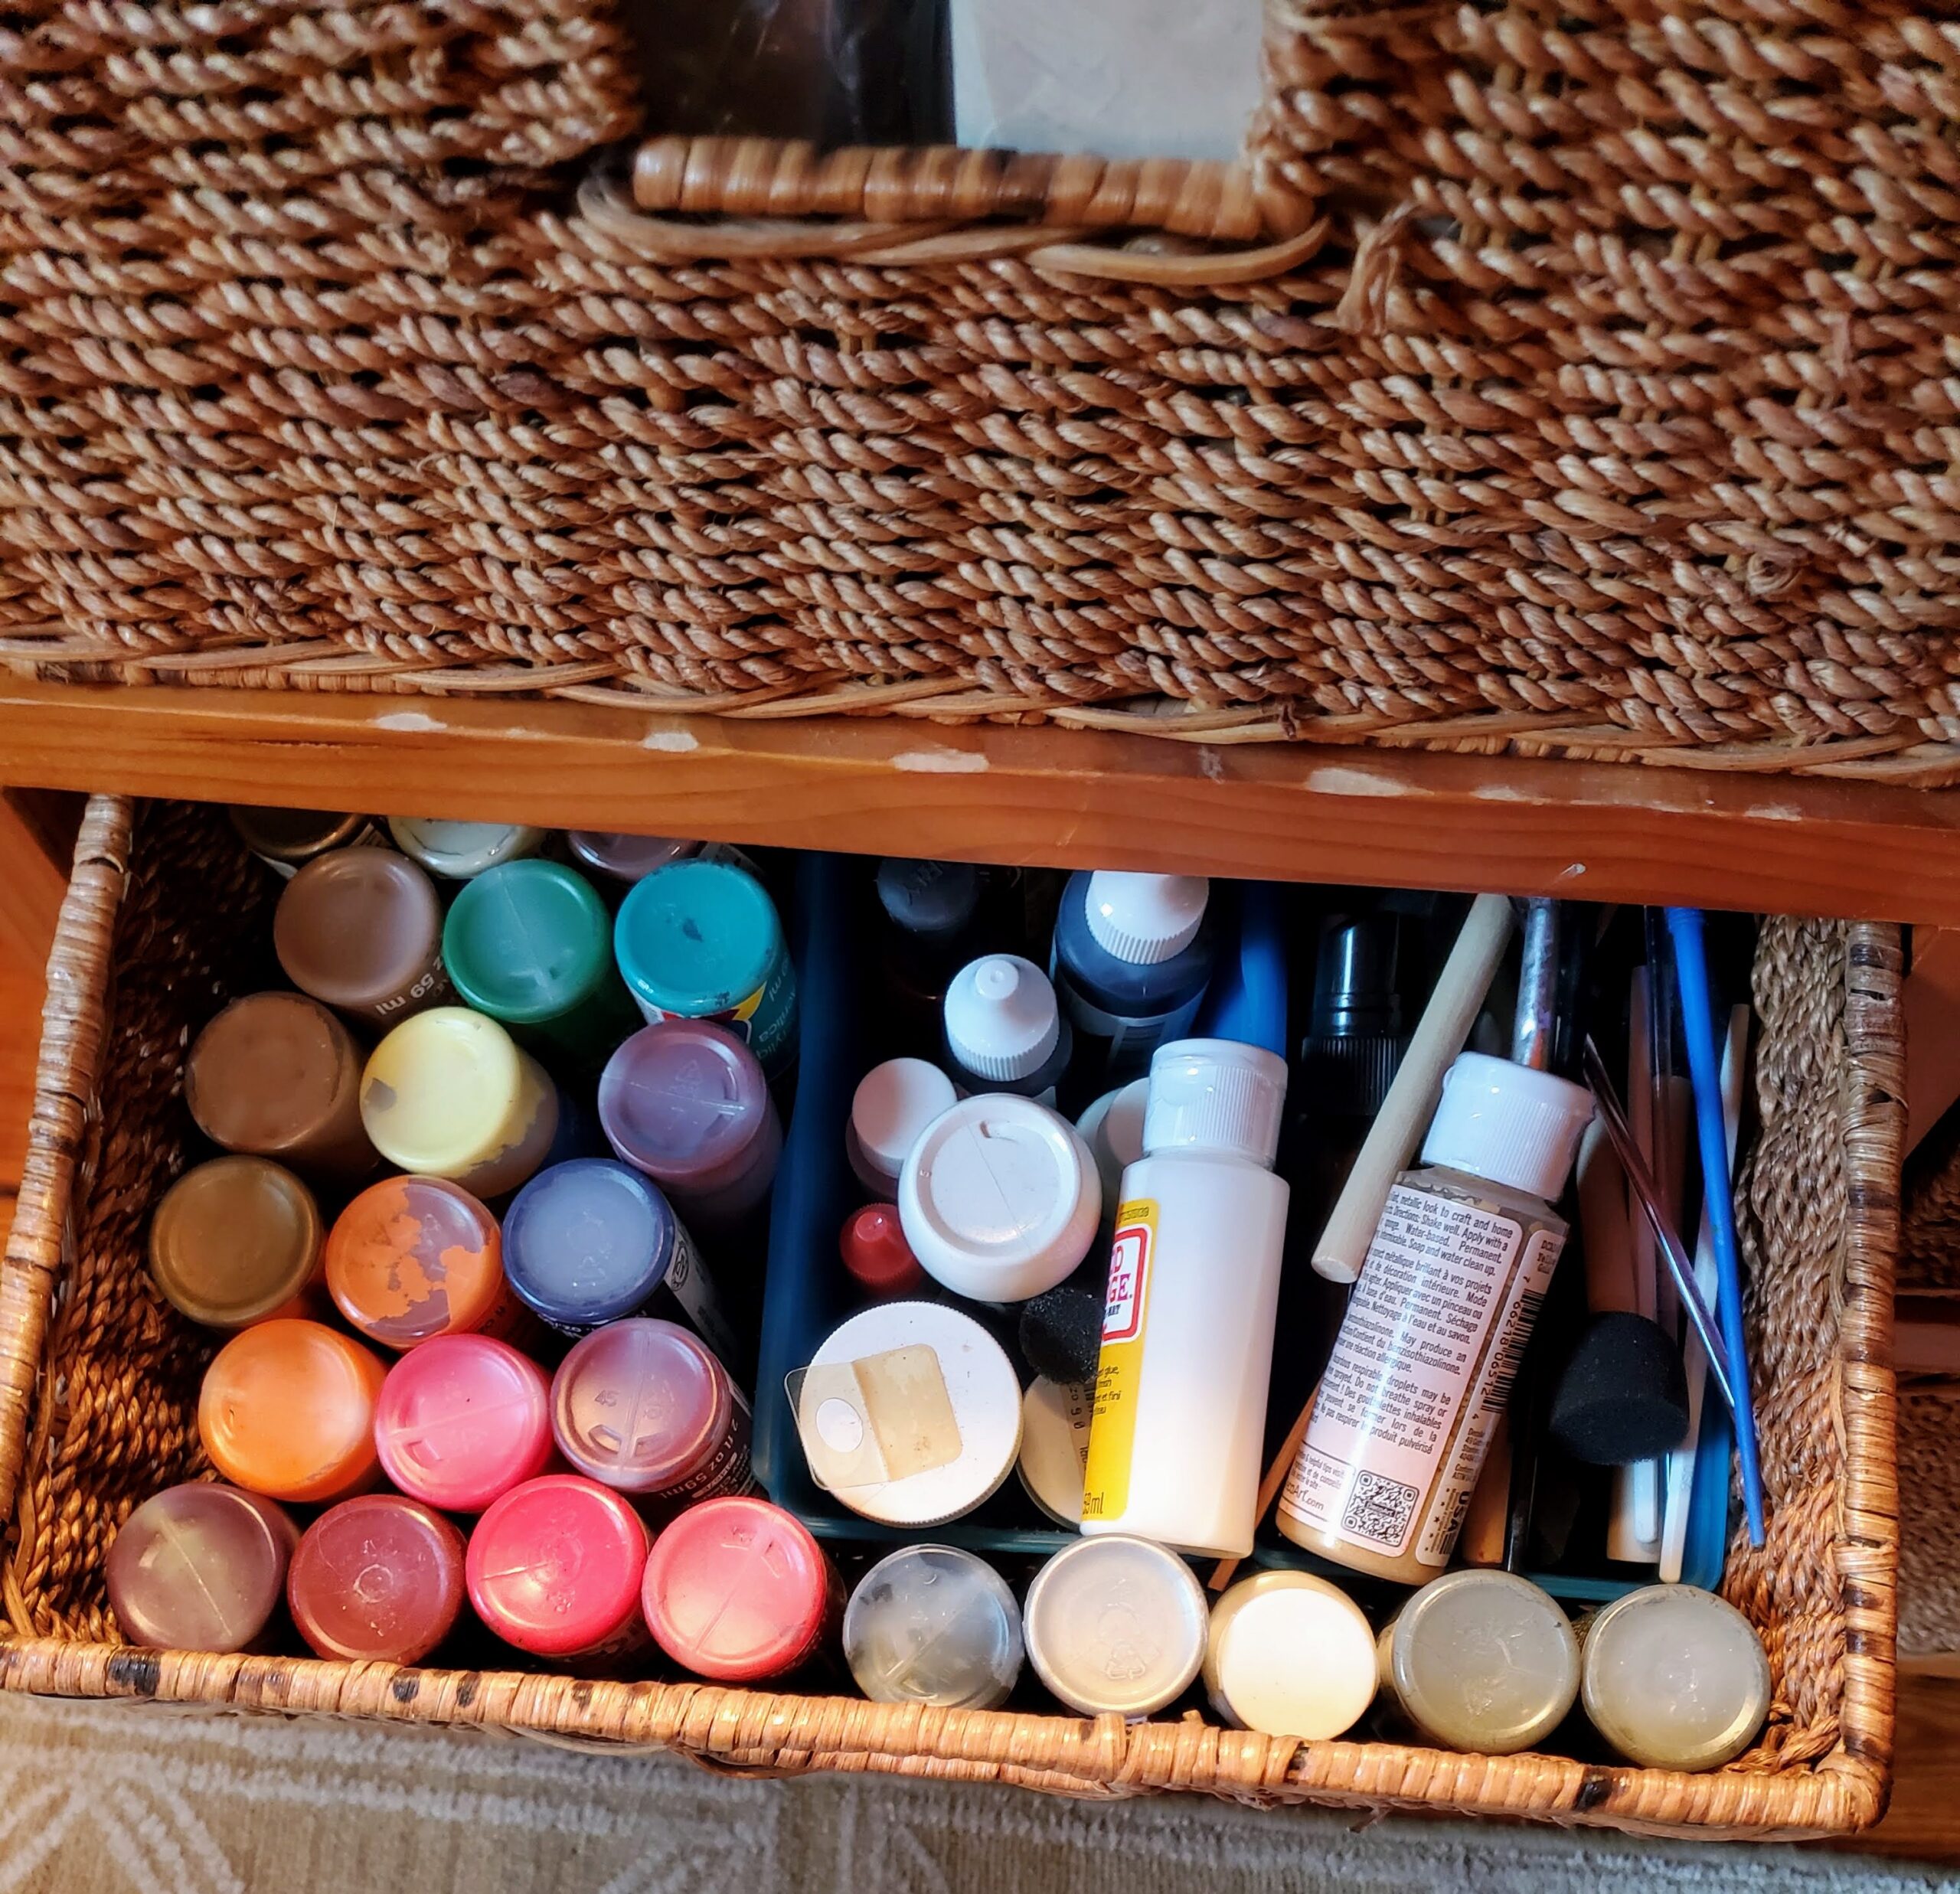
Paints are stored upside down so I can see the colors easily.
We also have a drawer for glue/packing tape and a glue gun. A drawer for batteries and extension cords, and a drawer for extra paper and 3-ring binders keep everything handy for both of us.
Ahhh. . . this is much better. Because I go through this room once a year, it really didn’t take a long time to get it back in shape. I could have just put everything in its proper place, but this once-a-year clean-up helped me take inventory of everything I have and only store what is important to me. I worked on it a few hours a day for 4 days. I knew when I needed to take a break. Some areas were just 15 minutes, and others were 2-3 hours.
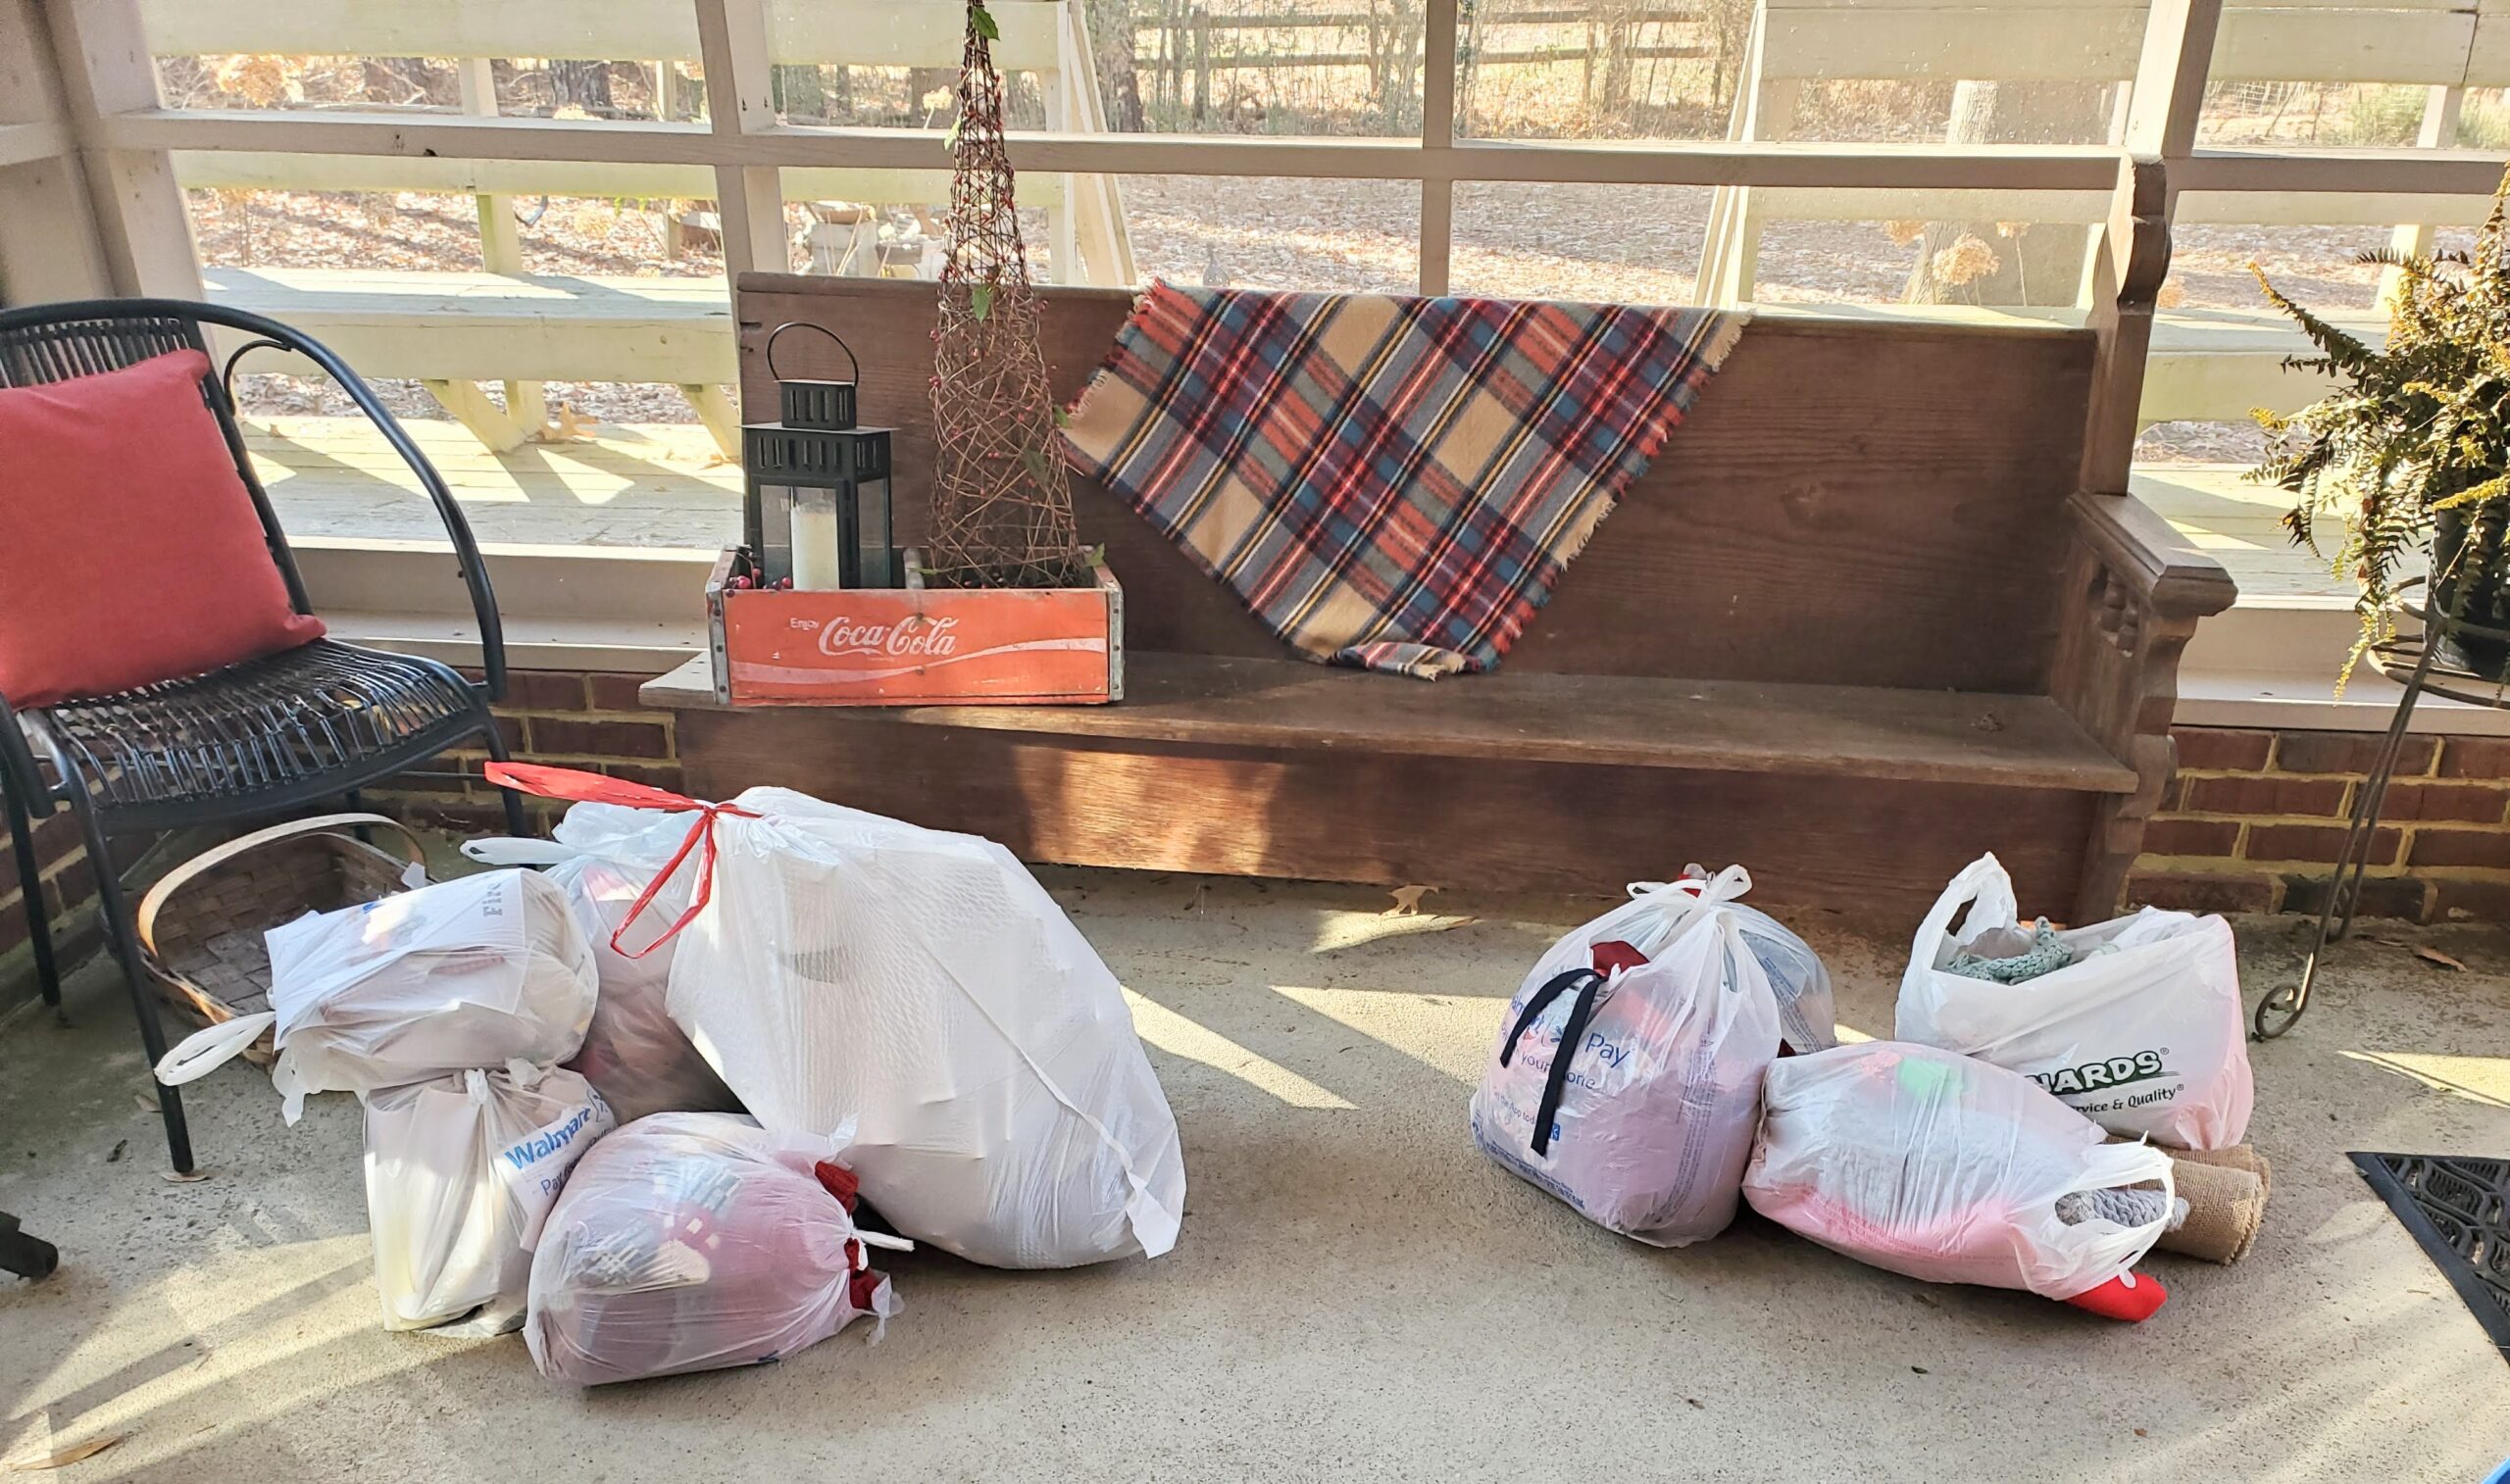
A project isn’t finished until the discard bags are, well, discarded. One pile for trash and one pile for donations. Trash goes in the trash can immediately, and donations go in my trunk to drop off at the donation center when I drive past it.
I plan to post a blog about the little details found in the sewing studio that make it very special to me. I’ll give you a little hint – almost everything was thrifted by me or handed down by family and friends.