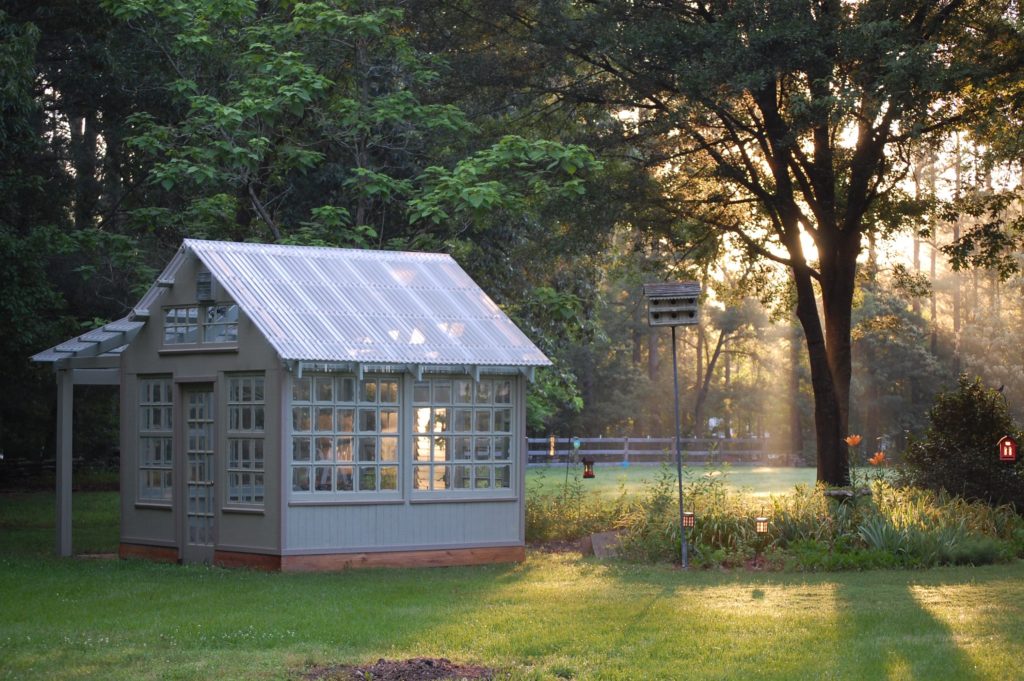
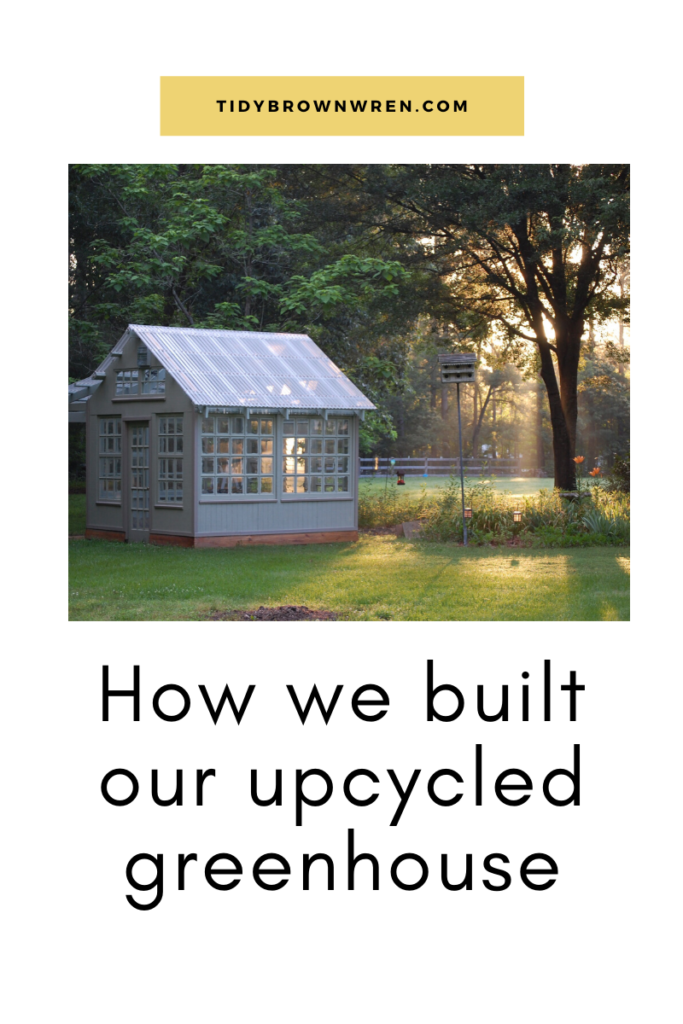
Welcome to the last post about how we built our upcycled greenhouse.
If you want to catch up on the other greenhouse posts, click on the titles to read them.
Doors and walls:
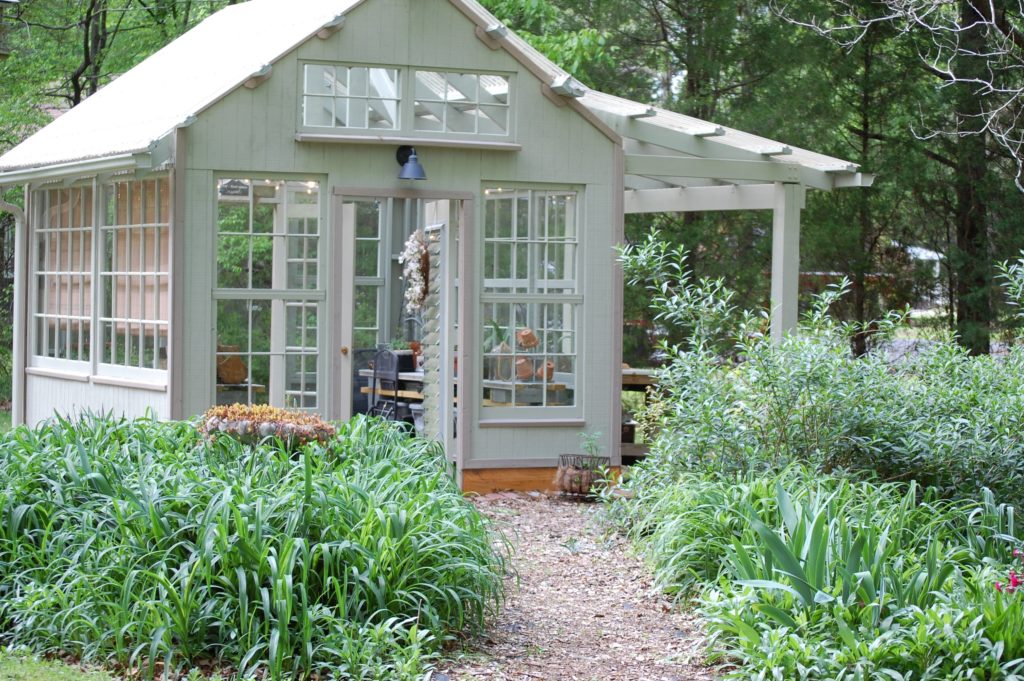
After the roof went on, it was time to add the doors and walls. Some smaller windows were also added to the top gable ends and siding was put around them. We used T1-11 siding to match our home.
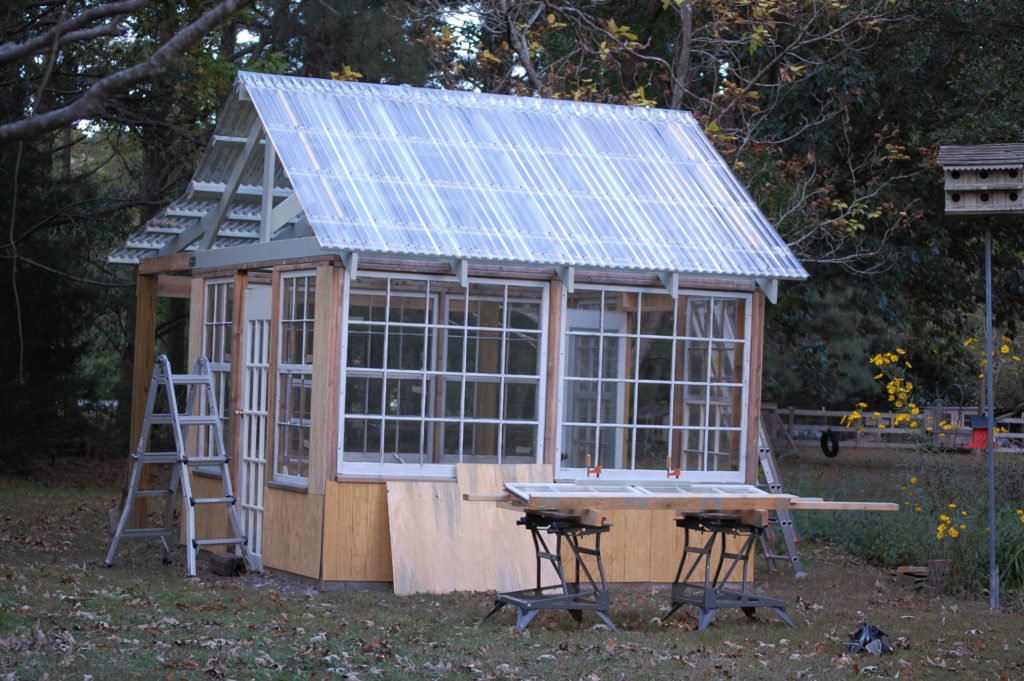
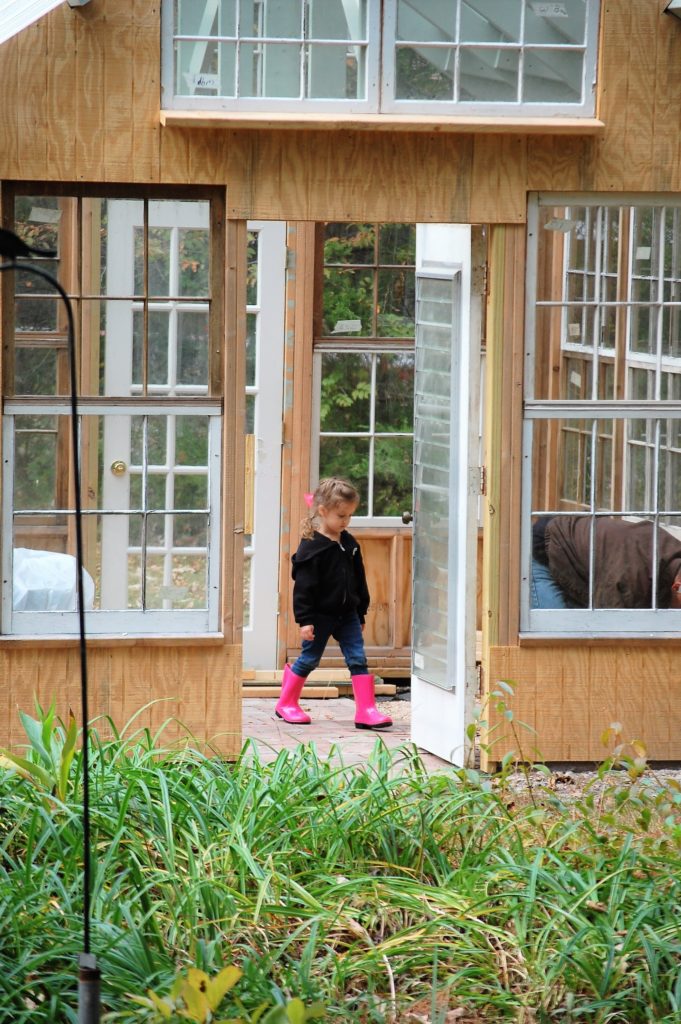
Hubs (Papa to our grandlittles) frequently had a little shadow following him and muck boots are a necessity on our property.
The front door was an amazing roadside find. It was in perfect condition (just old and dirty), had the knobs still intact, and the crank mechanism was in perfect working order.
We placed it on the front of the greenhouse because the fan would be going on the back wall and we wanted to create a cross draft.
The siding took a while to put on but slow and steady is sort of our speed.
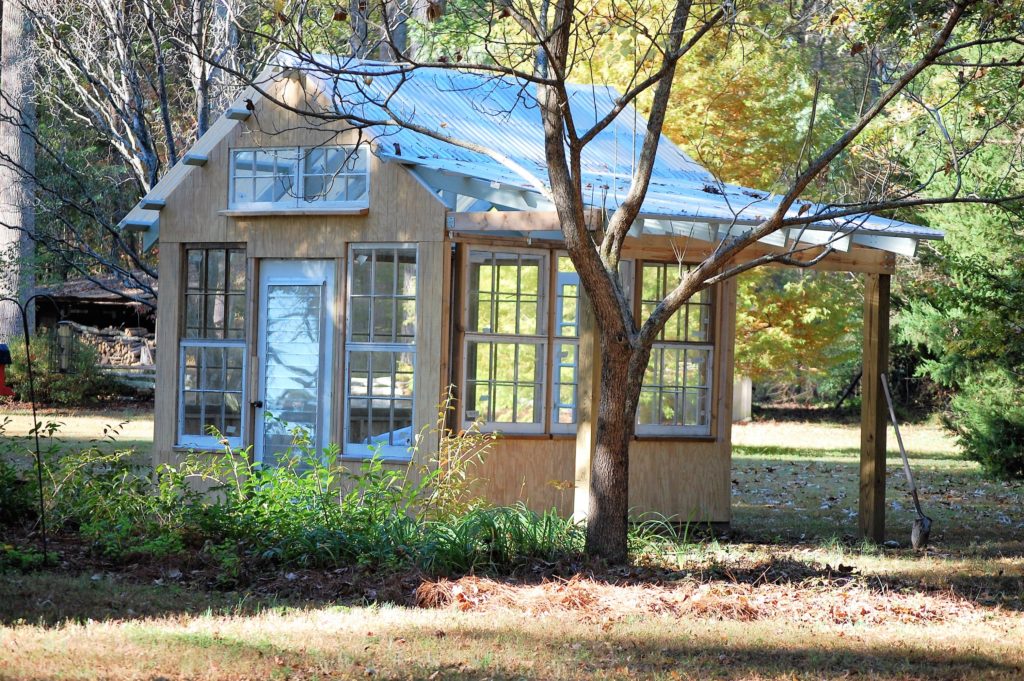
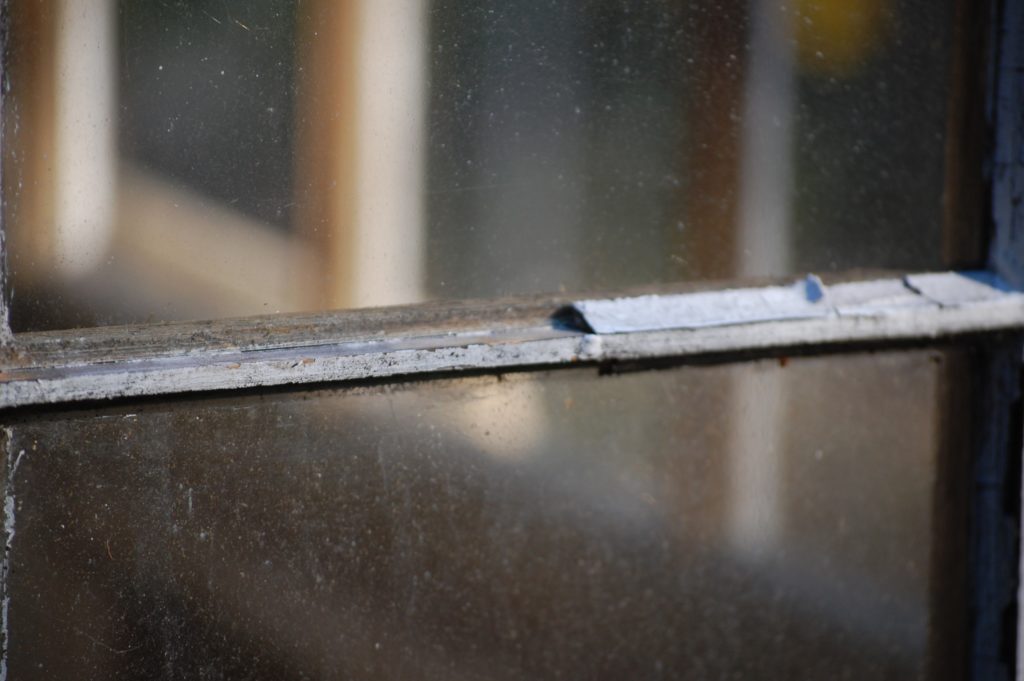
Before the painting could begin, I had to reglaze about 20 of the window panes. It was tedious work, but not hard.
Painting:
I began to paint the lower half of the whole greenhouse, saving the upper part for later when I would need to use the ladder. Secretly, I was hoping a painting fairy would come by and finish it in the middle of the night.
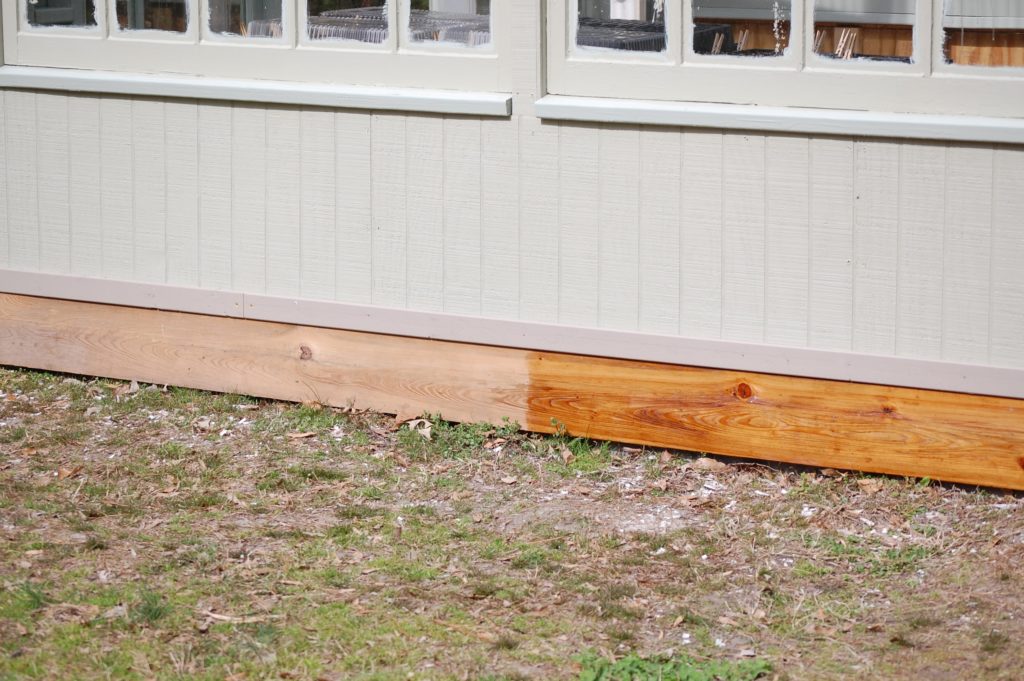
We found some old siding in our barn and it was enough to use as a skirt around the whole greenhouse. I finished it with an exterior varnish. You can see how beautiful the right side of the wood plank was with the varnish on it.
I chose to not tape the windows before painting them. To me, it’s easier to scrape the excess off with a blade.
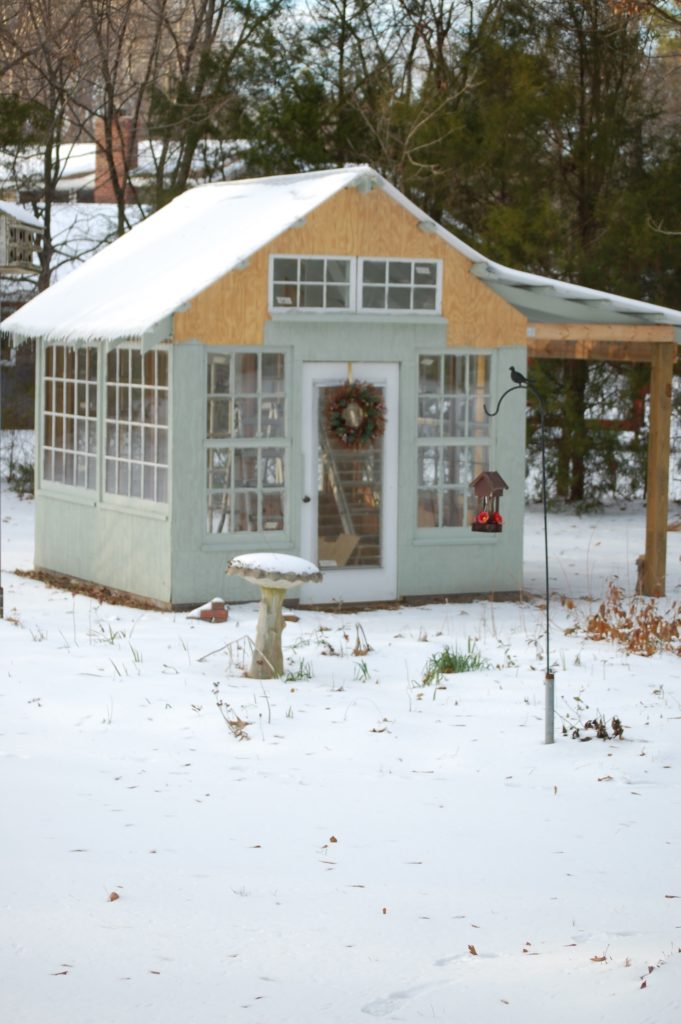
Well, the painting fairy never came but the snow showed up so it was time to put the painting on hold.
Fan:
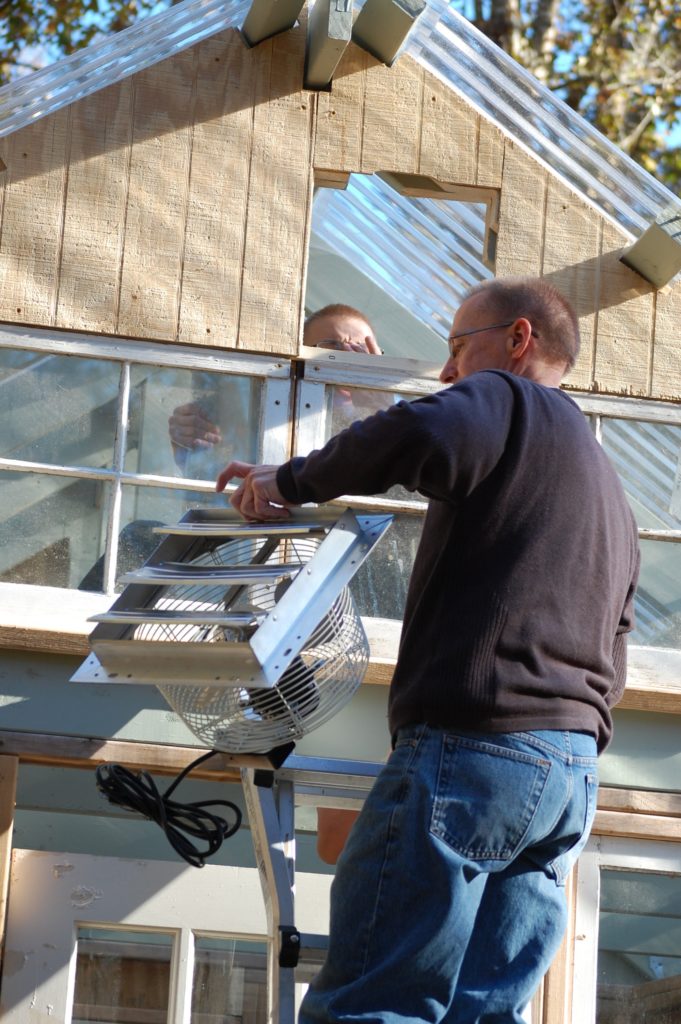
We took advantage of having an extra set of hands and some warmer weather when our son was home for a visit and the fan was installed. We had a licensed electrician run electricity to everything because greenhouses are wet areas and need special conduits and switches. It’s always good to be careful when water and electricity mix.
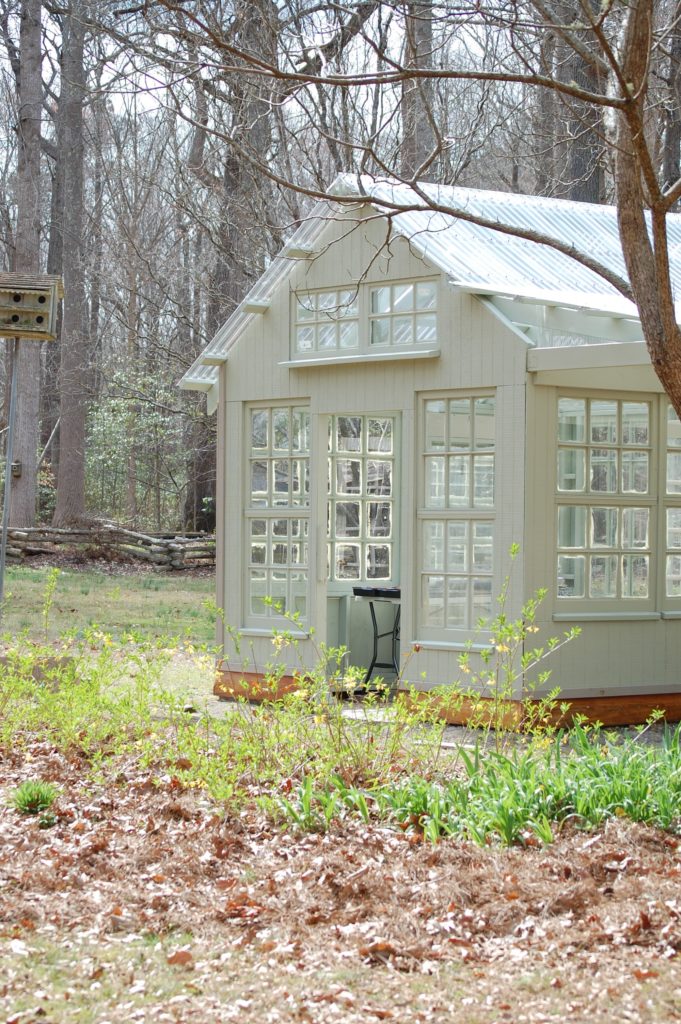
When the weather warmed up, we were able to get the rest of the siding up and the painting finished. It took me F-O-R-E-V-E-R to paint and scrape all of the windows (inside and out) but it was worth it.
Side story: I decided, before finishing the painting, that I didn’t like the color. I wanted a sage green, but the first coat looked more like that green fluffy pistachio pudding dessert that our grandmas used to make for church pot luck suppers. So. . . I found a better color and repainted everything. Ugh! Are you smiling because I have a green greenhouse?
I couldn’t wait to put plants in the greenhouse, so I set up a folding table and started some seedlings in my long-awaited green greenhouse!
Accessories:
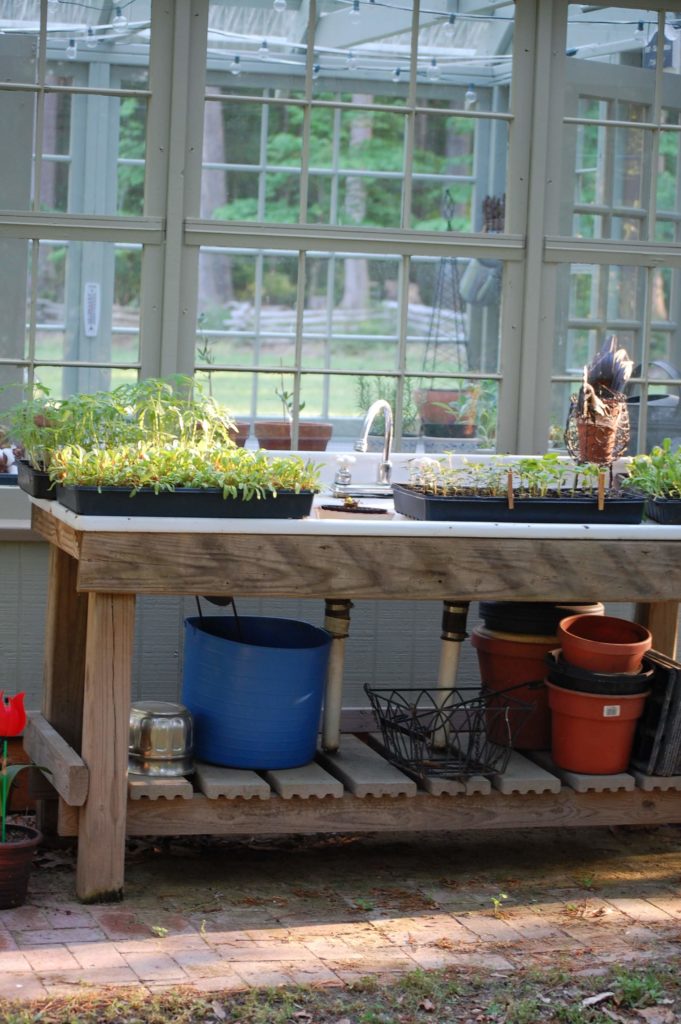
We dragged the potting bench over to the covered area and put it in place. Hubs and our son built it for me for my birthday one year. It is made from a vintage cast iron double sink with built-in drainboards and odds and ends of wood from our barn. It is one hard-working piece of carpentry!
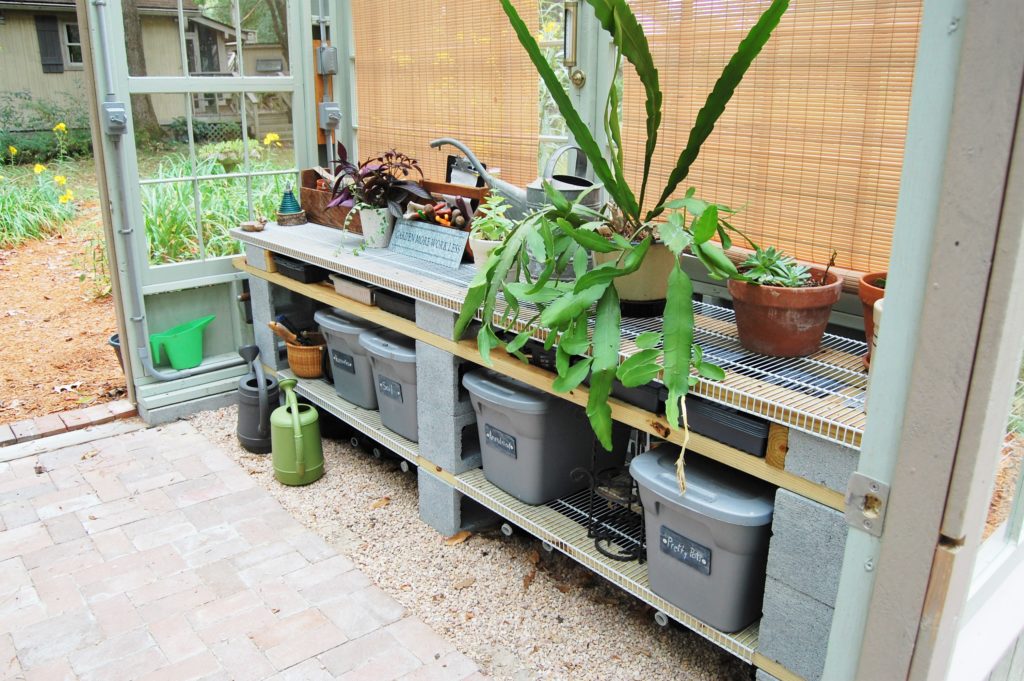
Inside the greenhouse, the areas on either side of the walkway are lined with shelves.
We made them out of cinderblocks, closet shelving, and 2x4s. We must have looked pretty strange putting together a proto-type in the middle of Home Depot.
These custom-built beauties are sturdy, work great and are very efficient. I couldn’t be happier with them.
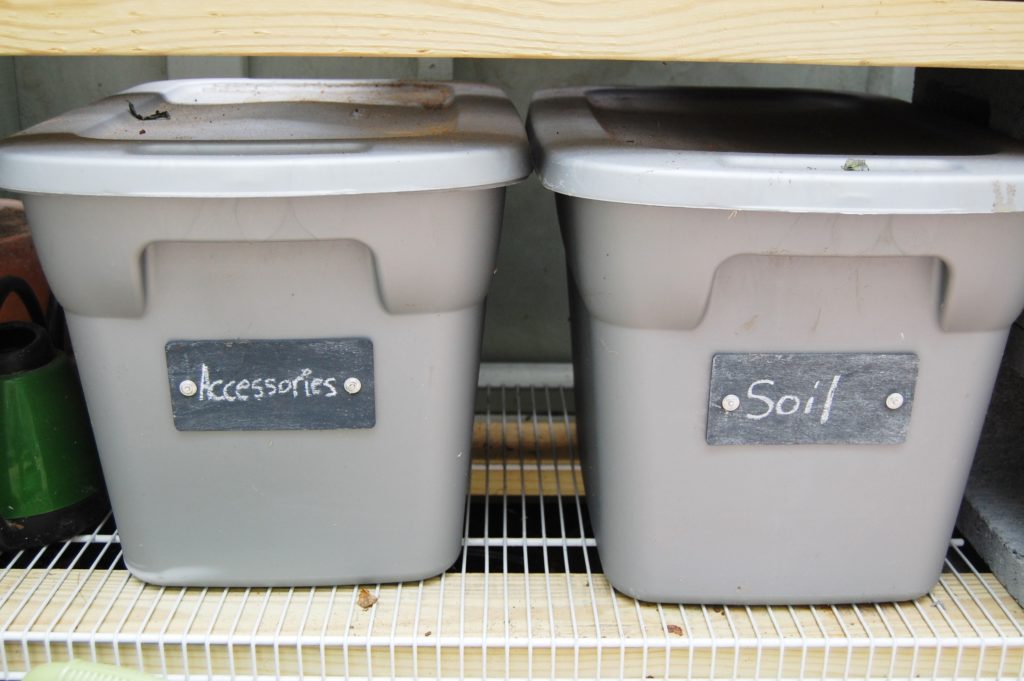
We varied the shelf heights to accommodate bins and seedling trays.
The closet shelves allow for water and dirt to drop through to the ground.
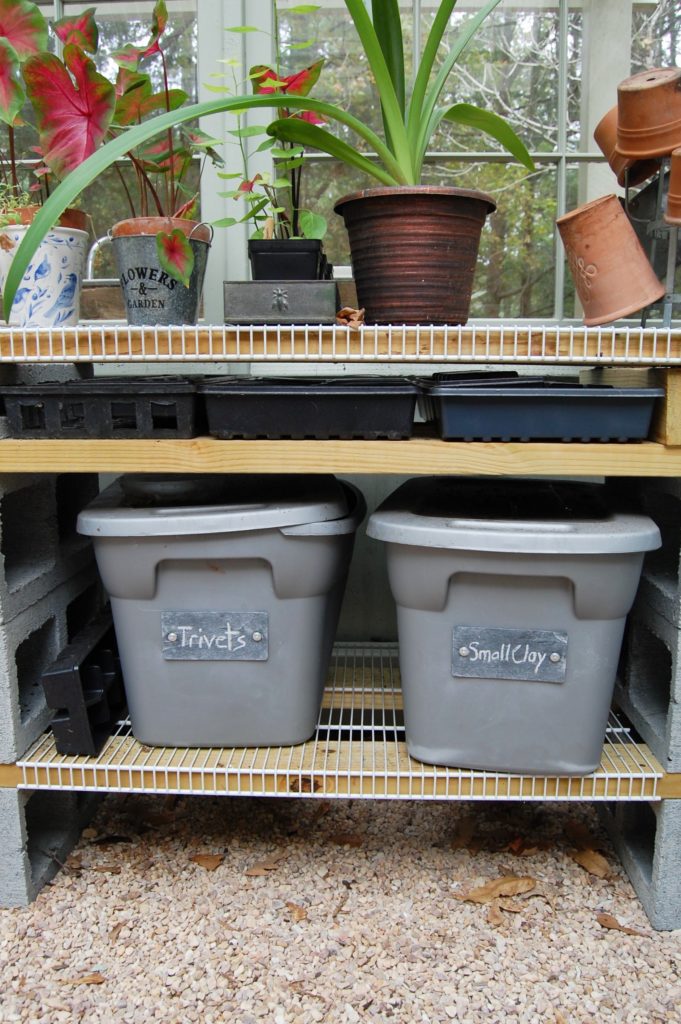
The bins are simple Sterlite storage bins. I made chalkboard plaques and they are attached with rivets to the fronts of the bins.
The finishing touches to our greenhouse were the wreath on the door (hung with a galvanized wreath hanger), the lighting (matches the exterior lighting on our home), and the twinkle lights hanging from the rafters.
This has become one of my happy places and I try to spend time in it every day.


That is an awesome happy place.