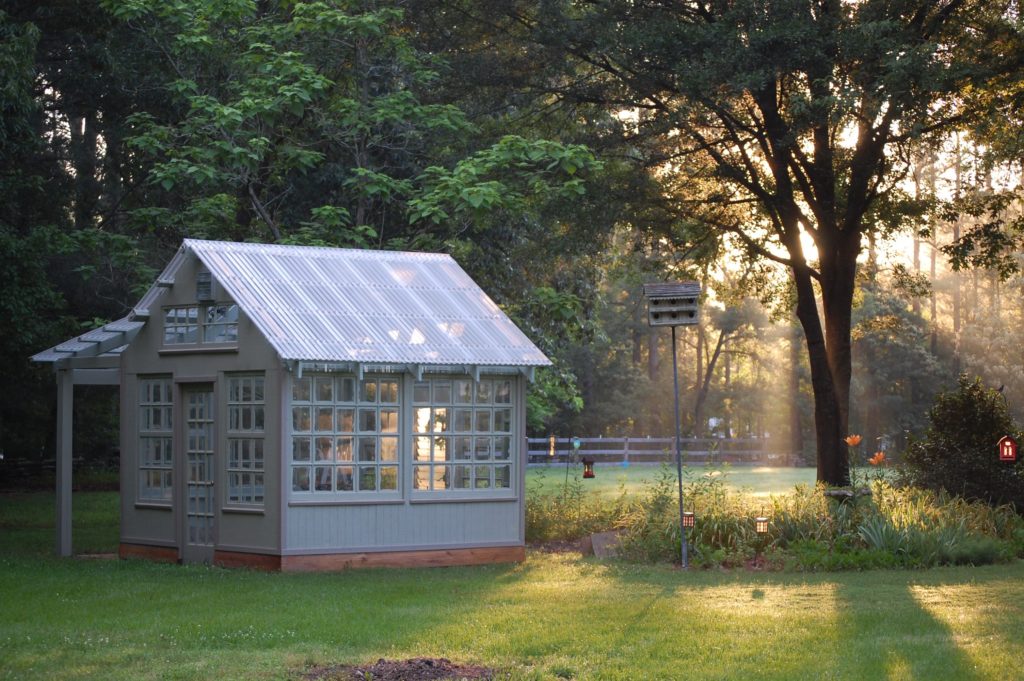
Last week on the blog, I explained how our upcycled greenhouse got started so this week I’ll show you how we began to create the walls.
If you missed that first post, check it out here.
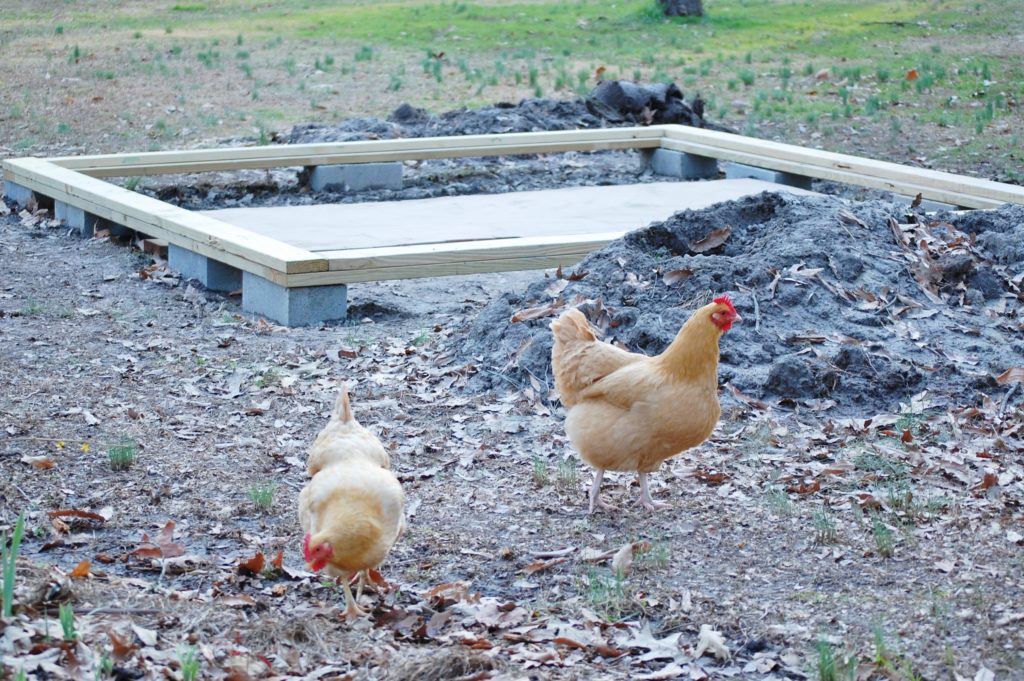
Foundation details
You’ll notice our foundation is made of cinderblocks and wood. We dragged all of the labeled windows out of the barn and Hubs made individual walls with each of the sets of windows (see the previous post for details).
We also added pea gravel to fill in either side of the walkway. Our decision to use pea gravel was because our potting benches are going to be there and we didn’t want any standing water to accumulate.
In the photo below, you might notice some vinyl garden edging that we used that as a barrier to keep the gravel in place. It was just supposed to be temporary, but we left it in place and it is unnoticeable.
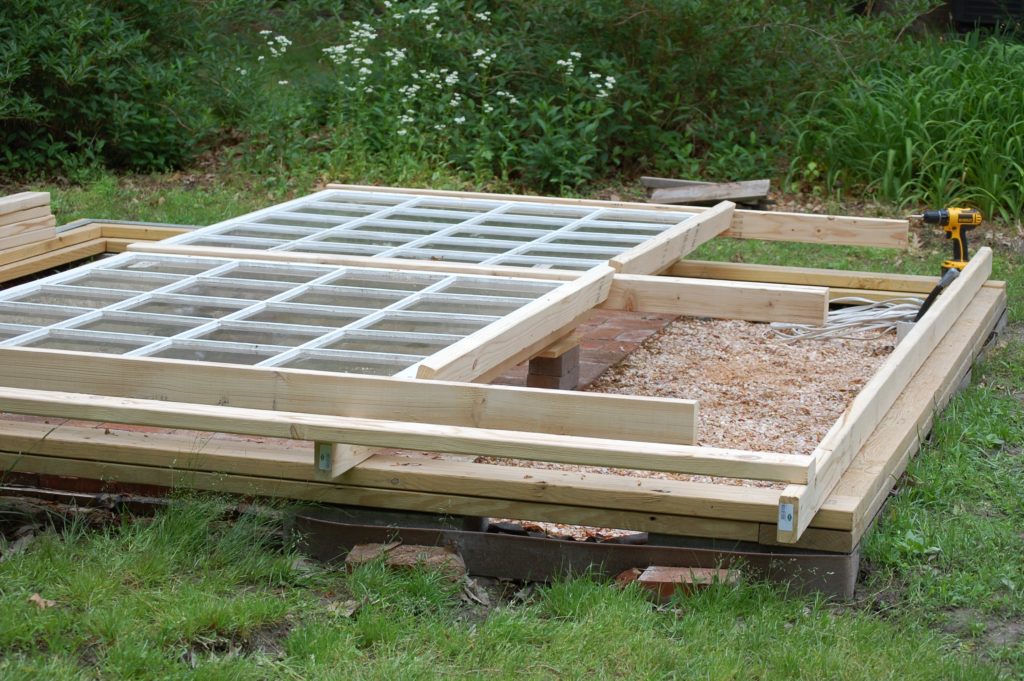
Hubs used screws to attach the wood to the windows. These two large windows were the very first ones we collected for our greenhouse and what inspired us to start such a large project.
Interesting back story:
Hubs and I like to drive along on country roads and look at barns and old houses and cows. We’re very low maintenance.
Picture the two of us driving along a country road in our old pick up truck. We pass by a house with old wood, doors, windows, and junk piled on the curb for trash day.
Me: Hey, look at those giant windows. Wouldn’t it be cool to make a greenhouse out of old windows?
Hubs: Hmmm. . . wanna go back and look at them?
Me: Uh. . . sure!
Picture us making an illegal u-turn on the country road.
Hubs: Hey, they’re in really good shape. Let’s take them home.
Me: Ok!
And just like that, we were the proud owners of a set upcycled greenhouse windows. No plan. No timeline. Just a dream.
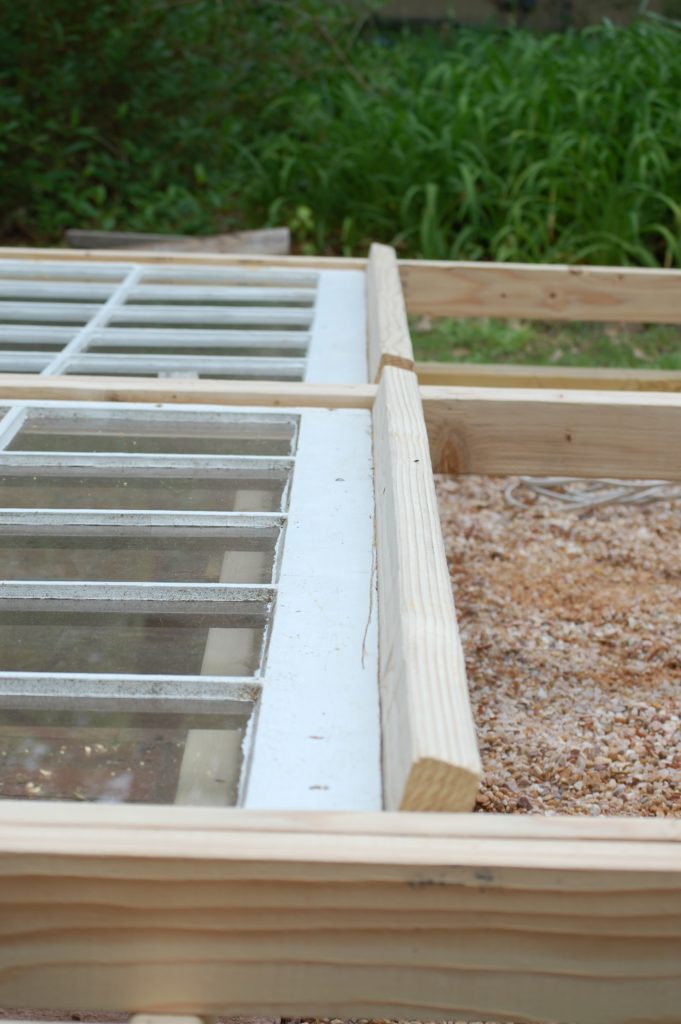
Window wall details
Notice the sill detail at the bottom of the windows? The wood slants down so that rainwater will run off and not rot the windows.
I knew you were amazingly observant!
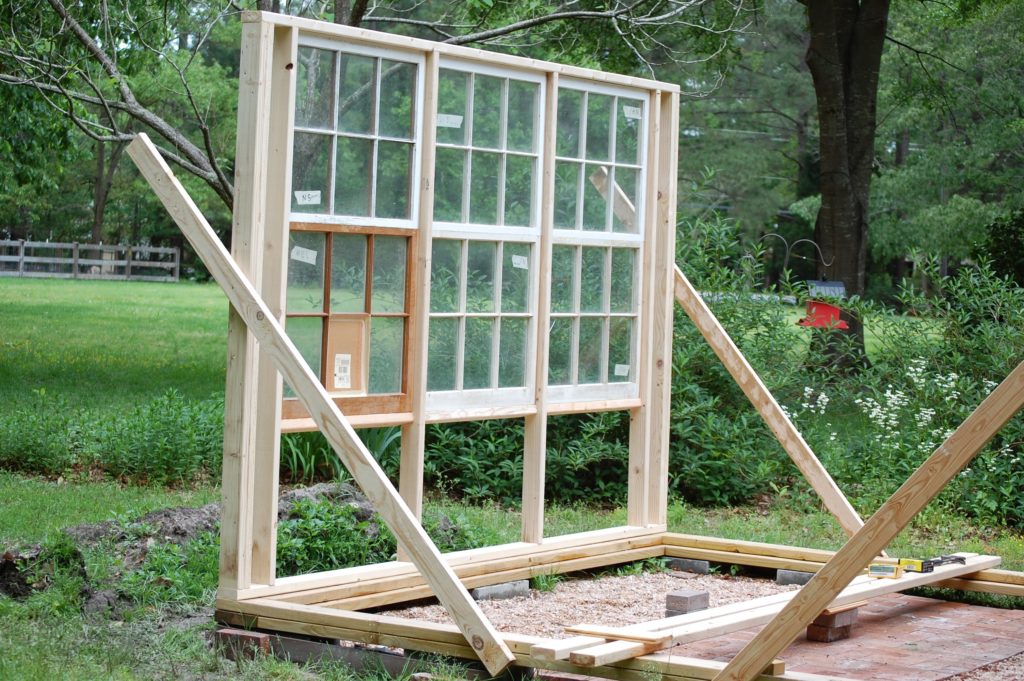
The window walls were stabilized with other wood and screwed into the bottom foundation plate.
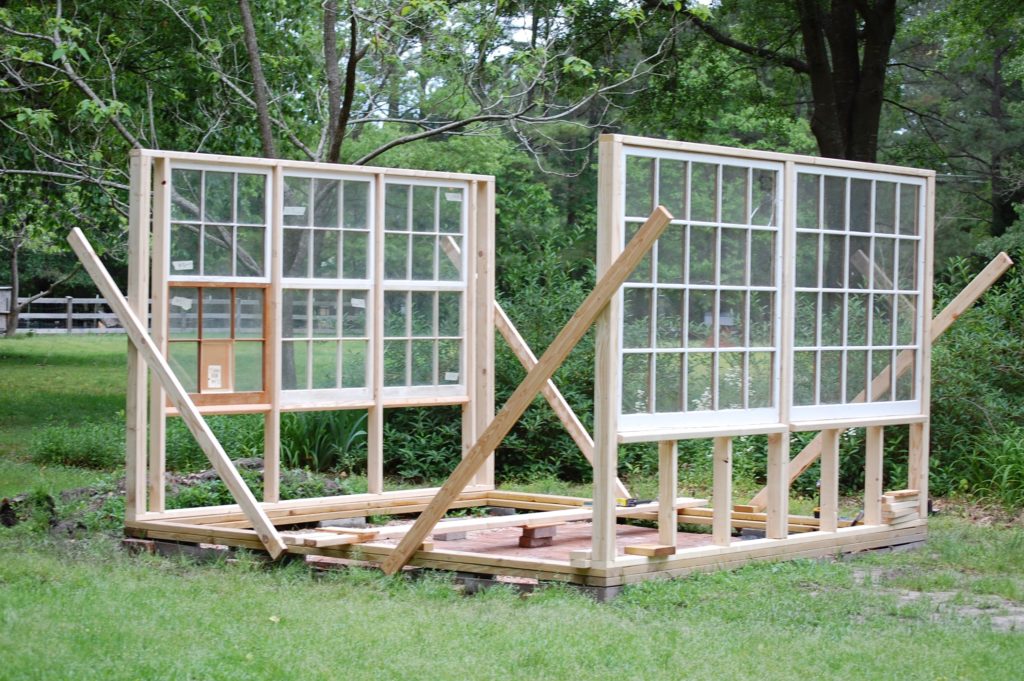
First one wall, and then a second one.
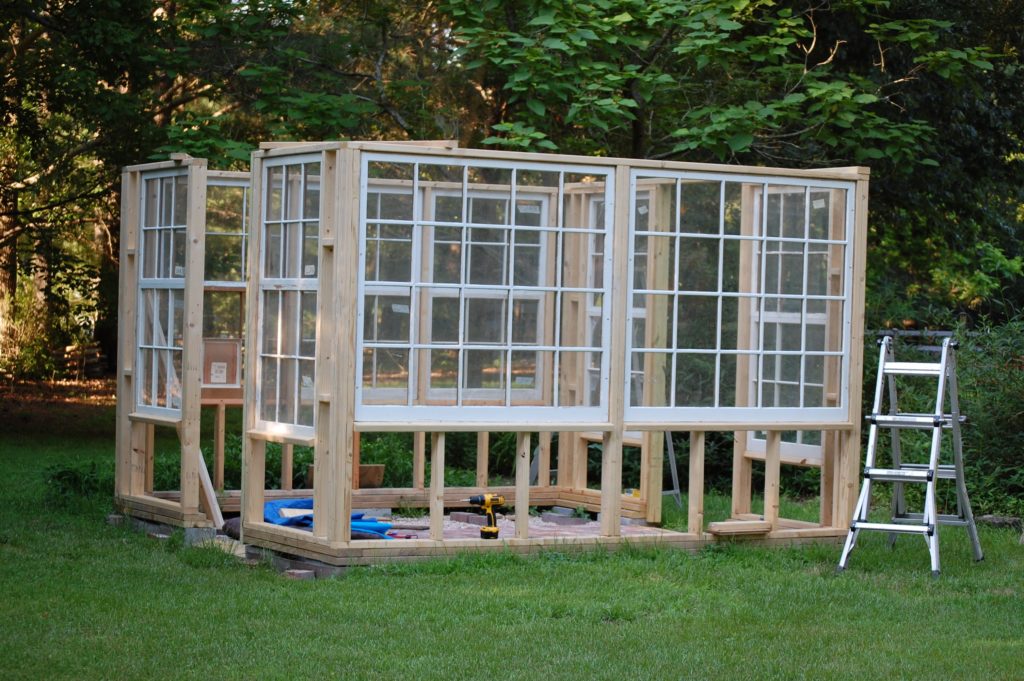
Finally, walls #3 and #4.
It took a few extra people to hold the 3rd and 4th walls in place while they were screwed in since the braces needed to be removed.
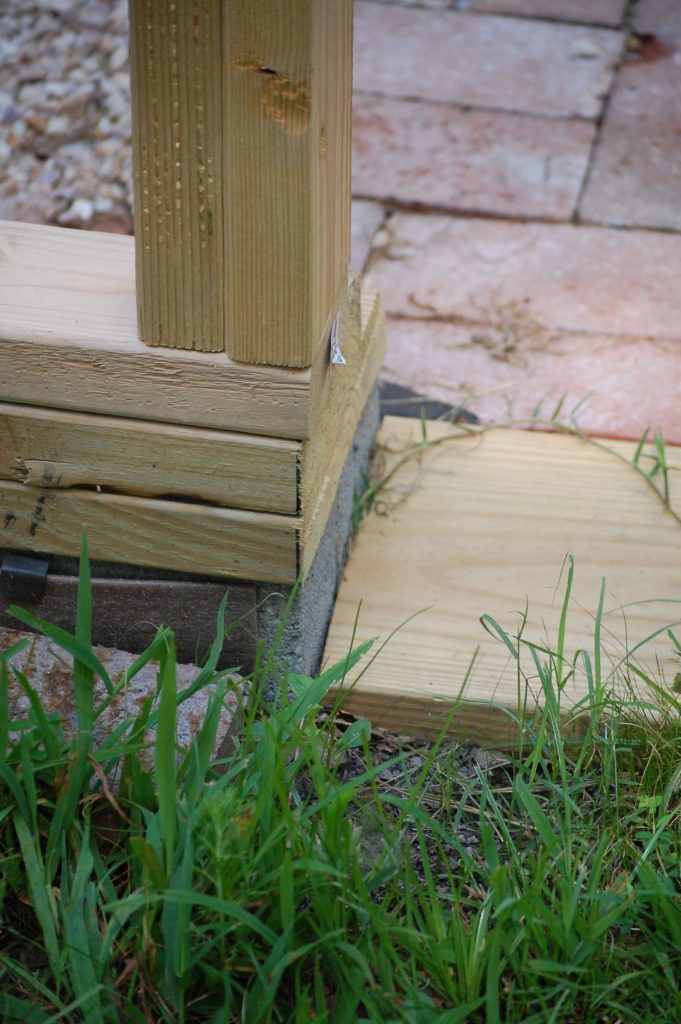
A quick and temporary (or so we thought) threshold was made by cutting the foundation boards away. They, surprisingly, fell into place and have been there for a few years now. Since they are working so well, we have no plans to change them any time soon.
Have I mentioned how much I love and appreciate my Hubs?
Stay tuned for the next step – Building the roof and a surprise addition.

