Have you ever needed to clean your home or even just a space in your home and had trouble just getting started? Well, here is an easy tip to help you take the first step and get it done. By breaking your large space up into zones, you can get through your whole home without being overwhelmed. As you go around your home, don’t forget these rules which will help you.
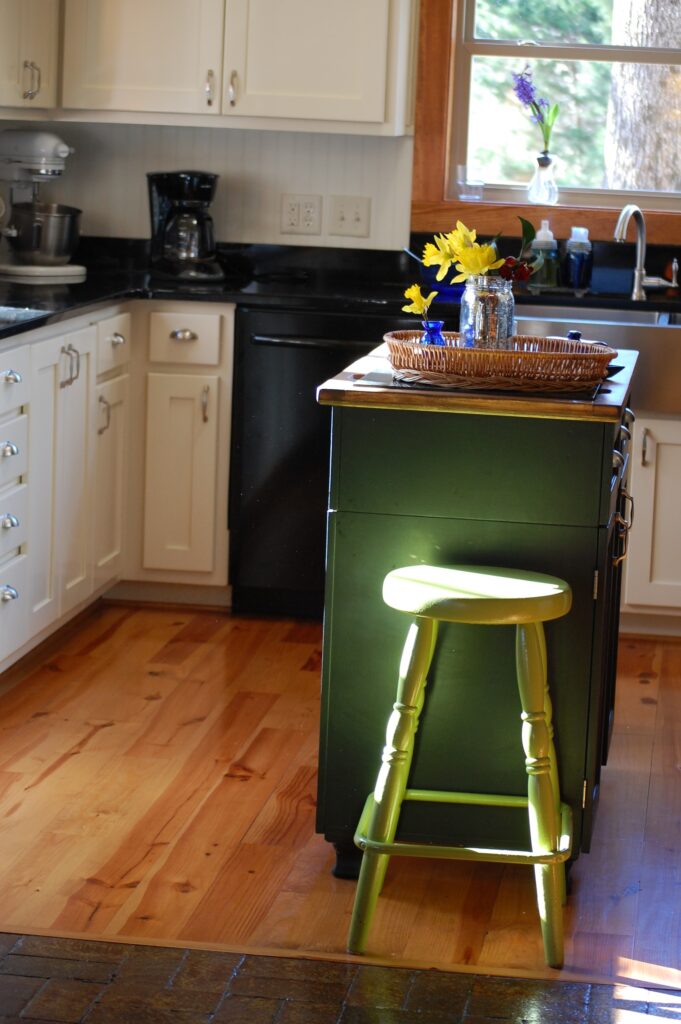
I’m sure you’ve heard the old saying, “How do you eat an elephant? One bite at a time!” The concept holds true for cleaning and organizing your home. In this post, I will walk you around my kitchen and explain how I’ve broken my kitchen up into zones (and smaller zones) to make it easier to clean and organize and a little bit at a time.
The steps are simple:
1. Divide your space up into different zones. You can divide an area into as many zones as you like.
My kitchen zones are:
Zone #1: Kitchen command center
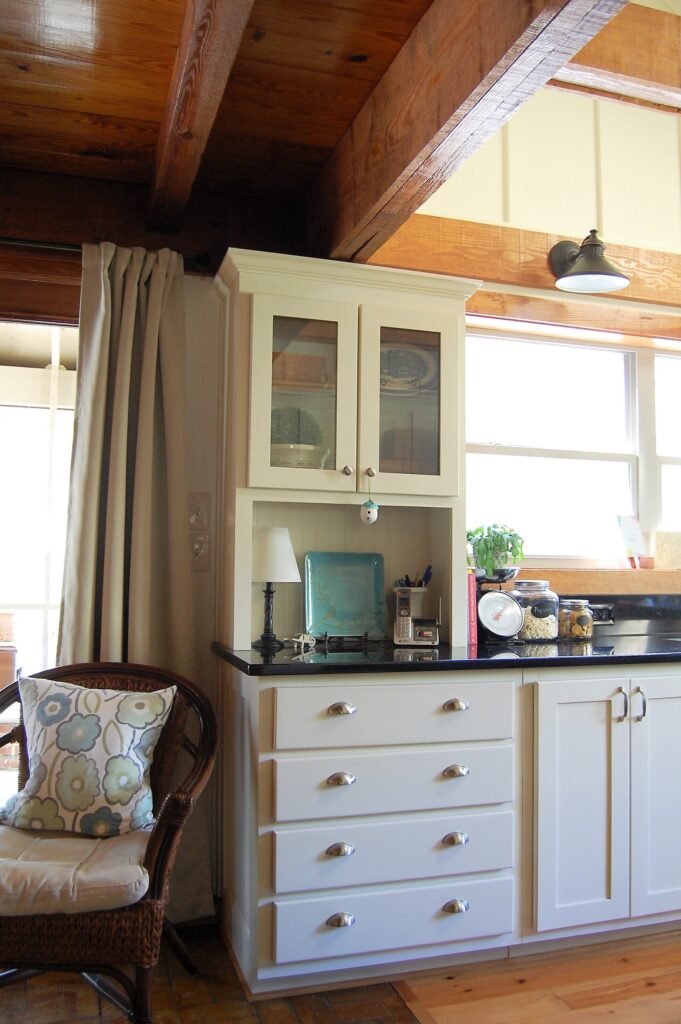
Our kitchen command center is the hub of our home. This is where our “Utility drawer” is and other important paperwork we use daily. I also keep my recipe boxes, kitchen towels, and tablecloths for entertaining. I can break down this area into smaller zones too. Recipe zone, utility zone, entertaining linens zone, kitchen linens, etc. Each zone can be cleaned and decluttered in only a few minutes.
Zone #2: Baking Supplies
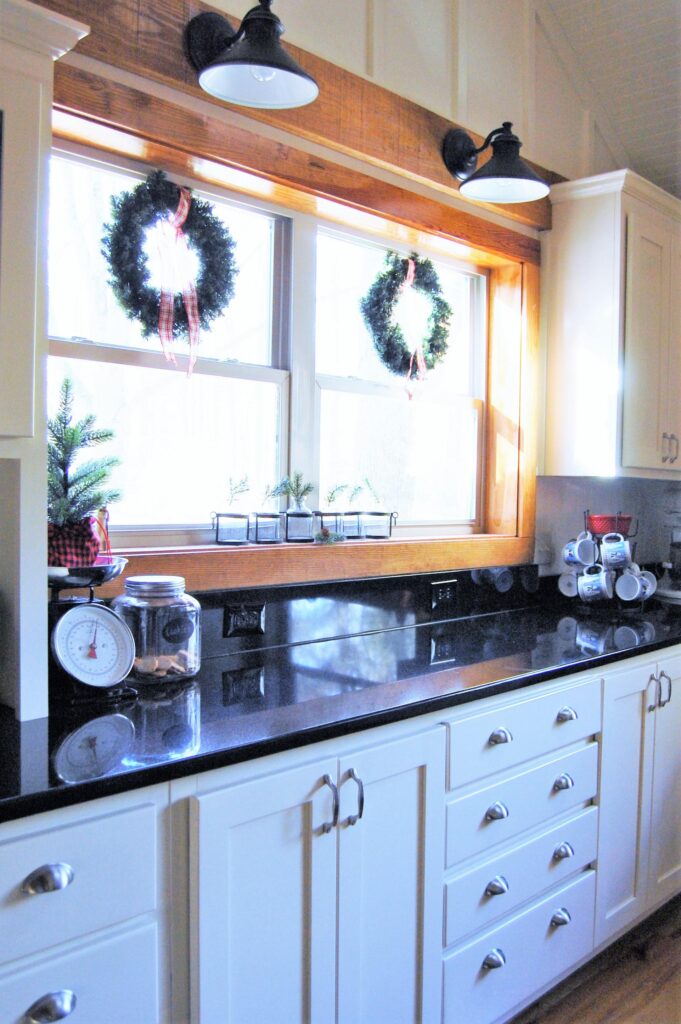
This zone contains cabinets and drawers of baking dishes, measuring cups, mixing bowls, small appliances like a mixer and food processor. I also have our eating utensils in the top drawer because it is near the dishwasher. Because my corner cabinet is one of those that goes on forever into the back recesses of the kitchen, I only keep bulky items in that cabinet like crock pots and my Instapot. This zone can be further broken down into zones. Each individual cabinet and drawer could be considered a zone.
Zone #3: Dishes
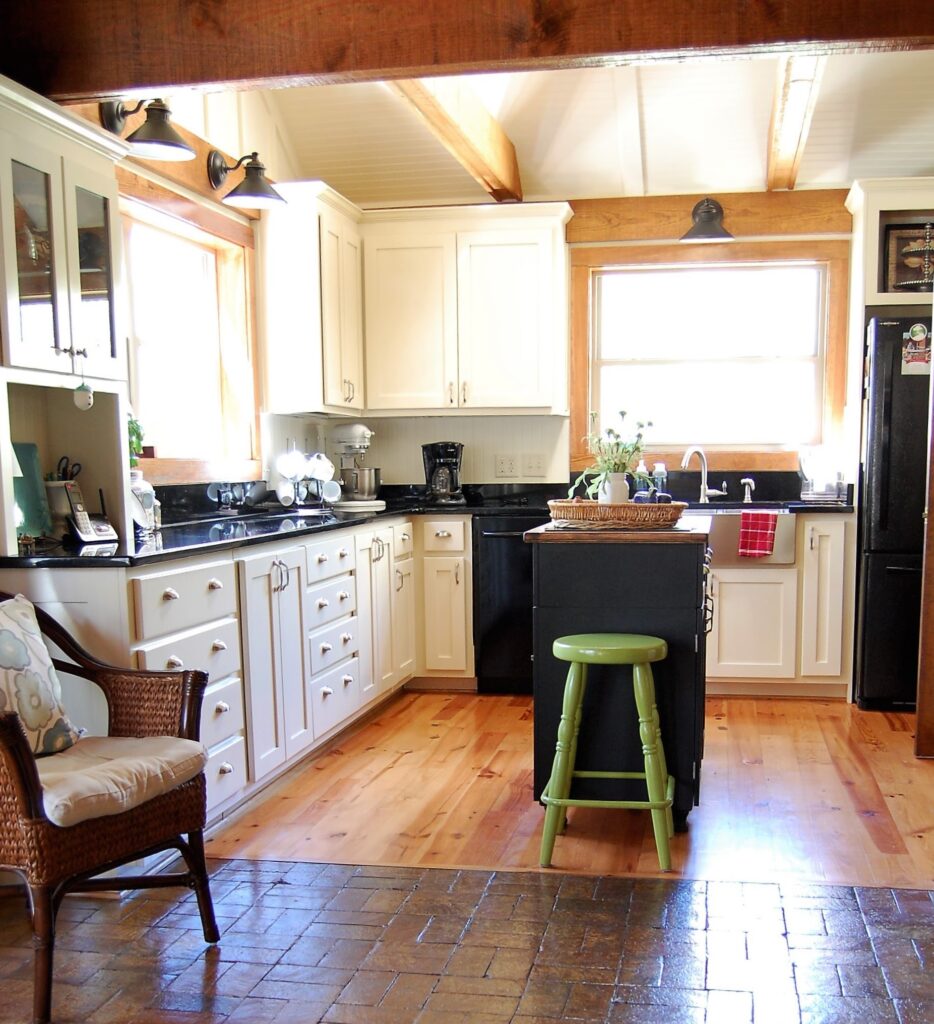
This zone contains our coffee/tea area, dishwashing supplies (including the dishwasher), and dishes/glassware/coffee mugs. This zone can be further broken down by individual cabinets or types of items. For instance, all drinking glasses or all plates and bowls. When we laid out our kitchen plan, we designed it around our dishwasher to make it easy to put dishes away. My stand mixer is also in this zone (right next to the baking zone) because it is too heavy for me to move around and its home in the corner keeps it out of the way.
Zone #4: Fridge
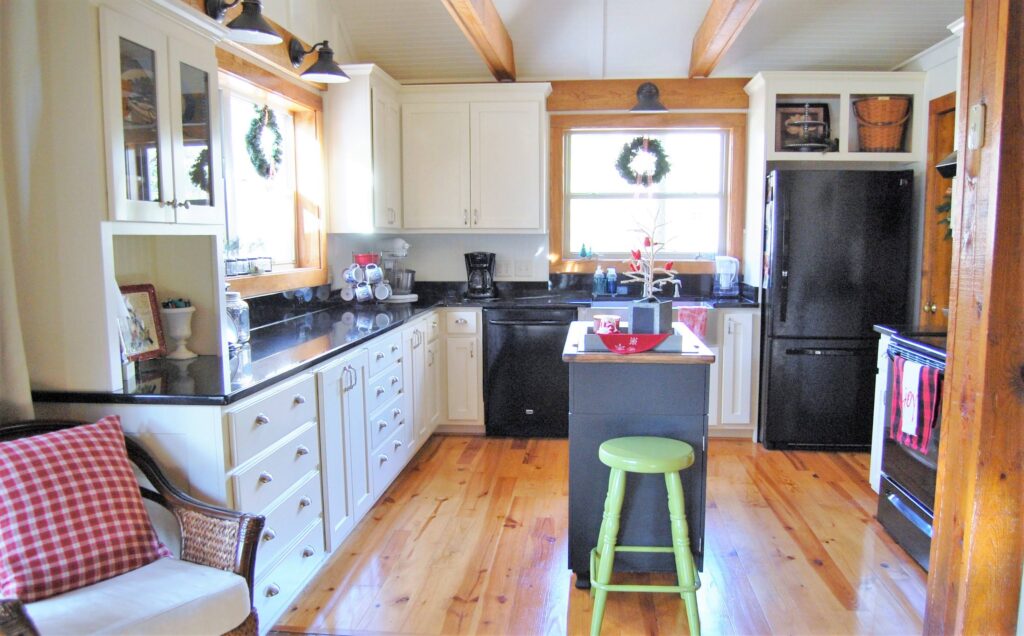
This zone is pretty self-explanatory but I keep it in a zone by itself because I clean it every week and it takes a bit of time to get through it. But even then, I divide the fridge into different zones – dairy, condiments, fruit, veggies, cheese/meat, leftovers.
Zone #5: Stove
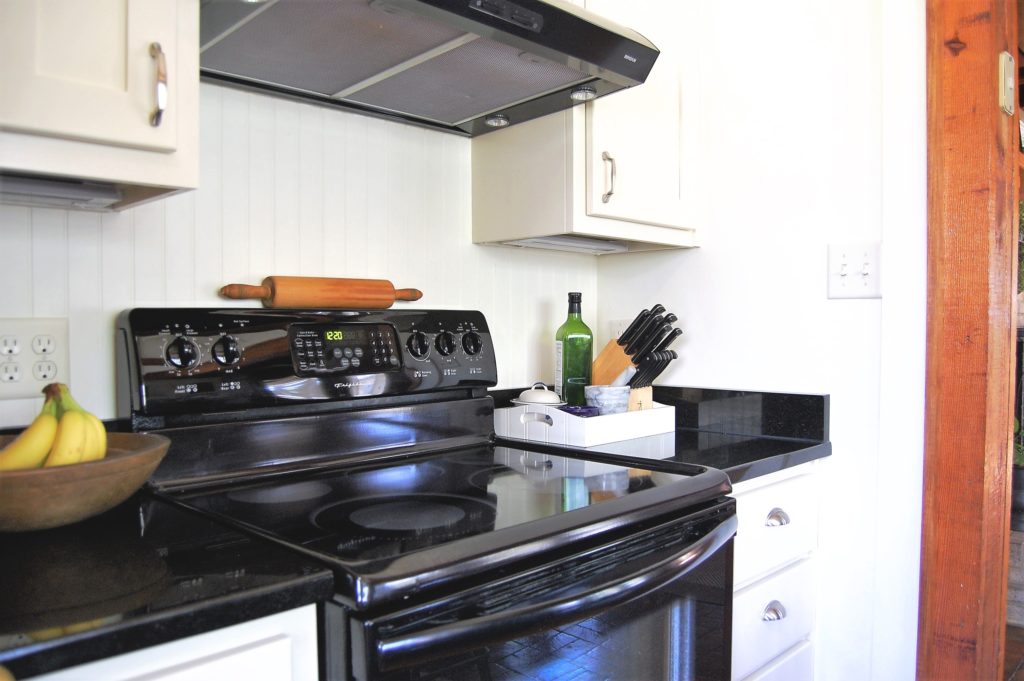
This zone contains the stove, seasonings, spices, potholders, baking paper (aluminum foil, parchment paper, etc.), cooking utensils, cooking pots, and baking pans. As usual, this zone can be broken down into smaller zones.
Zone #6: Kitchen Island
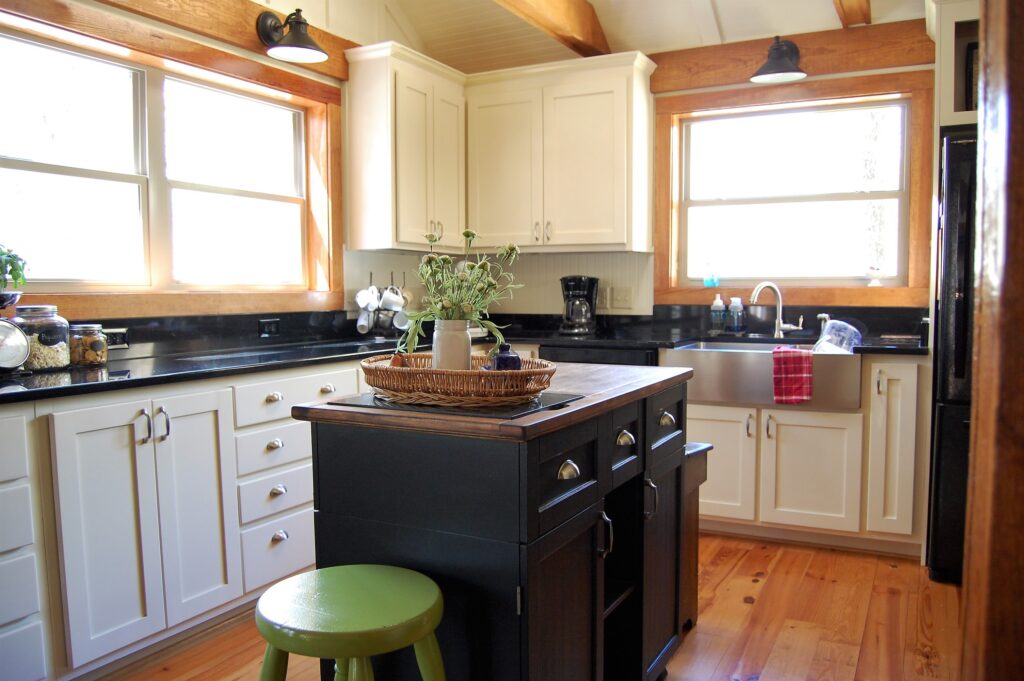
This zone has specialty baking pans (stoneware pizza pans, popover pans, souffle, etc.), and extra cooking utensils. There are two shelves in the middle that hold baskets. I keep bread, tortillas, and snacks in the baskets. There’s hardly a need to break the island down into smaller zones, but it could be done.
2. Working your way around your space, work in one zone at a time.
Don’t worry about working anywhere else except the zone you’ve selected. In my kitchen, I like to start at my fridge and work my way around the room. I can do a zone a day, 2 zones a day, a zone a week, 2 zones a week – you get the idea. Choose whatever works best for your schedule.
Questions?
1. Why break zones down into smaller zones?
Many of us lead busy lives and small jobs are easier to accomplish in the midst of a busy day. The small zones can be taken care of while cooking a meal, cleaning up after a meal, or while talking on the phone. Smaller zones/jobs are easier to start because they are not as overwhelming as large jobs.
2. Why worry about going through every zone in your home?
Most of us lose track of what we own. With almost every client I’ve ever worked with, we have found very unusual things in the least likely of places. Track shoes in the pantry. Prescription meds in a crockpot. An expired credit card with the potholders.
But that’s not all – some kitchen items, like water bottles, seem to multiply behind closed doors. No family benefits by having dozens of water bottles – it just becomes clutter and gets in your way.
3. Do I organize or just clean when I work in a zone?
Well, it’s up to you. I like to clean and organize the zone since I’m already touching everything. Again, do what is best for your schedule. Every step you take is a step in the right direction.
4. Can I create zones in other rooms?
This zone tip is not just for kitchens. Try it in:
Bedrooms: Bed (with bedside tables), dresser, closet (each one separate), reading area, toy area in children’s rooms.
Bathrooms: Shower/tub, sink with cabinet, medicine cabinet, toilet area, linen closet.
Family room: Television area, reading area, toy area,
Dining room: China cabinet, sideboard, extra storage, linens.
Craft room: Sewing supplies ( break down further into fabric, thread, supplies, ironing), paint supplies, craft supplies, paper supplies
5. What about a space that doesn’t really lend itself to zones – like my attic?
Yup, the dreaded attic. Yes, you can create zones in an attic. Start at one point of the space. I usually start on either the right or the left side of the attic stairs (or door). From that spot, I work my way around the room. Whatever I find in that first spot is what I name that zone. Let’s say it is a Christmas decor bin. As I work my way around the space, any Christmas decor gets moved over to that zone. Once everything has a place, you can rearrange your zones in the attic and have the items you use most frequently closest to the entrance – another zone idea.


