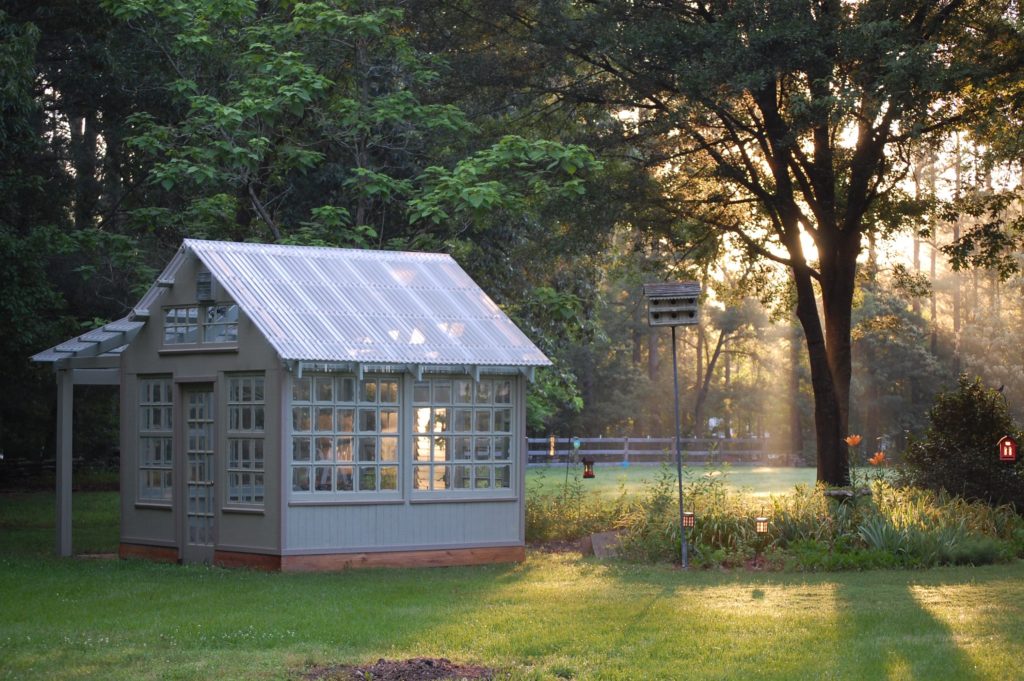
Thanks for joining us for the next edition of “We built a greenhouse out of old stuff”. Well, maybe not all of it was old. Some of it had to be purchased with hard-earned cash.
The roof of our upcycled greenhouse was the most expensive part of the build. We used greenhouse polycarbonate roofing from Home Depot and had to order some special pieces that they didn’t carry in the store.
Rafters
Hubs pre-built the rafters in our garage. He test-fit the first one to make sure the measurements were correct. We took advantage of some strong muscled family members after a Father’s day dinner. Supervisors were needed too – both young and old.
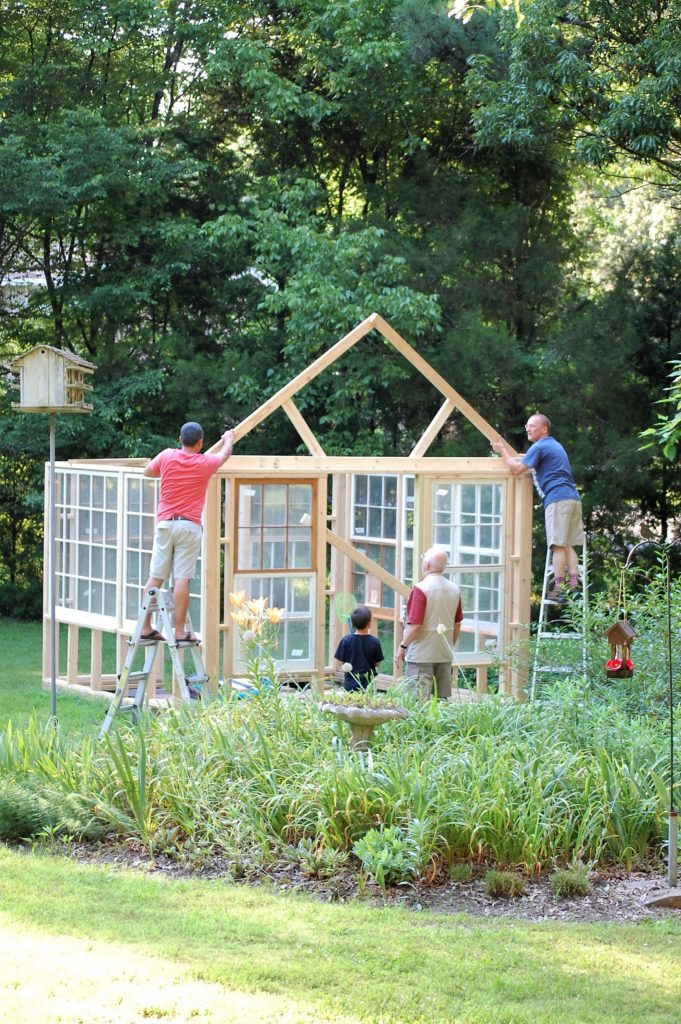
Once we knew the measurements were correct, I painted all of the rafter sections with two coats of paint. We knew it was much easier to paint before they were installed than after.
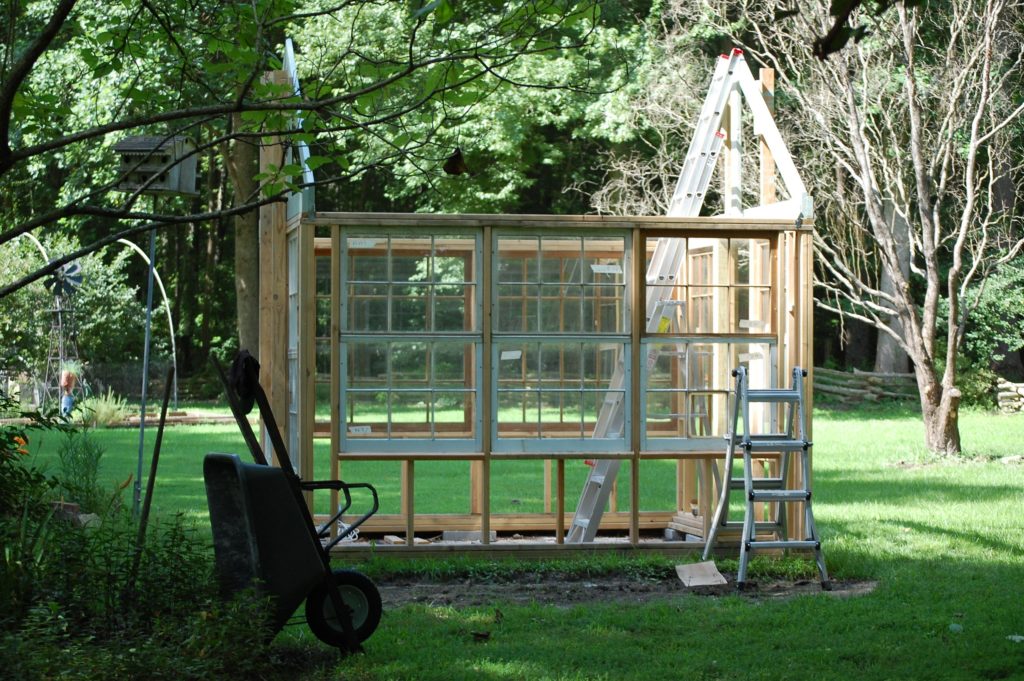
The front and back sections were held in place with supports while a crossbar was put into place
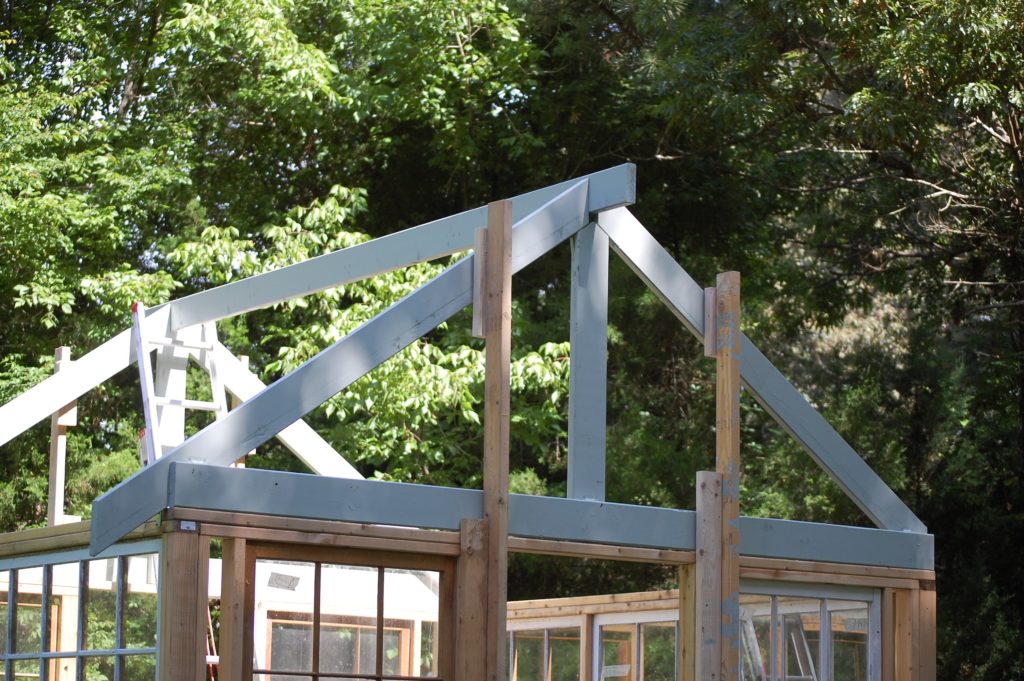
Once the crossbar was in place, we hoisted the other sections up and rested them on the walls.
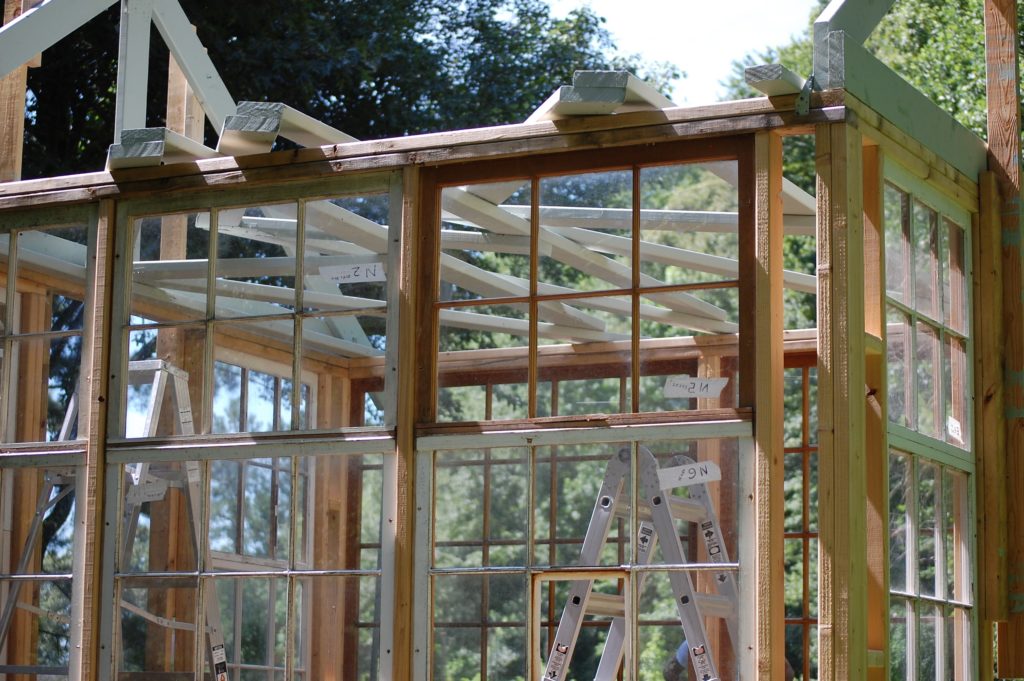
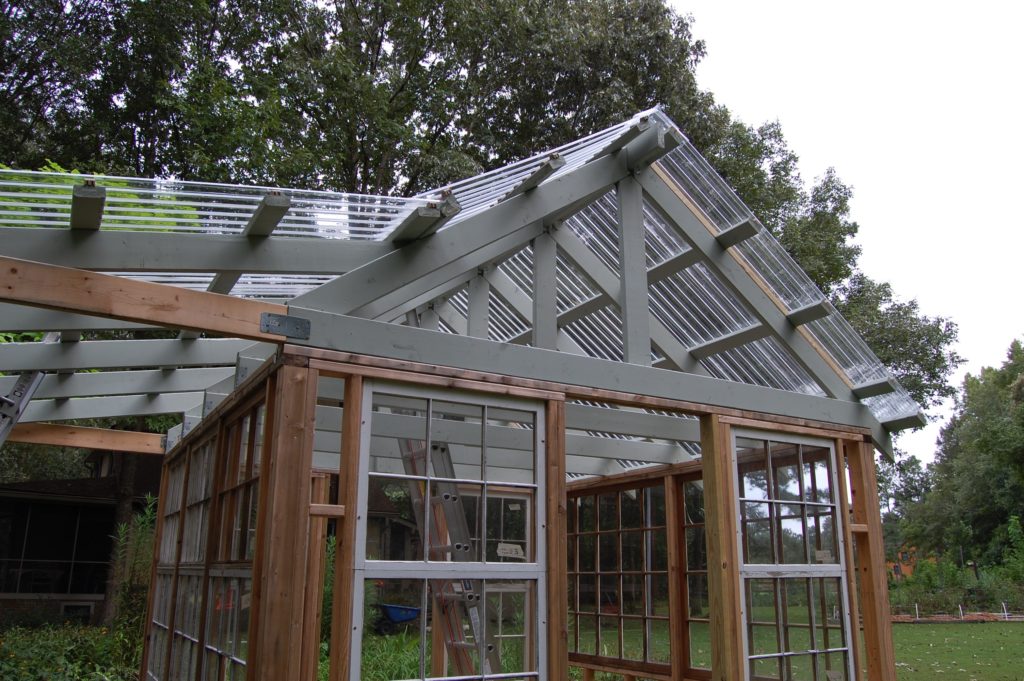
They were screwed in, one by one, and then narrow strips of wood were added for additional strength for the roof panels. On top of those strips, Hubs added specially molded pieces called plastic closure strips.
An Addition
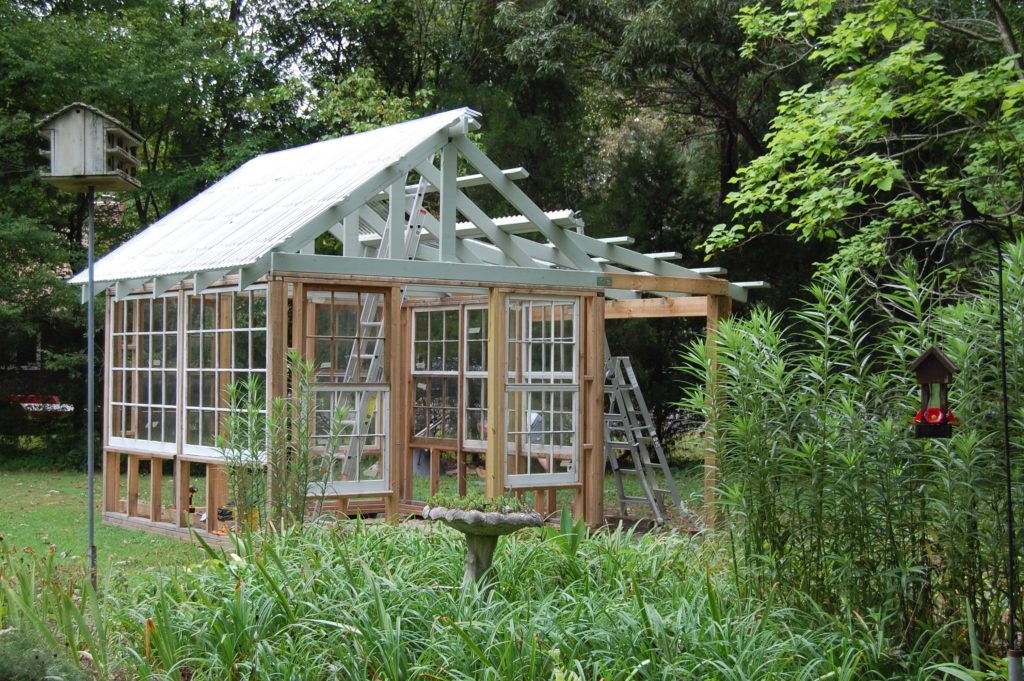
Before the panels went on, Hubs decided that we needed a covered area for my potting bench so we added an addition to the greenhouse! Tying in the roof lines took a bit of extra brain power (not mine, of course).
Roof panels
The panels on that side of the greenhouse were extended.
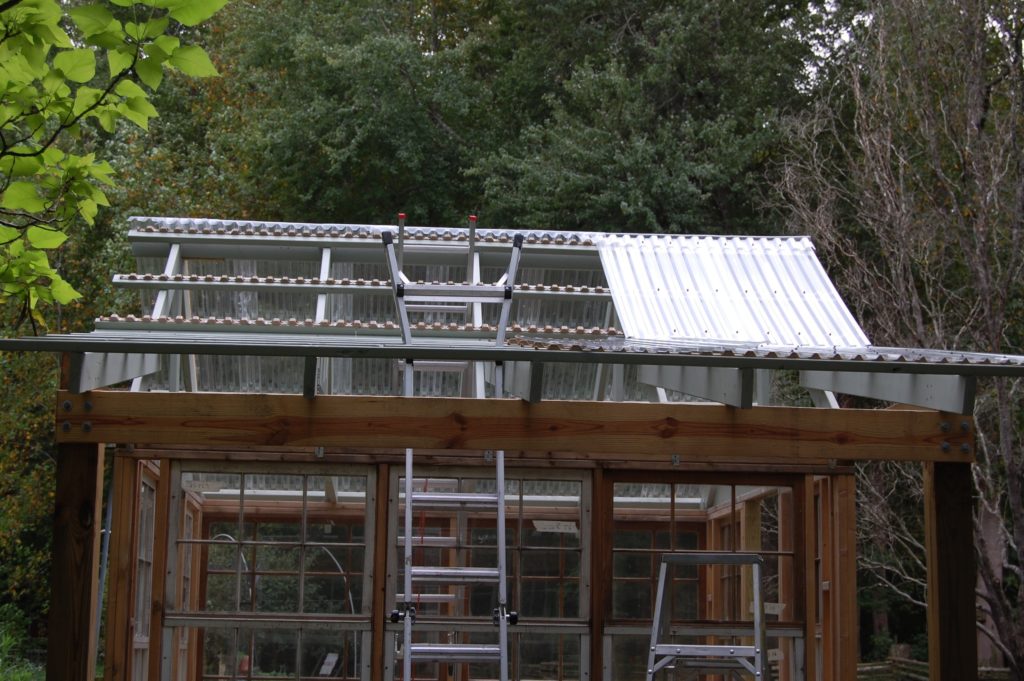
You can see the plastic closure strips in these photos.
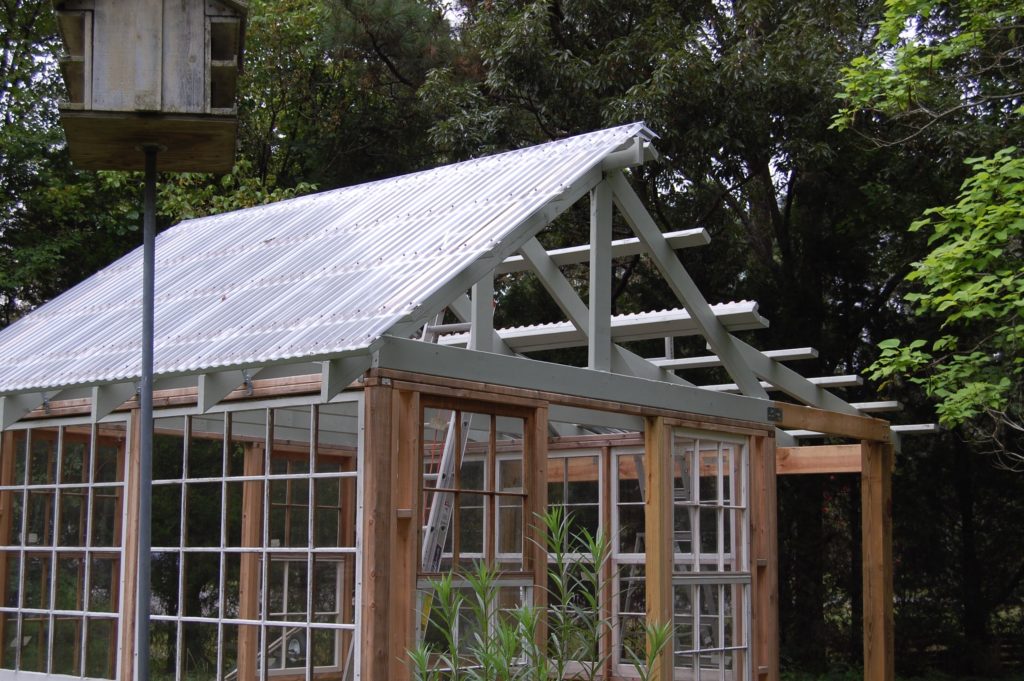
The final panels went in and it was beginning to look like a bonafide greenhouse!
Did you miss the first two posts about Starting the Greenhouse and Building the Walls? Just click on the words to go to those posts.
The next post will be all about enclosing the greenhouse, adding the trim, and putting in the doors.

