This post may contain affiliate links. Read my disclosure policy here.
I’m having a great time looking back at old photos while I’m doing my “big project”. I’m excited to show you the before and after photos of our playhouse that we remodeled several years back.
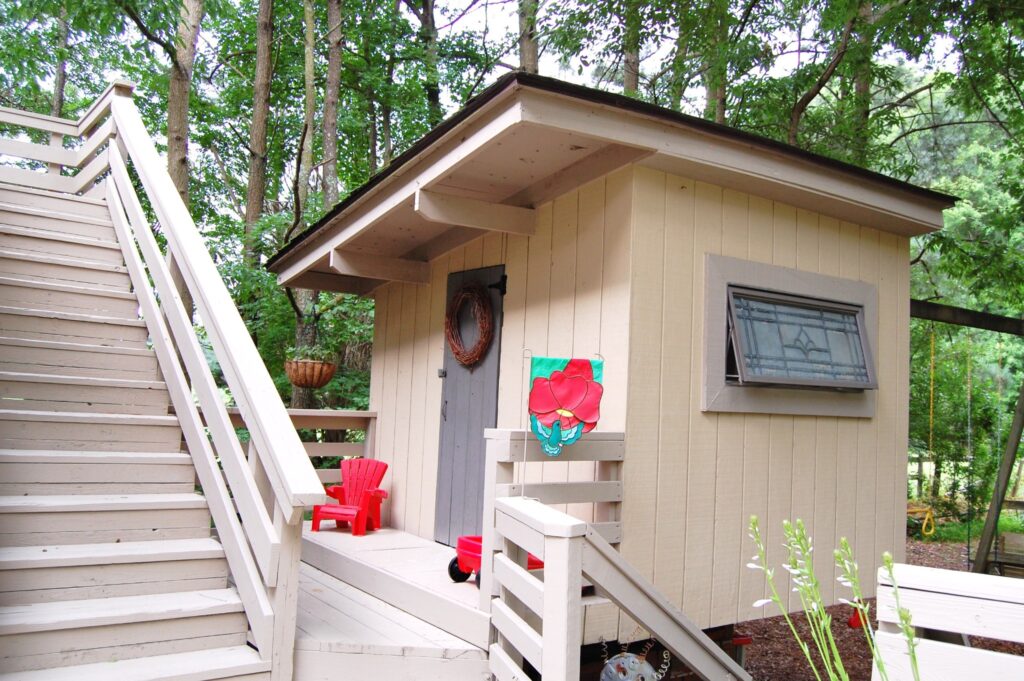
In 2005, when we first purchased our home, we were excited about all of the outbuildings on our property. One of the outbuildings was actually a little playhouse attached to the back deck. When we had the house painted, we had the deck and playhouse painted too. Everything looked cute on the outside. . .
But everything changed when you peeked inside. . . Just a storage area for our kid’s old toys I snuck into the moving van when Hubs wasn’t watching.
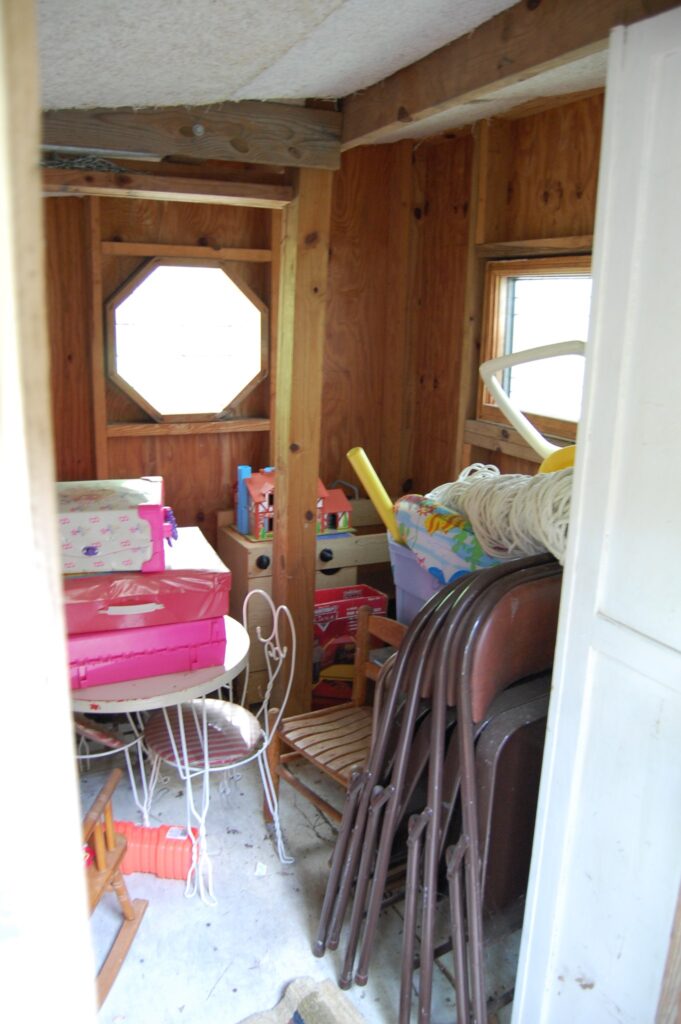
Several more years passed and I finally got around to fixing up this little gem.
Here’s how we tackled the project:
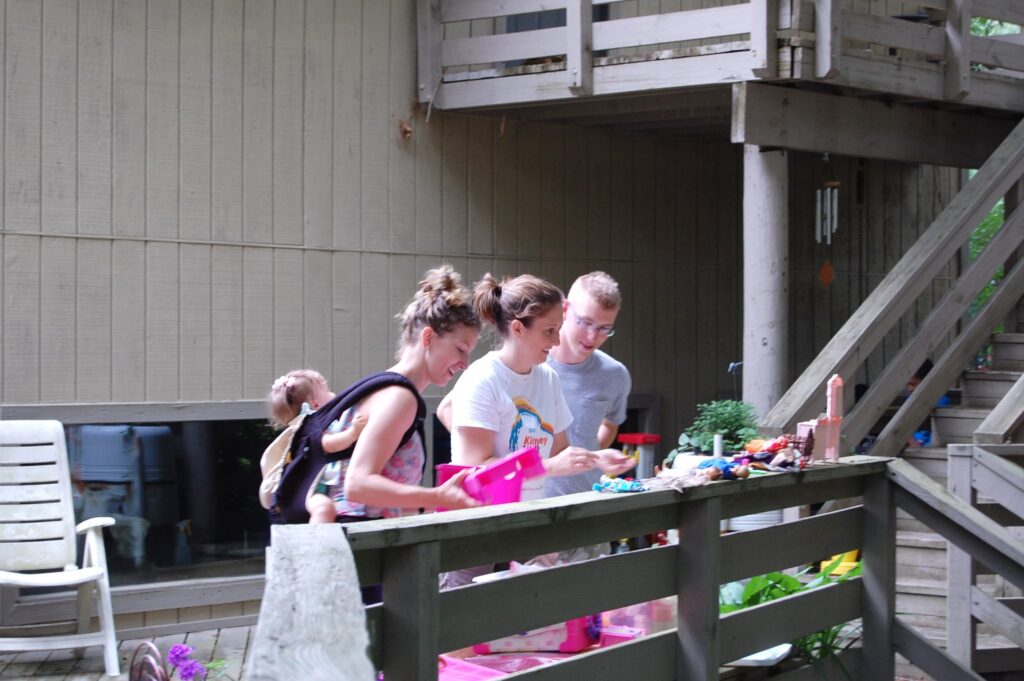
- Pulled all of the toys and other items out of the playhouse. We made it a mandatory requirement that all of our children come over for dinner and go through the toys to see what they wanted to keep and get rid of.
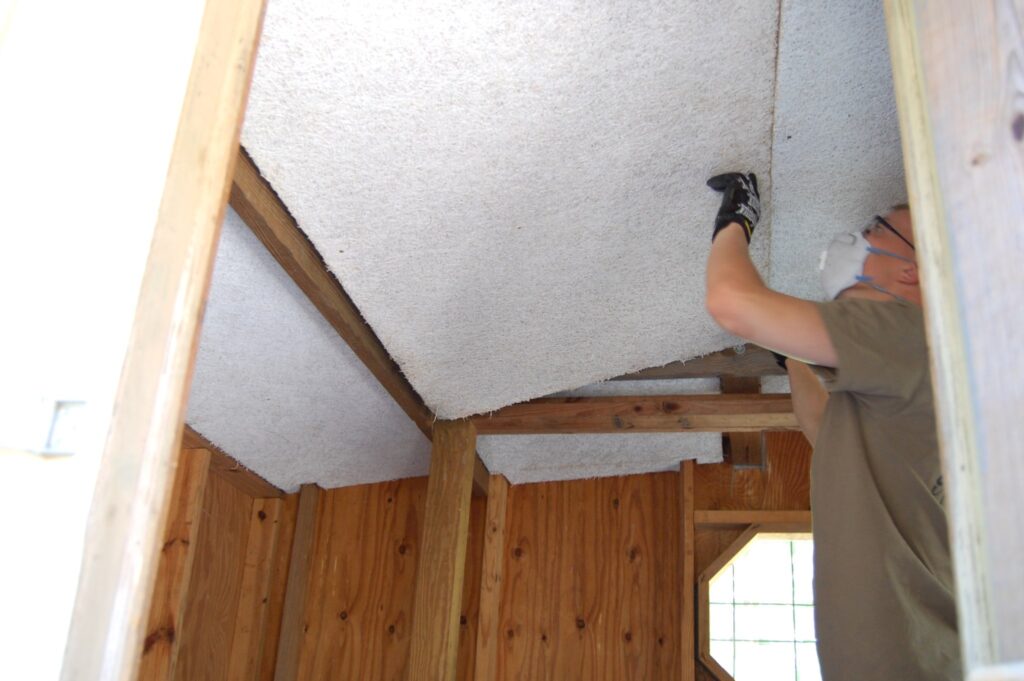
2. Pulled out all weird ceiling tile and gave the place a good vacuuming and scrubbing.
3. Pulled out the old paint sprayer, filled it with white paint and painted everything.
Everything that was not covered up by tape and newspaper (like windows).
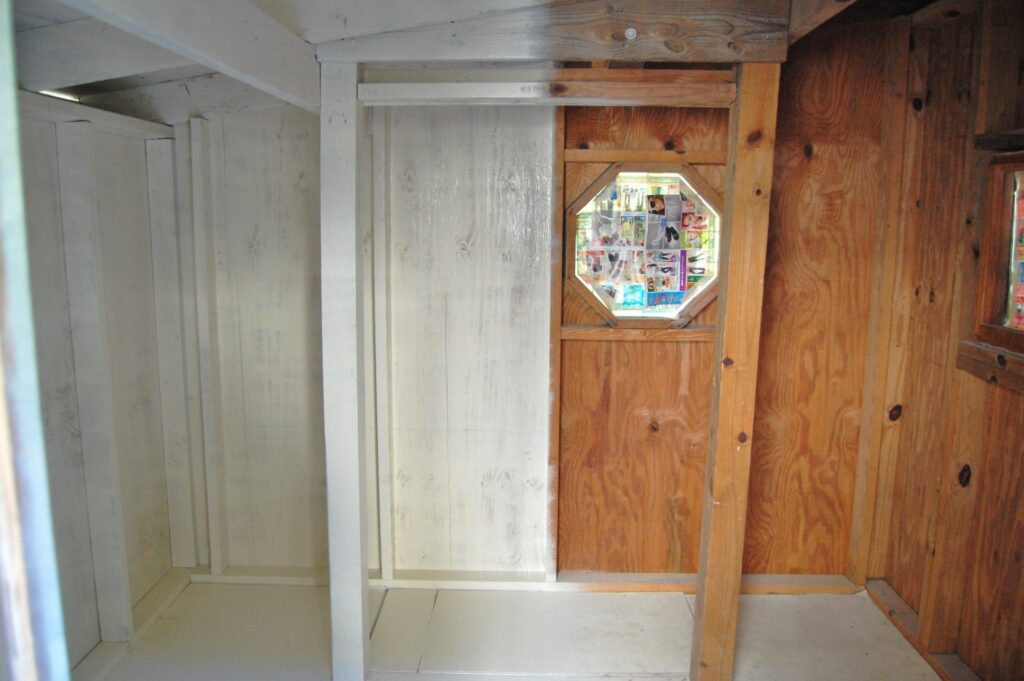
4. Decided everything needed a second coat.
And then a third.
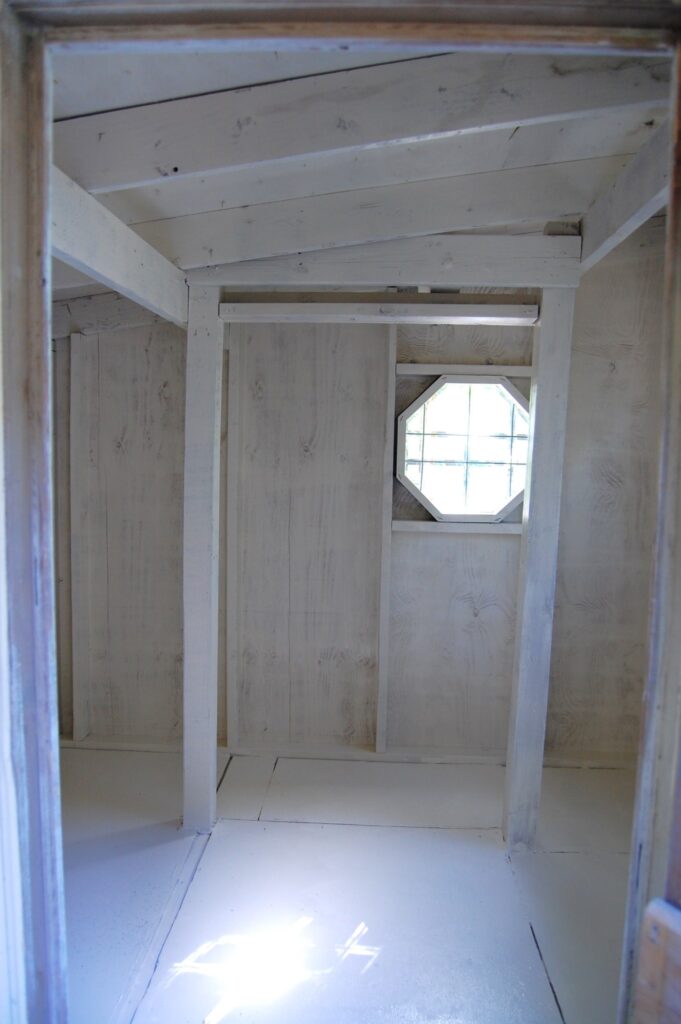
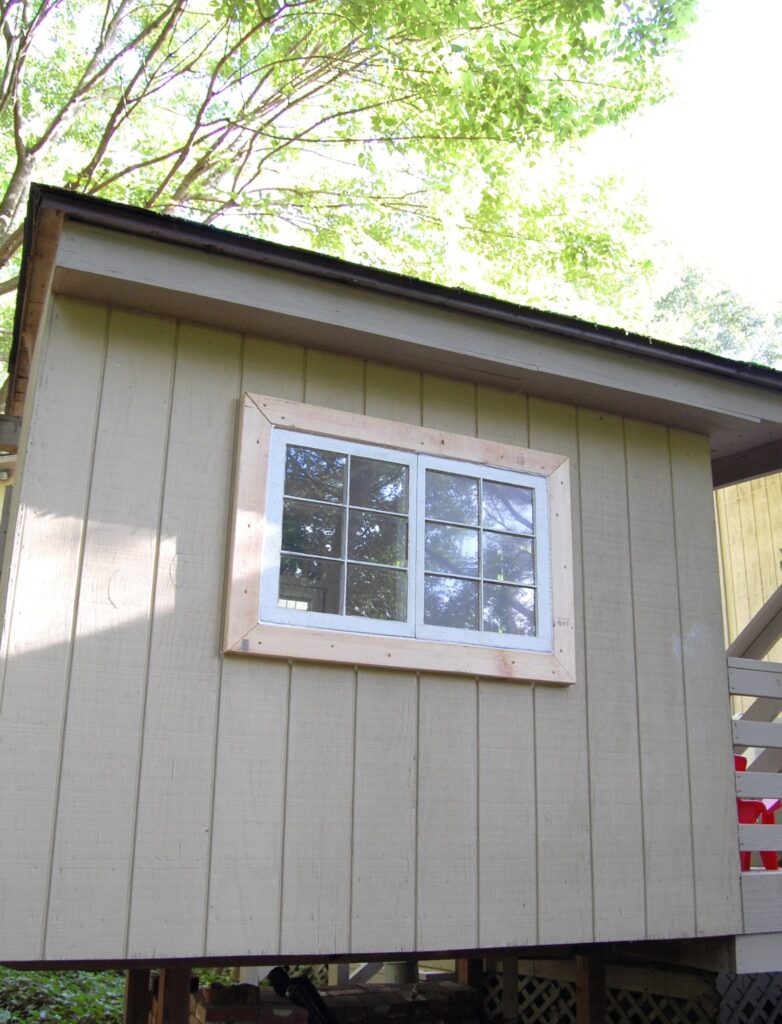
5. Decided that the place was still too dark and asked Hubs to install a window on the only wall that didn’t have one.
Hubs obliged and hauled an old window out of the barn and installed it.
6. I decided that there wasn’t enough shelf space for all of the toys we decided to keep.
Asked Hubs to build us some shelves. Hubs dragged some wood out of the barn and built some custom shelving for bins and extra stuff. I painted the shelves and then we were ready to bring everything back in.
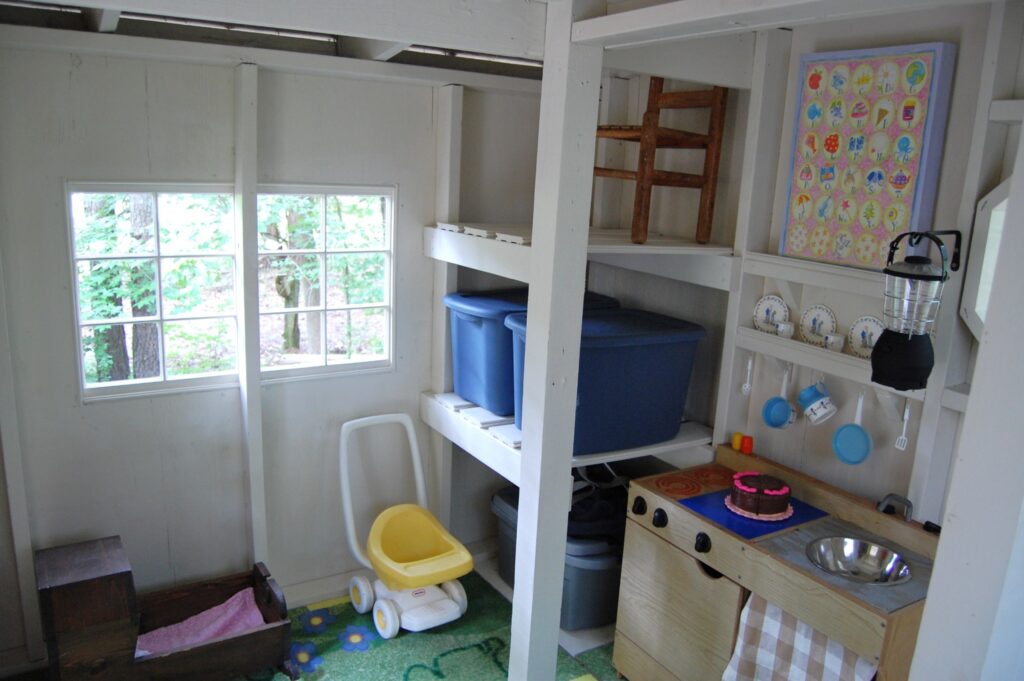
Our daughter had an old play rug that she wasn’t using anymore, so she brought it over and we trimmed it down and stapled it into place.
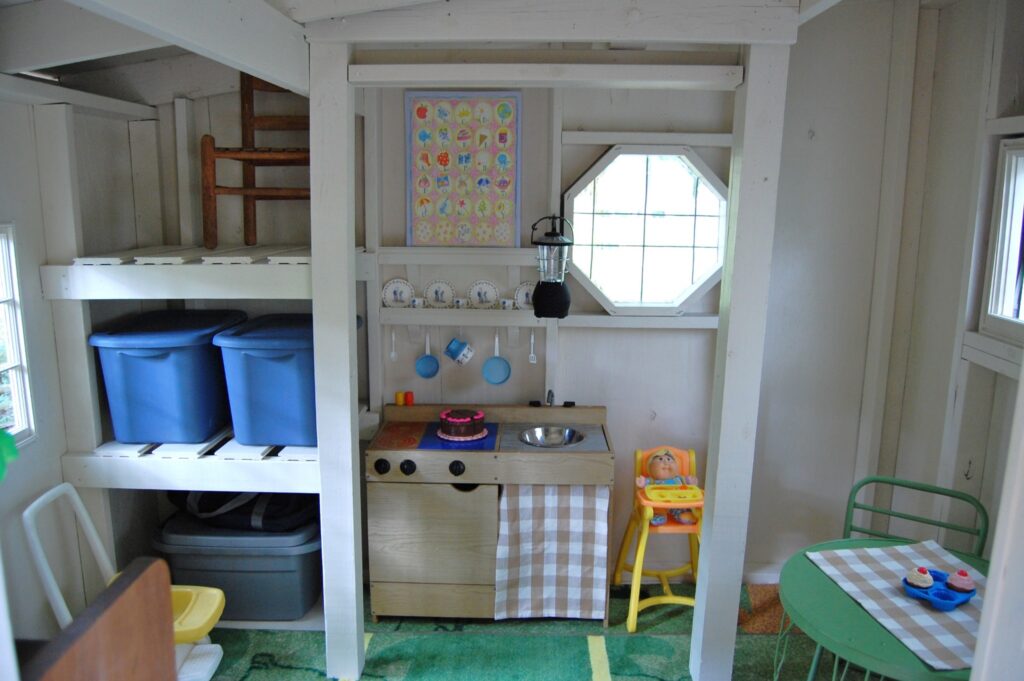
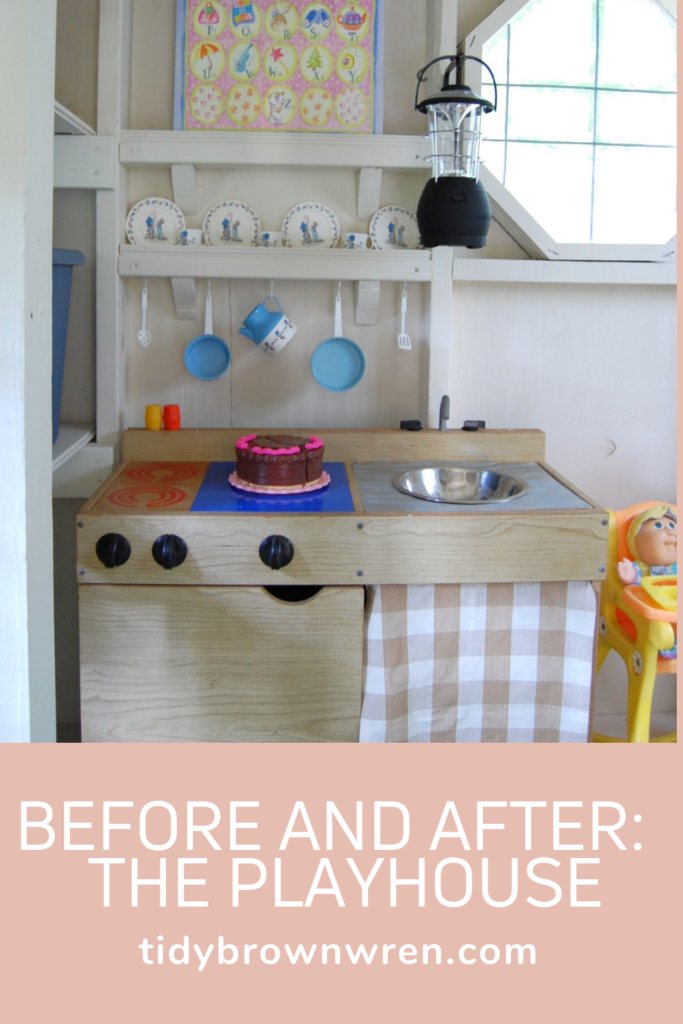
I used two old placemats for the kitchen area. One for the curtain underneath the sink and one as a cloth on the table. I spray painted the table and chairs with some extra spray paint. The sink had broken years ago, so we bought a metal bowl from the dollar store and cut a piece of plywood to hold it. Then we attached it to the play kitchen.
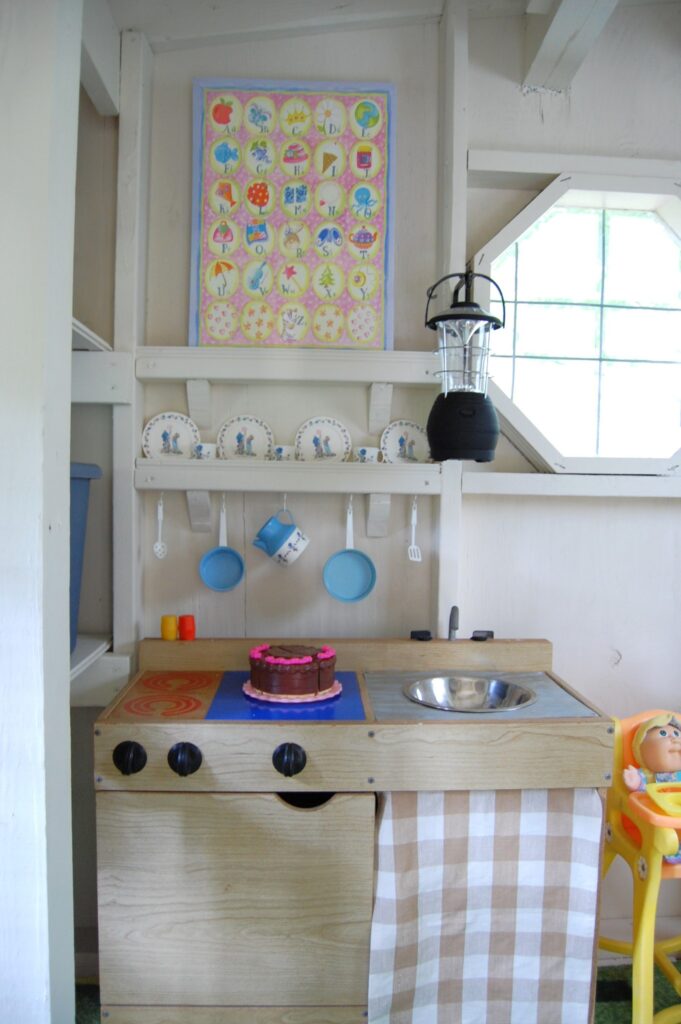
Small pieces of wood were cut and installed between the studs to use for shelves. I installed cup hooks to hold some of the dishes. We hung a crank camping lantern (this one is similar) on a plant hanger for lighting. The wall on one side of the door (which I don’t have pics of) has a narrow bookshelf holding bins of blocks, k’nex, matchbox cars, dinosaurs, and lincoln logs. The other side has a cupboard that holds all of our kids Fisher Price school, barn, house etc.
Every child who comes over to visit has a great time playing in this sweet little playhouse. I’m feeling vindicated for all of the old toys I stored for years when our kids outgrew them!
